Your first product shoot can feel confusing. You want clean photos. You want your packaging to look right. You want images that help people buy. And you probably want to avoid wasting money on a shoot that gives you “nice” photos but not the photos you actually need. This checklist keeps it simple and practical. You can use it whether you’re shooting yourself or hiring a photographer. One reason photos matter so much: 56% of shoppers start by looking at the product images when they land on a product page (Baymard Institute). And in 2025 consumer research, 77% of shoppers said product images and videos are very or extremely important when deciding to buy (Salisfy).
1) Decide what you need the photos to do
Choose where you will use the photos first
Before you build a shot list, pick your main channels. Different channels need different images. Most CPG brands need photos for:
- Your product page (Shopify or wherever you host your website)
- Marketplaces (Amazon, Instacart)
- Ads (Meta, TikTok, Google)
- Email and landing pages
- Retail sell sheets
In 2024, 73% of consumers said they were moving more of their shopping online (1WorldSync). That means your photos often replace the “in-store” experience. If you sell across a few places, plan your shoot for all of them now. It saves time later.
Set a clear goal for the shoot
Pick one primary goal so your shoot stays focused.
Examples:
- Launch a new product page
- Create a full set for 3 flavors
- Build ad creatives for the next 30 days
- Refresh your best seller listing
If you try to do everything in one day without a plan, your results get messy.
2) Prep your products so they look perfect on camera
Bring more units than you think you need
Packaging gets damaged fast. Labels wrinkle. Bottles scratch. Boxes dent. For a first shoot, bring at least:
- 3 to 6 perfect units per SKU for clean studio shots
- 2 to 4 backup units for lifestyle setups
- Extra caps, lids, and pumps (if you have them)
If you ship product to a studio, protect it well. The goal is “retail shelf perfect,” not “it’ll do.”
Clean every product like you’re selling it today
This part sounds boring. It matters. Do this right before the shoot:
- Wipe dust and fingerprints
- Remove price stickers
- Check for glue marks
- Straighten labels
- Inspect edges on boxes
- Make sure bottles are filled evenly (if it shows through)
A tiny smudge becomes a big problem in a close-up.
.avif)
3) Build a shot list that covers conversion and marketing
Start with the “must-have” product page shots
If you only do one set, do this set.
Your baseline shot list:
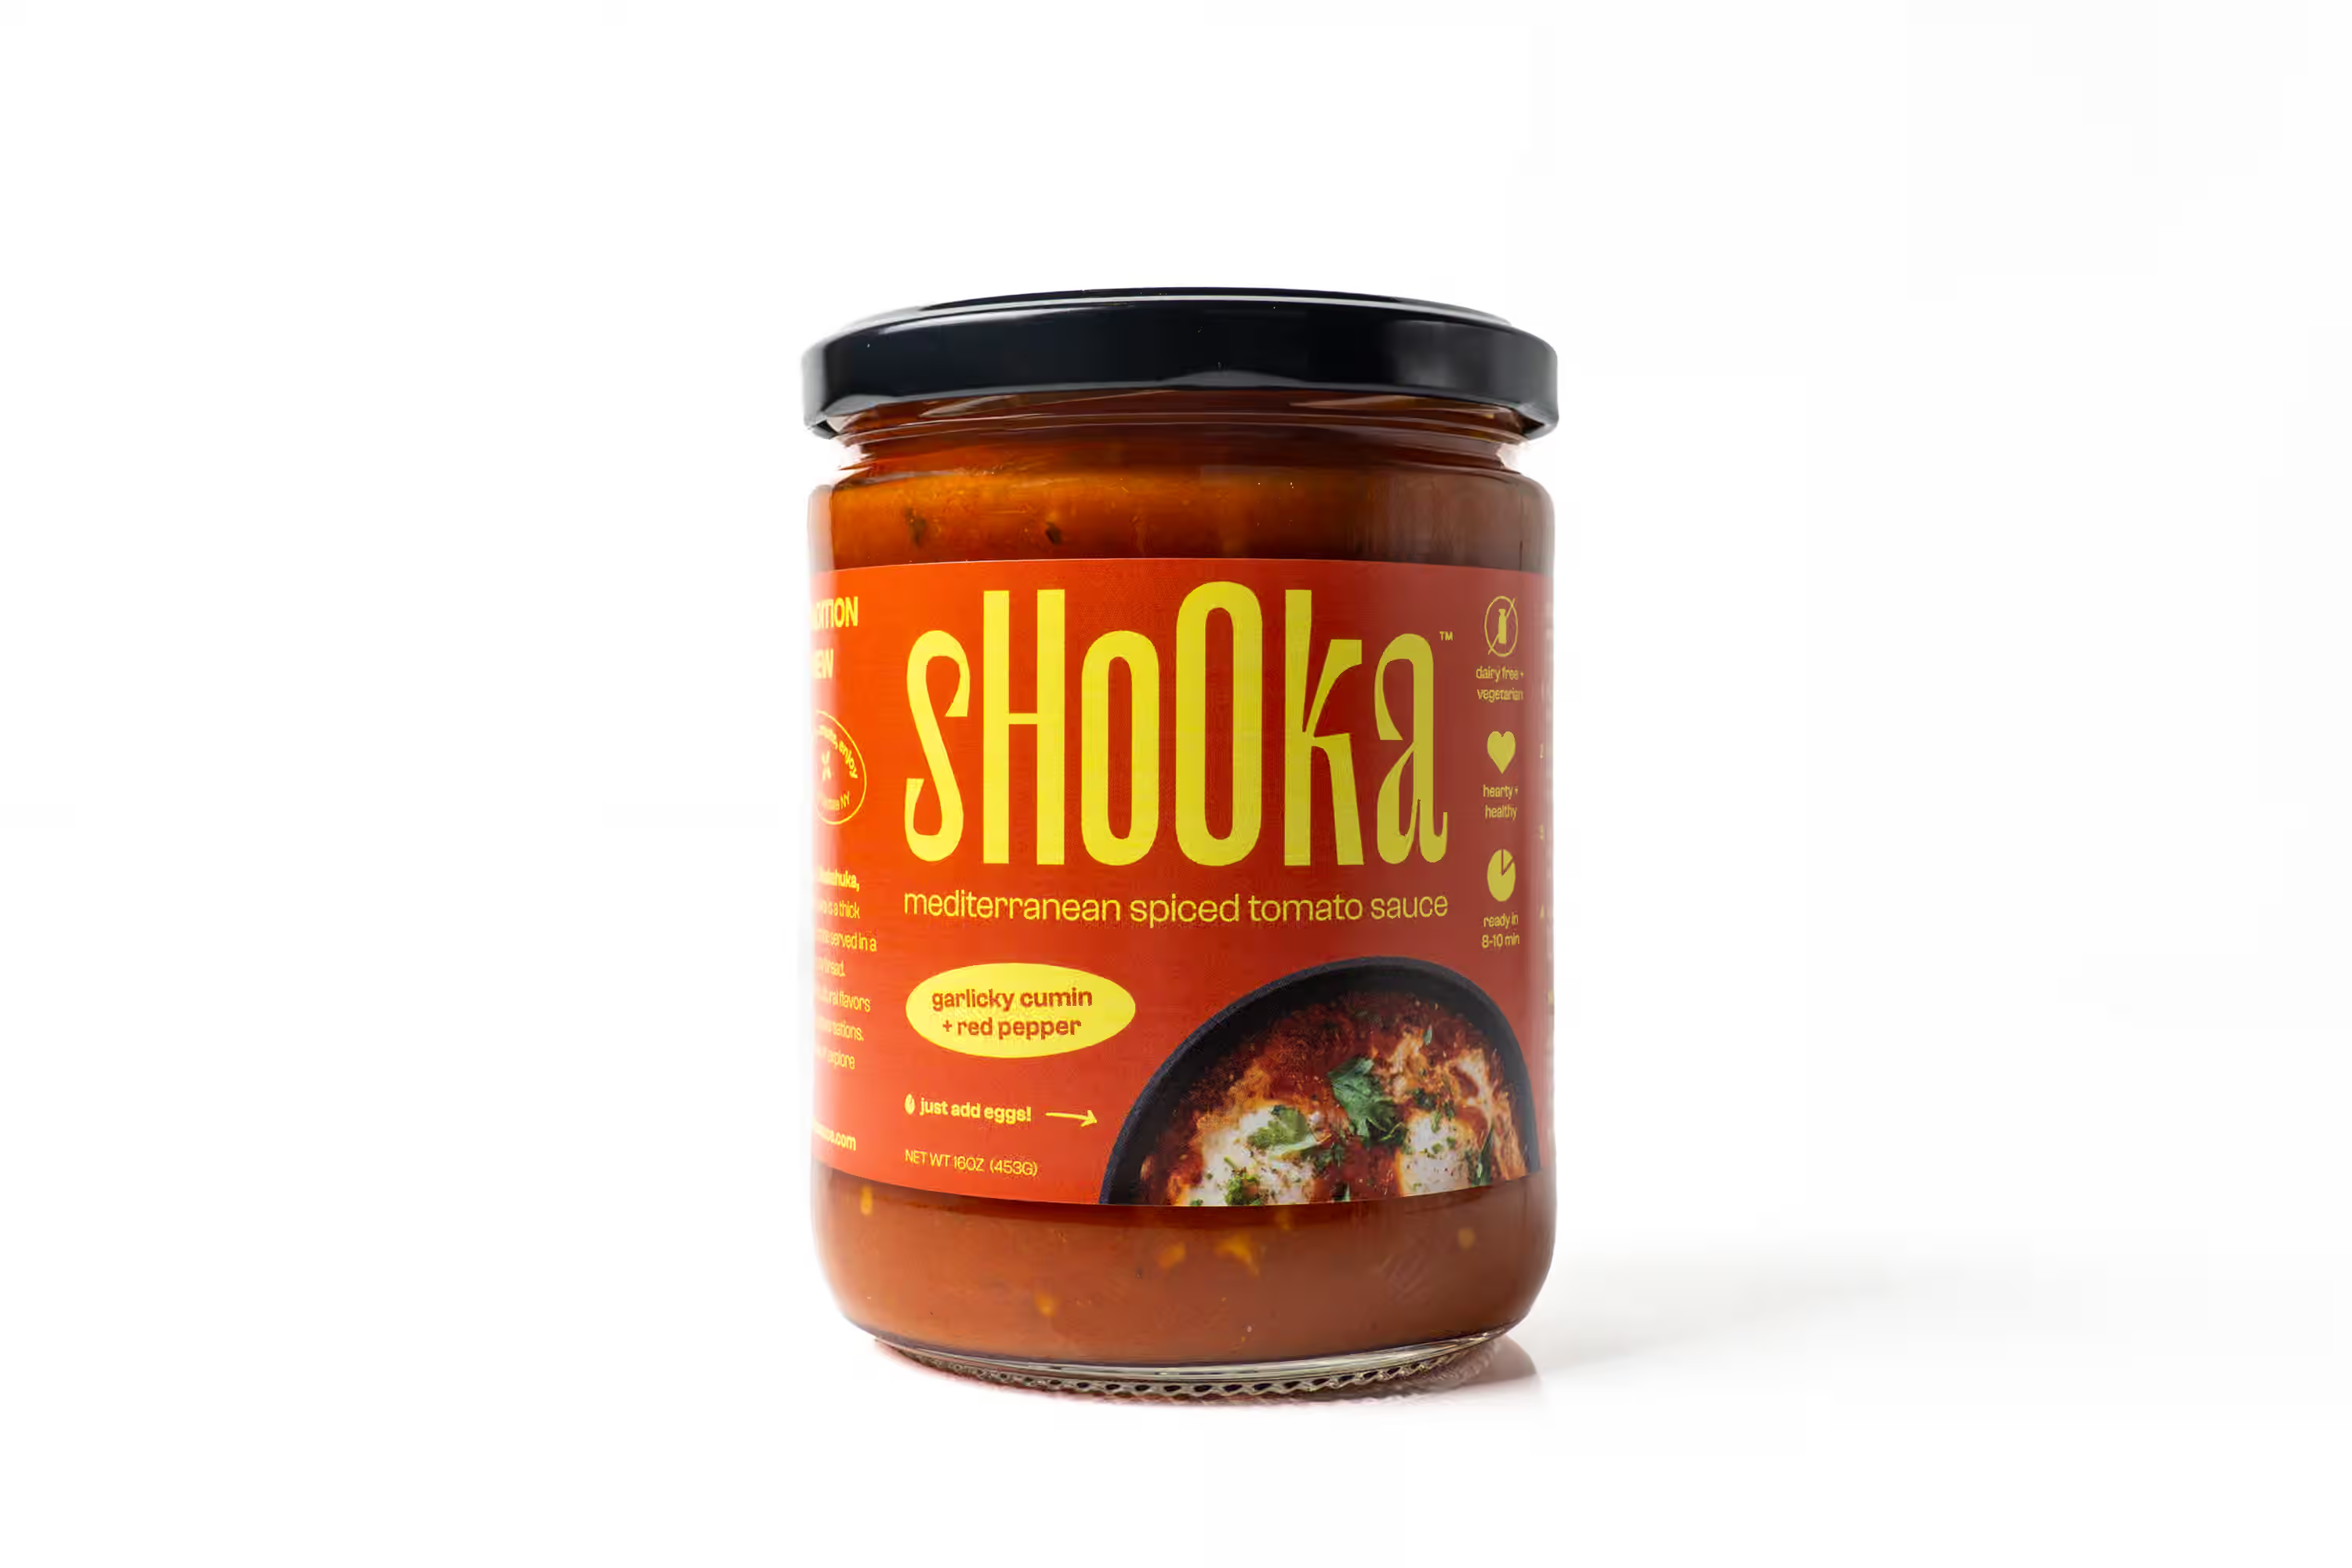
- Main hero image (clean, clear, centered)
- Front view
- 45-degree angle view
- Back view (or side, if back is not important)
- Close-up of the key claim area (benefits, flavor, active ingredients)
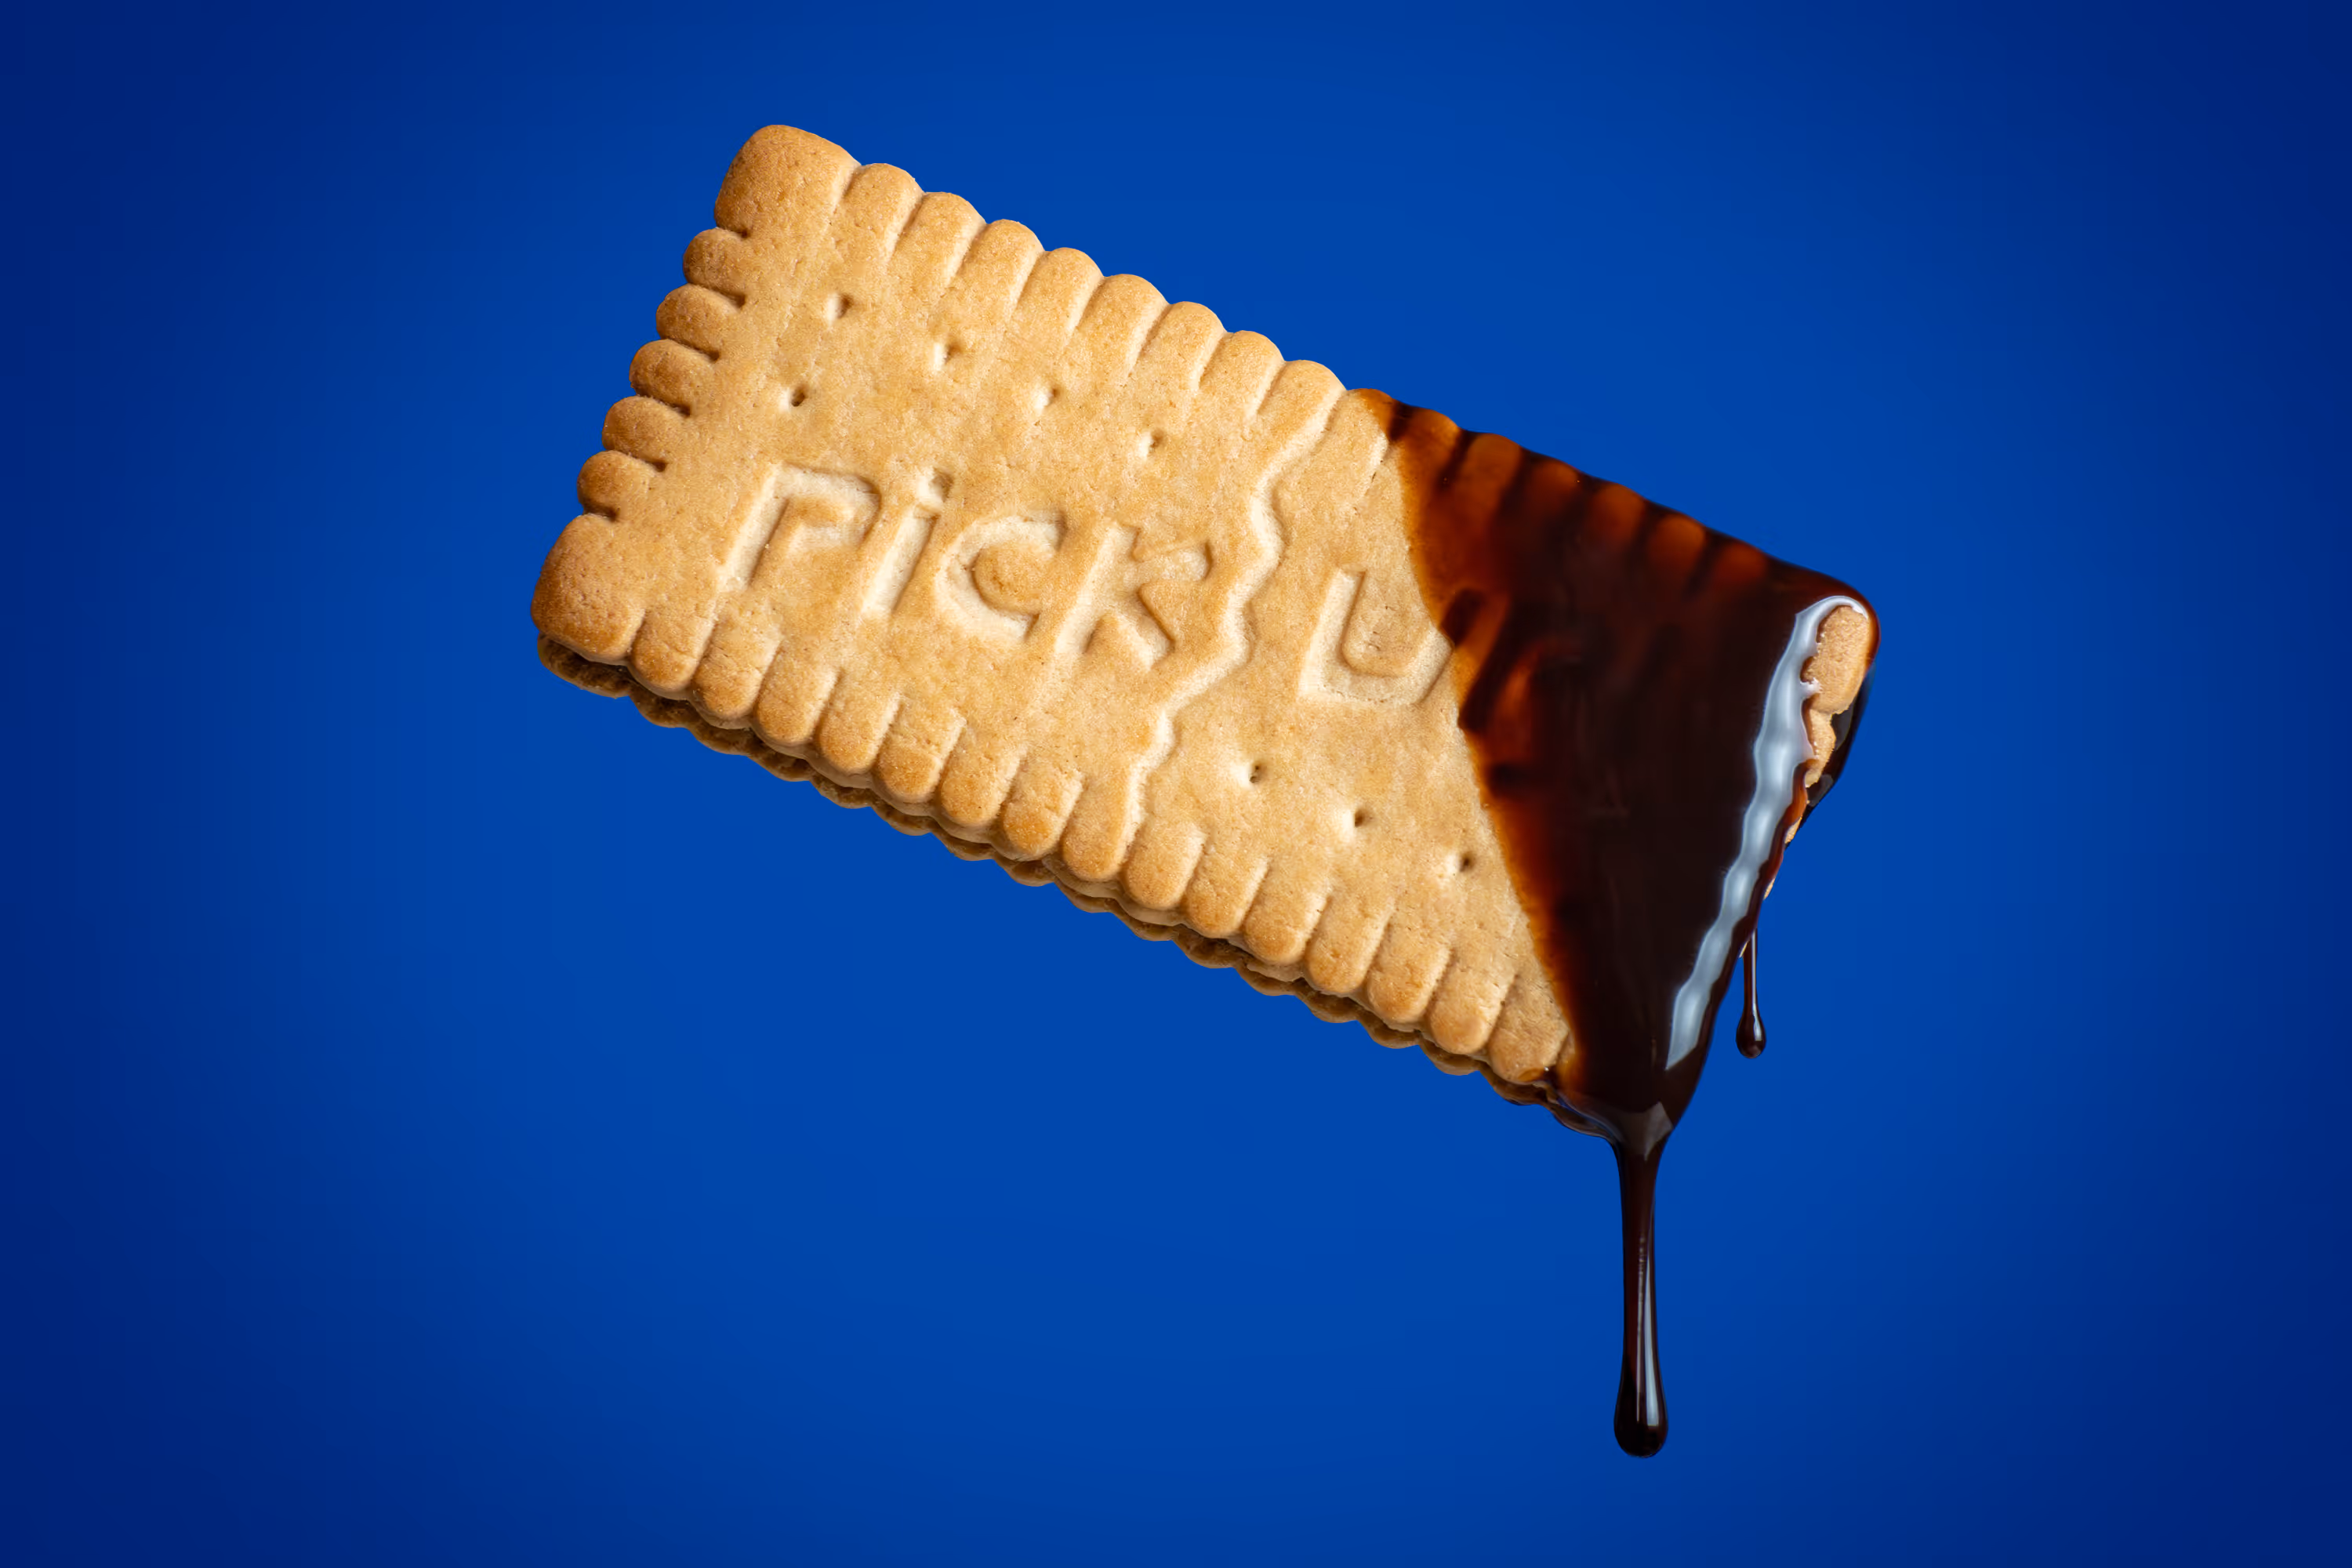
- Close-up of texture or material (powder, liquid, chips, tablets)
- In-scale photo (in hand, on counter, next to something common)
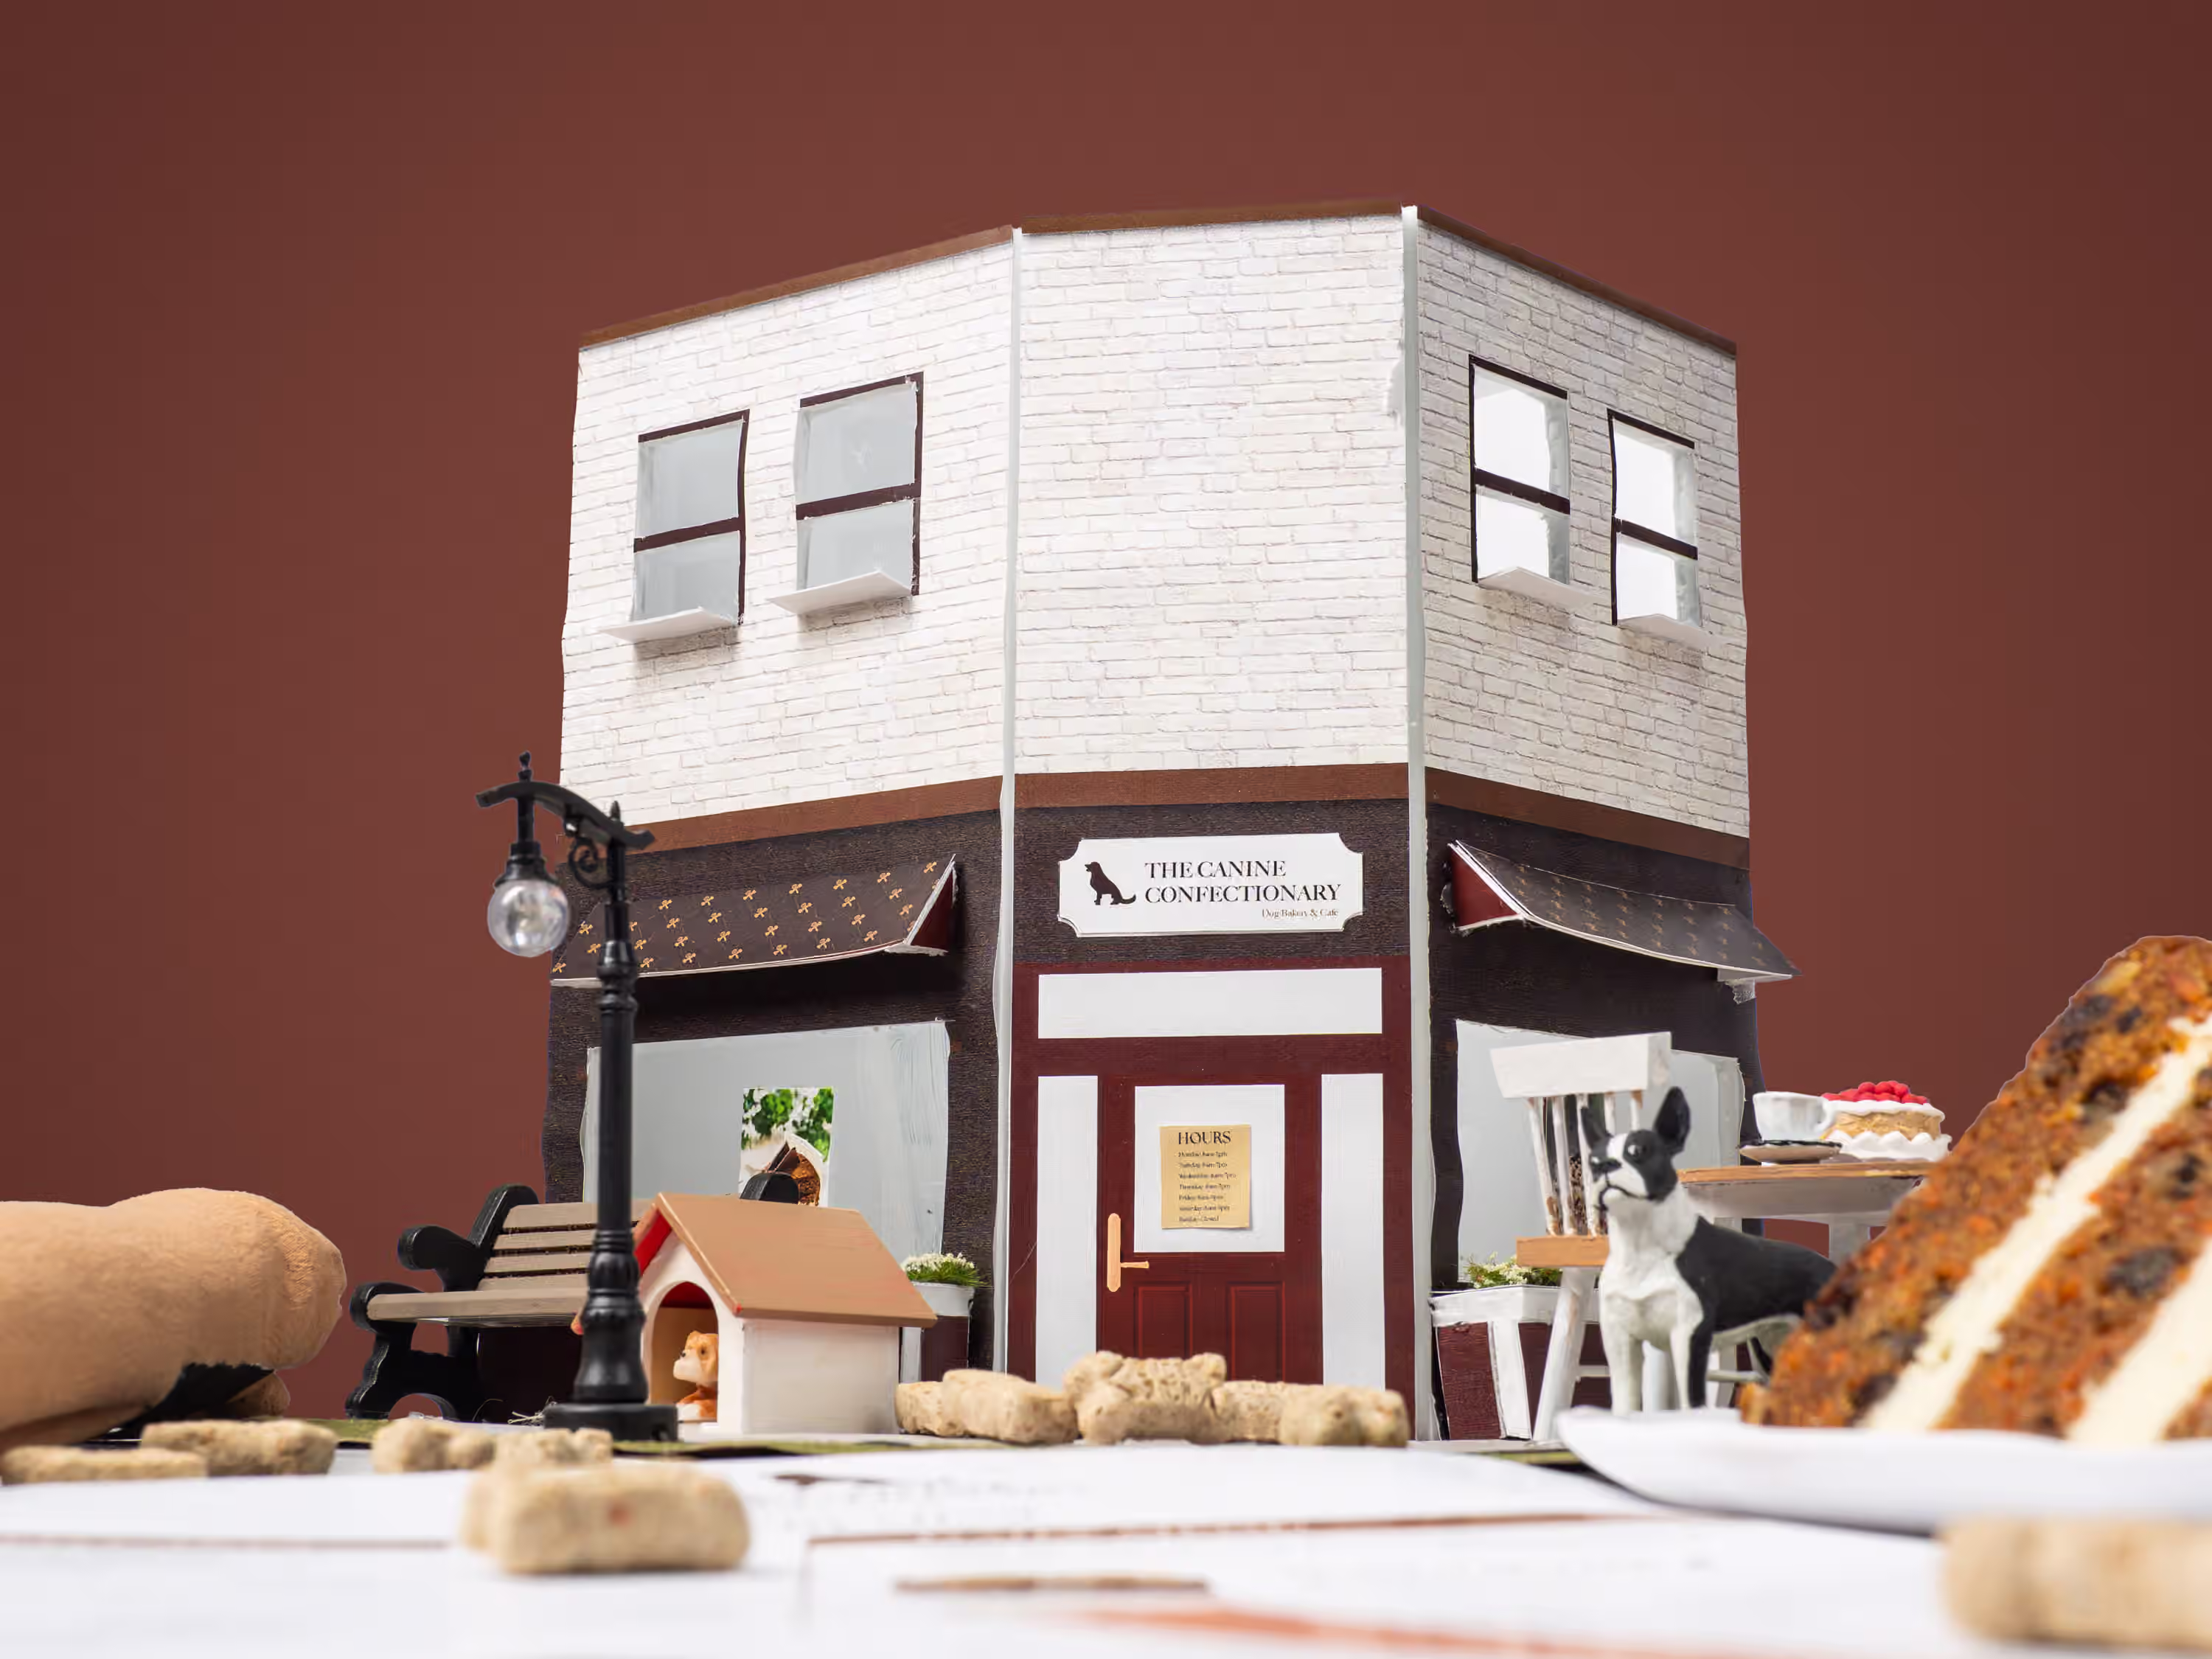
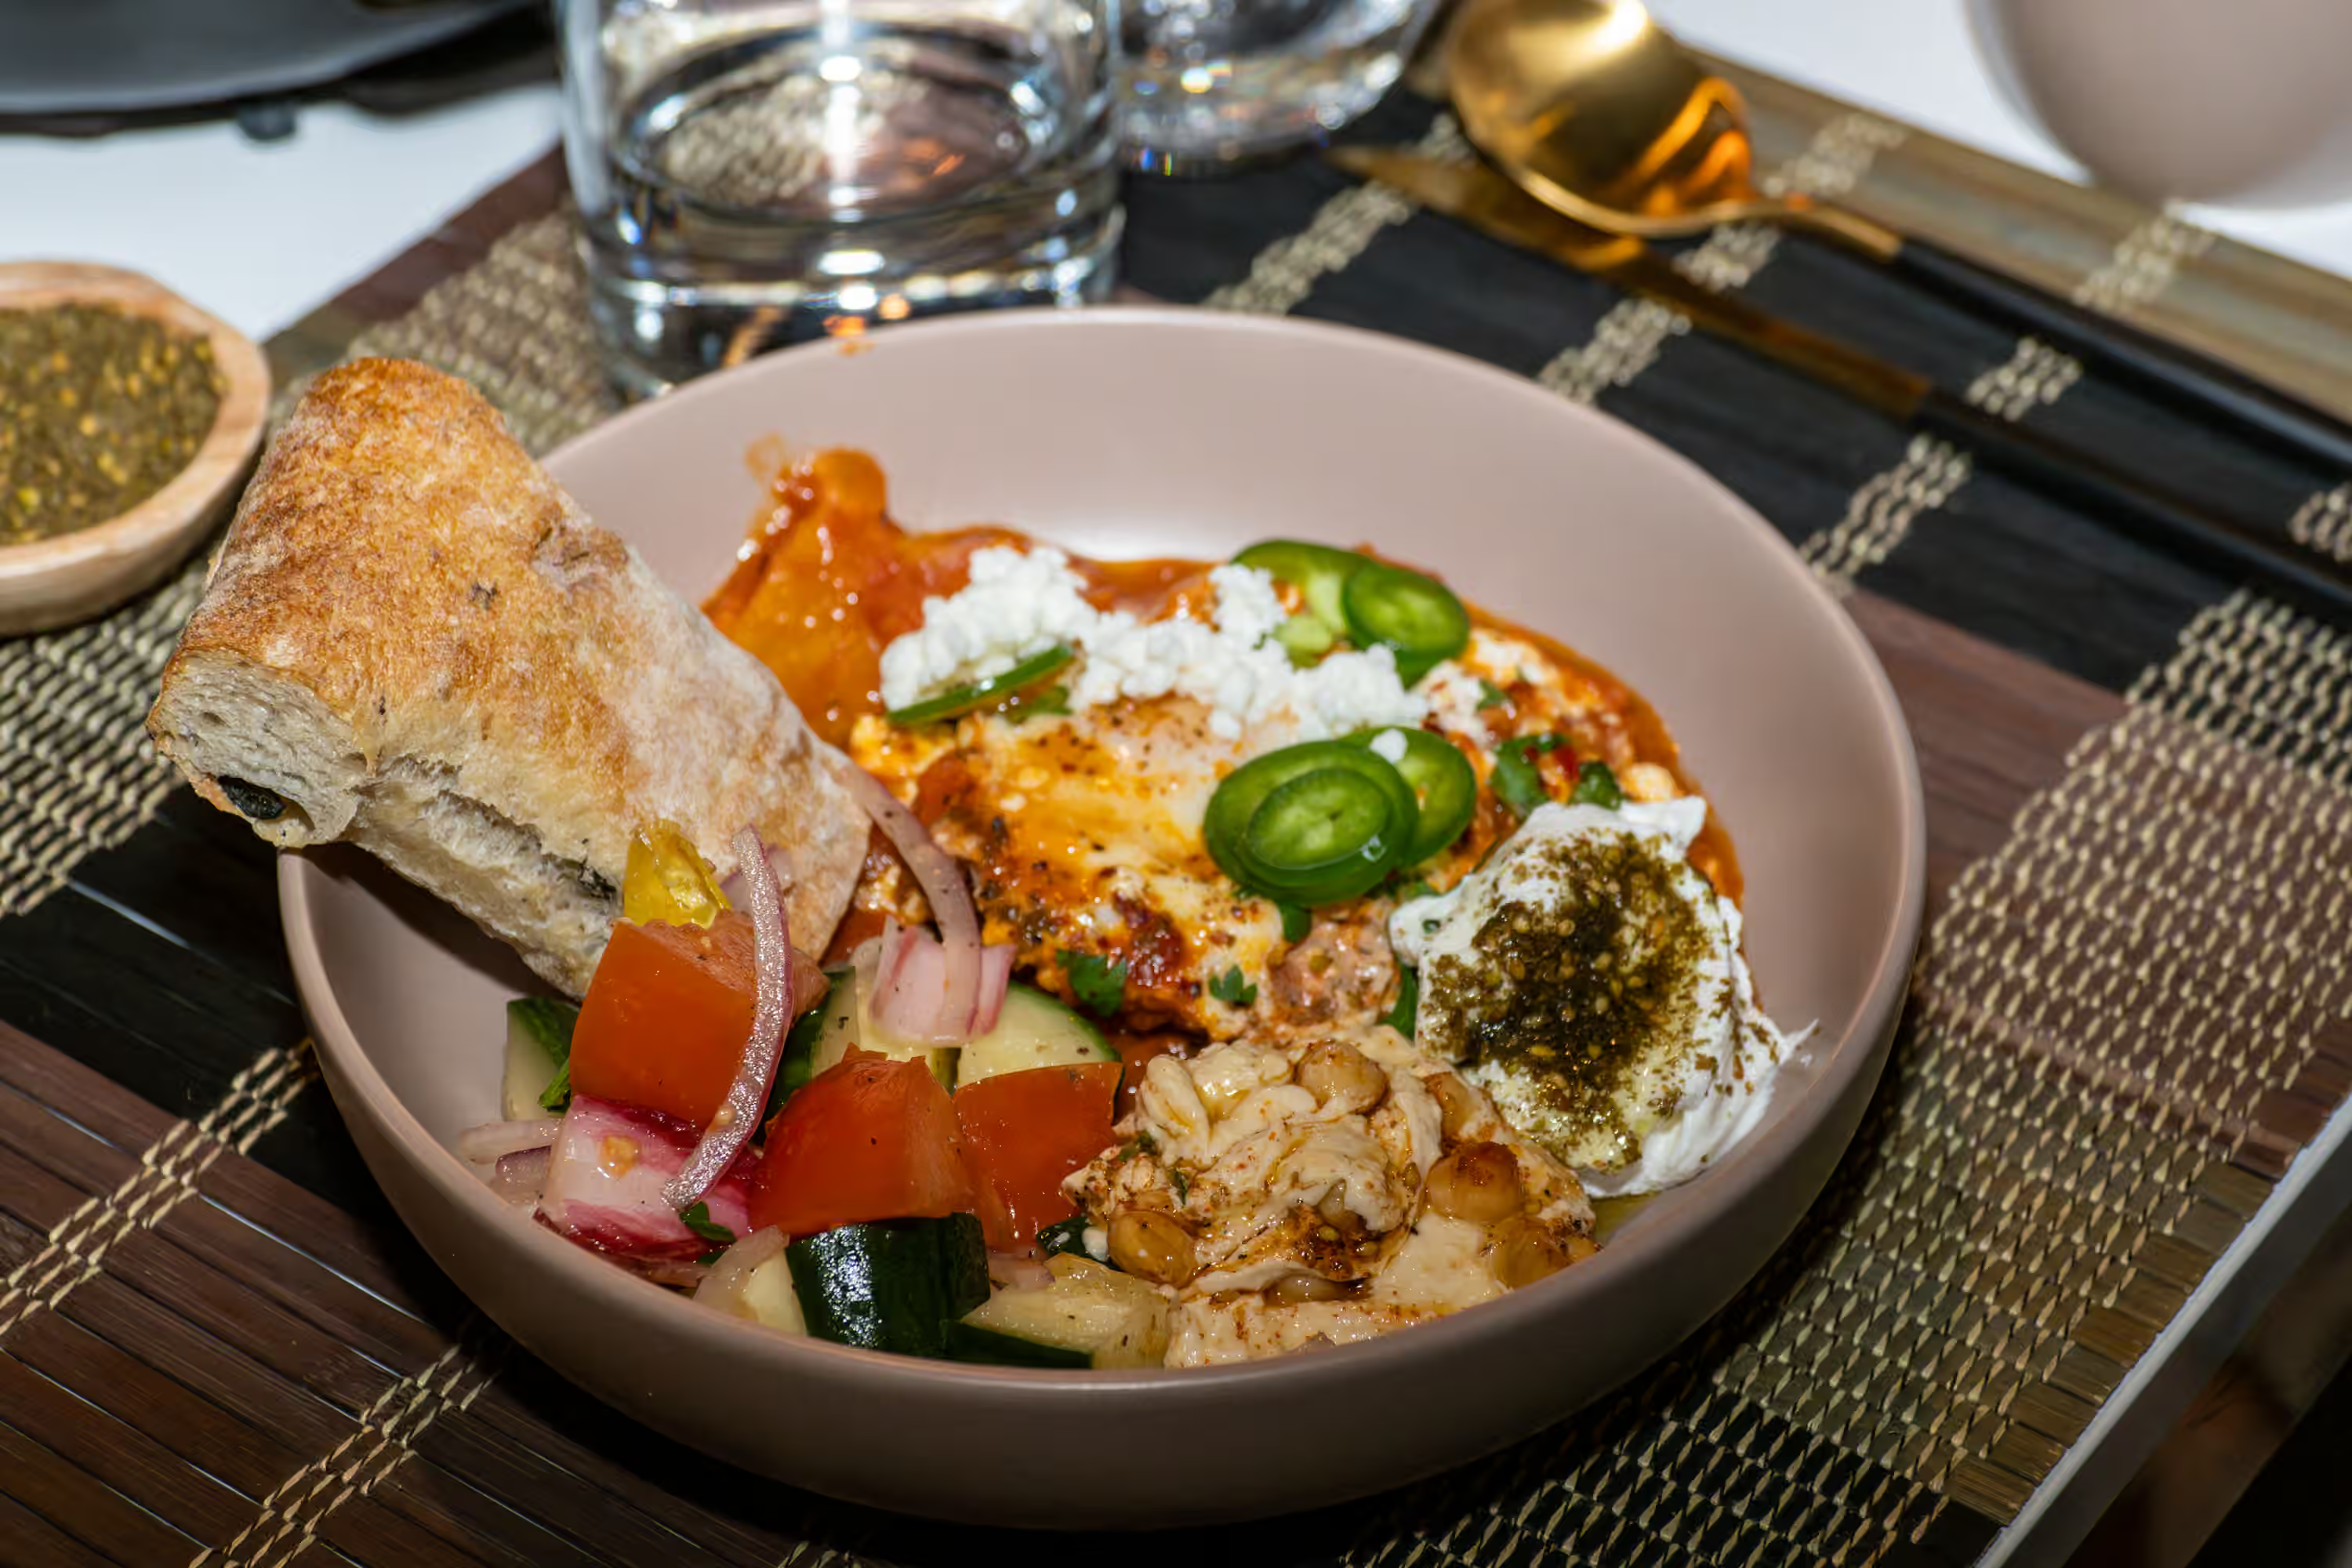
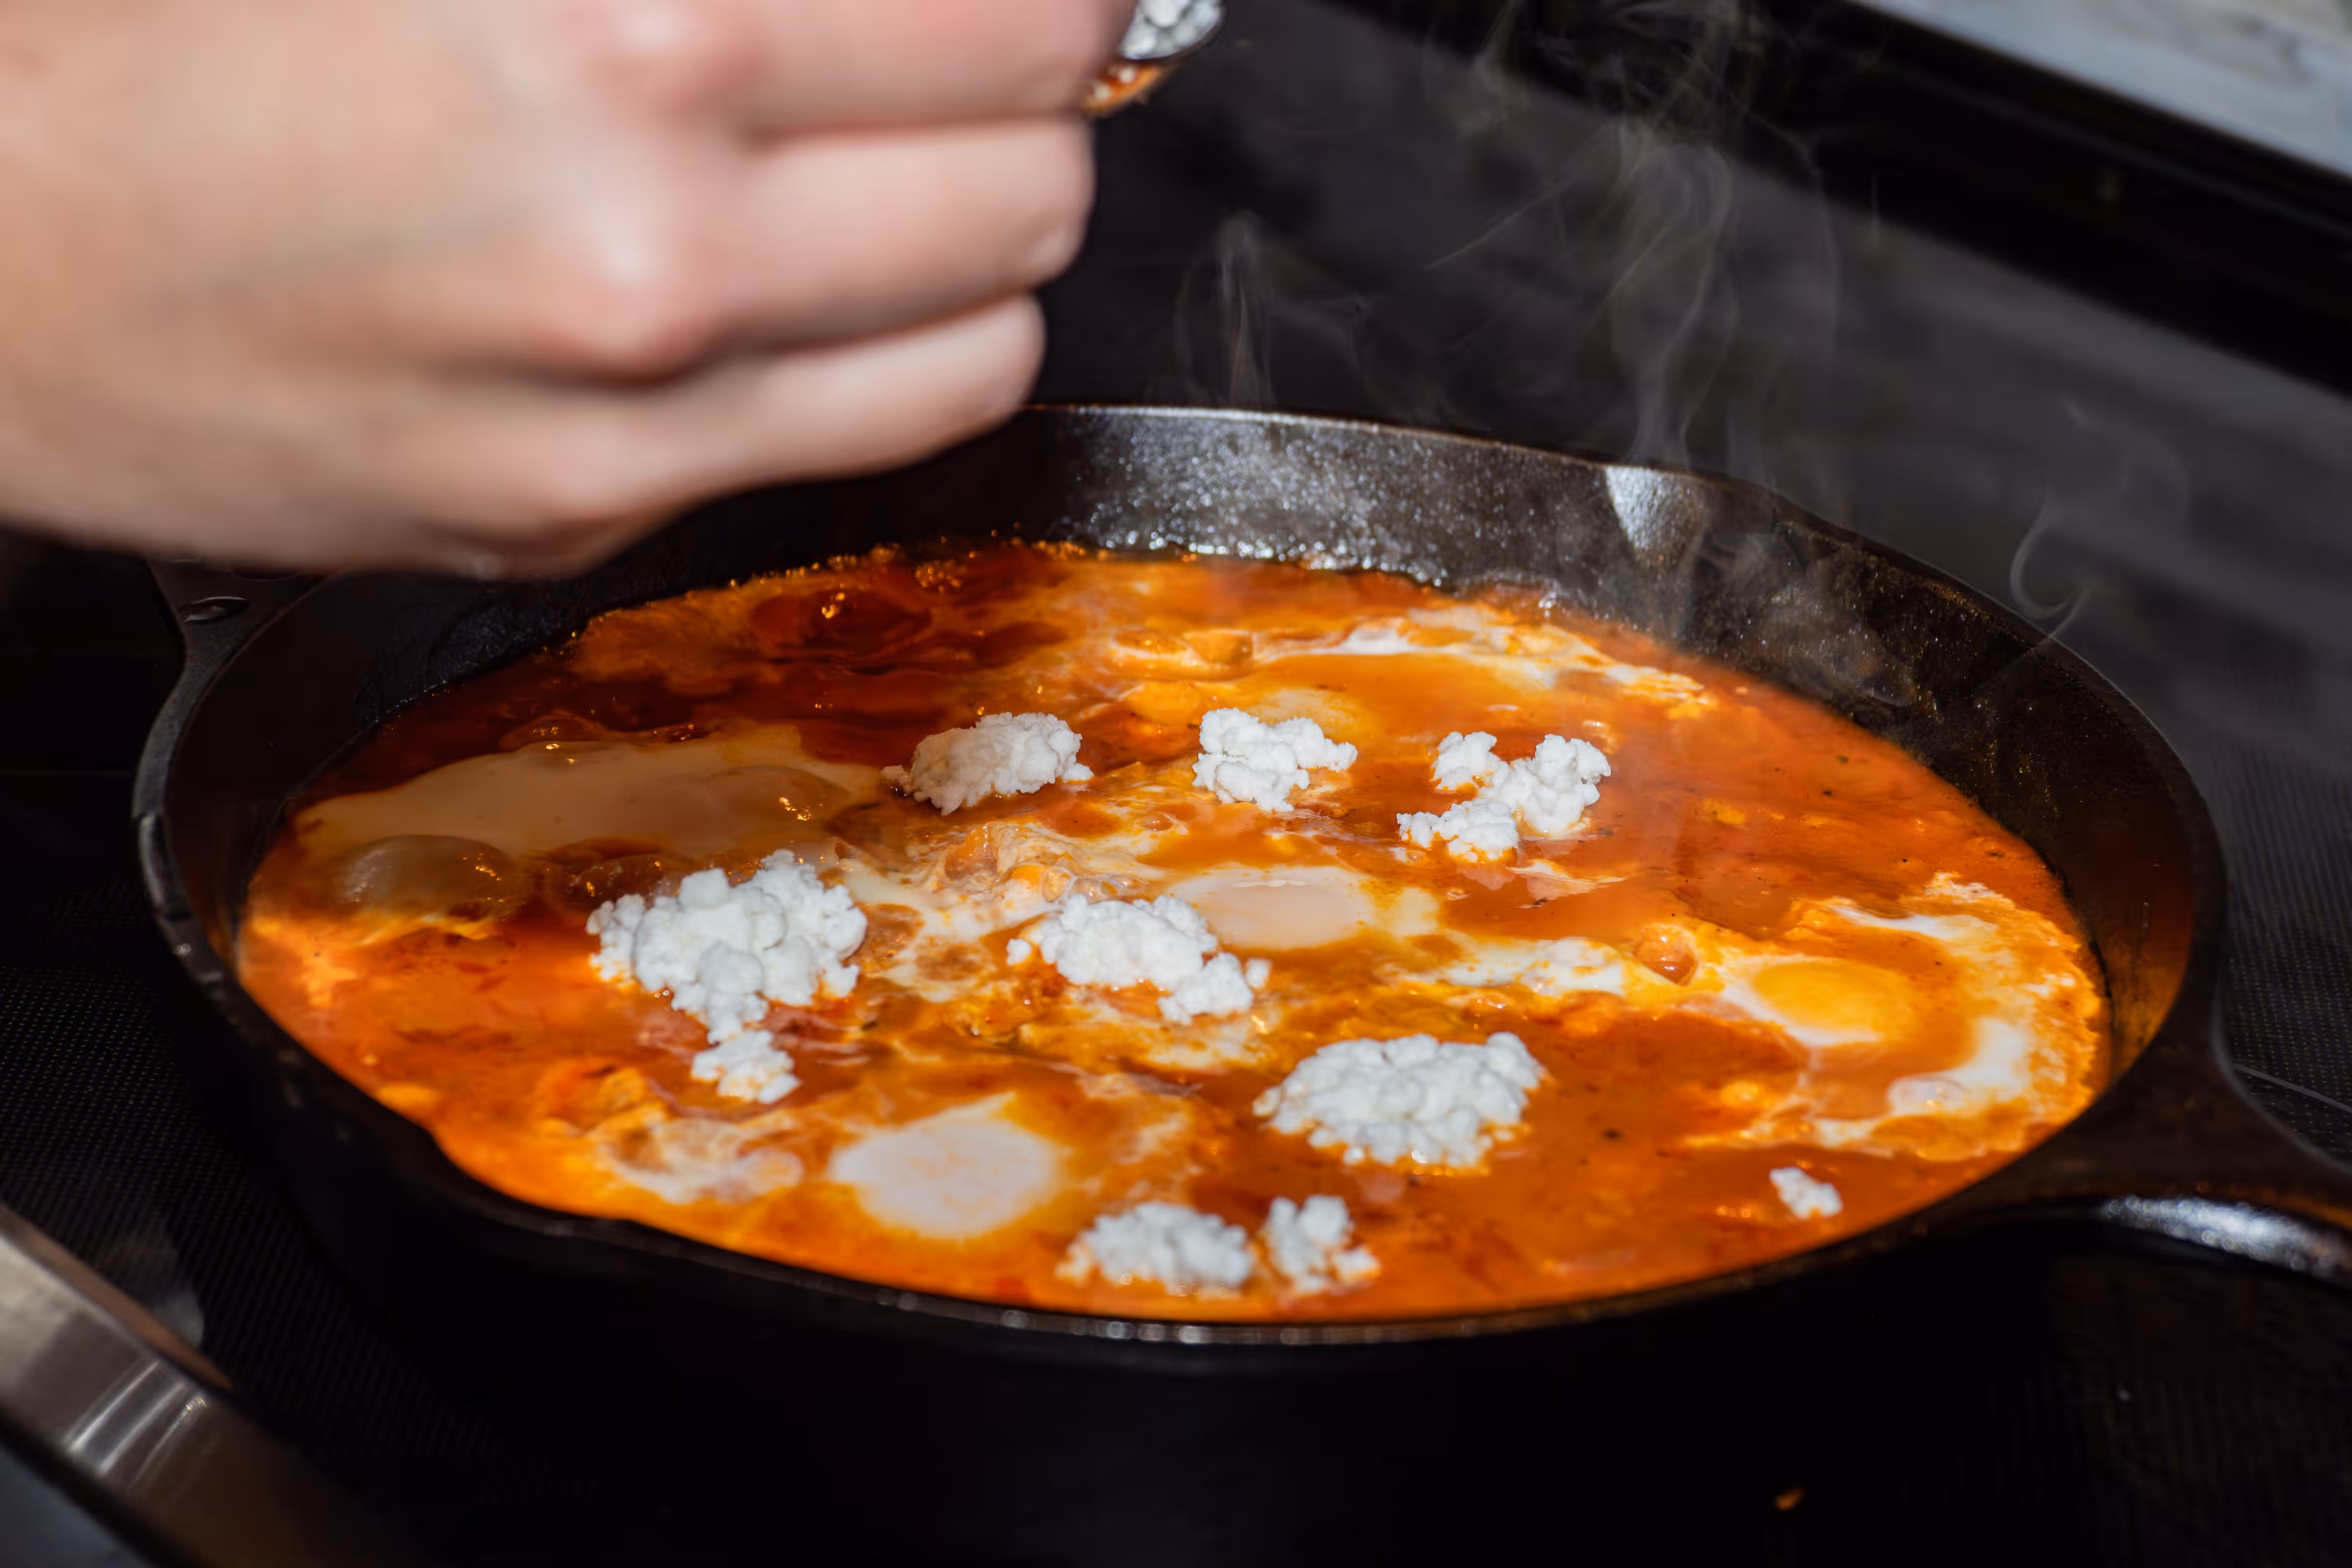
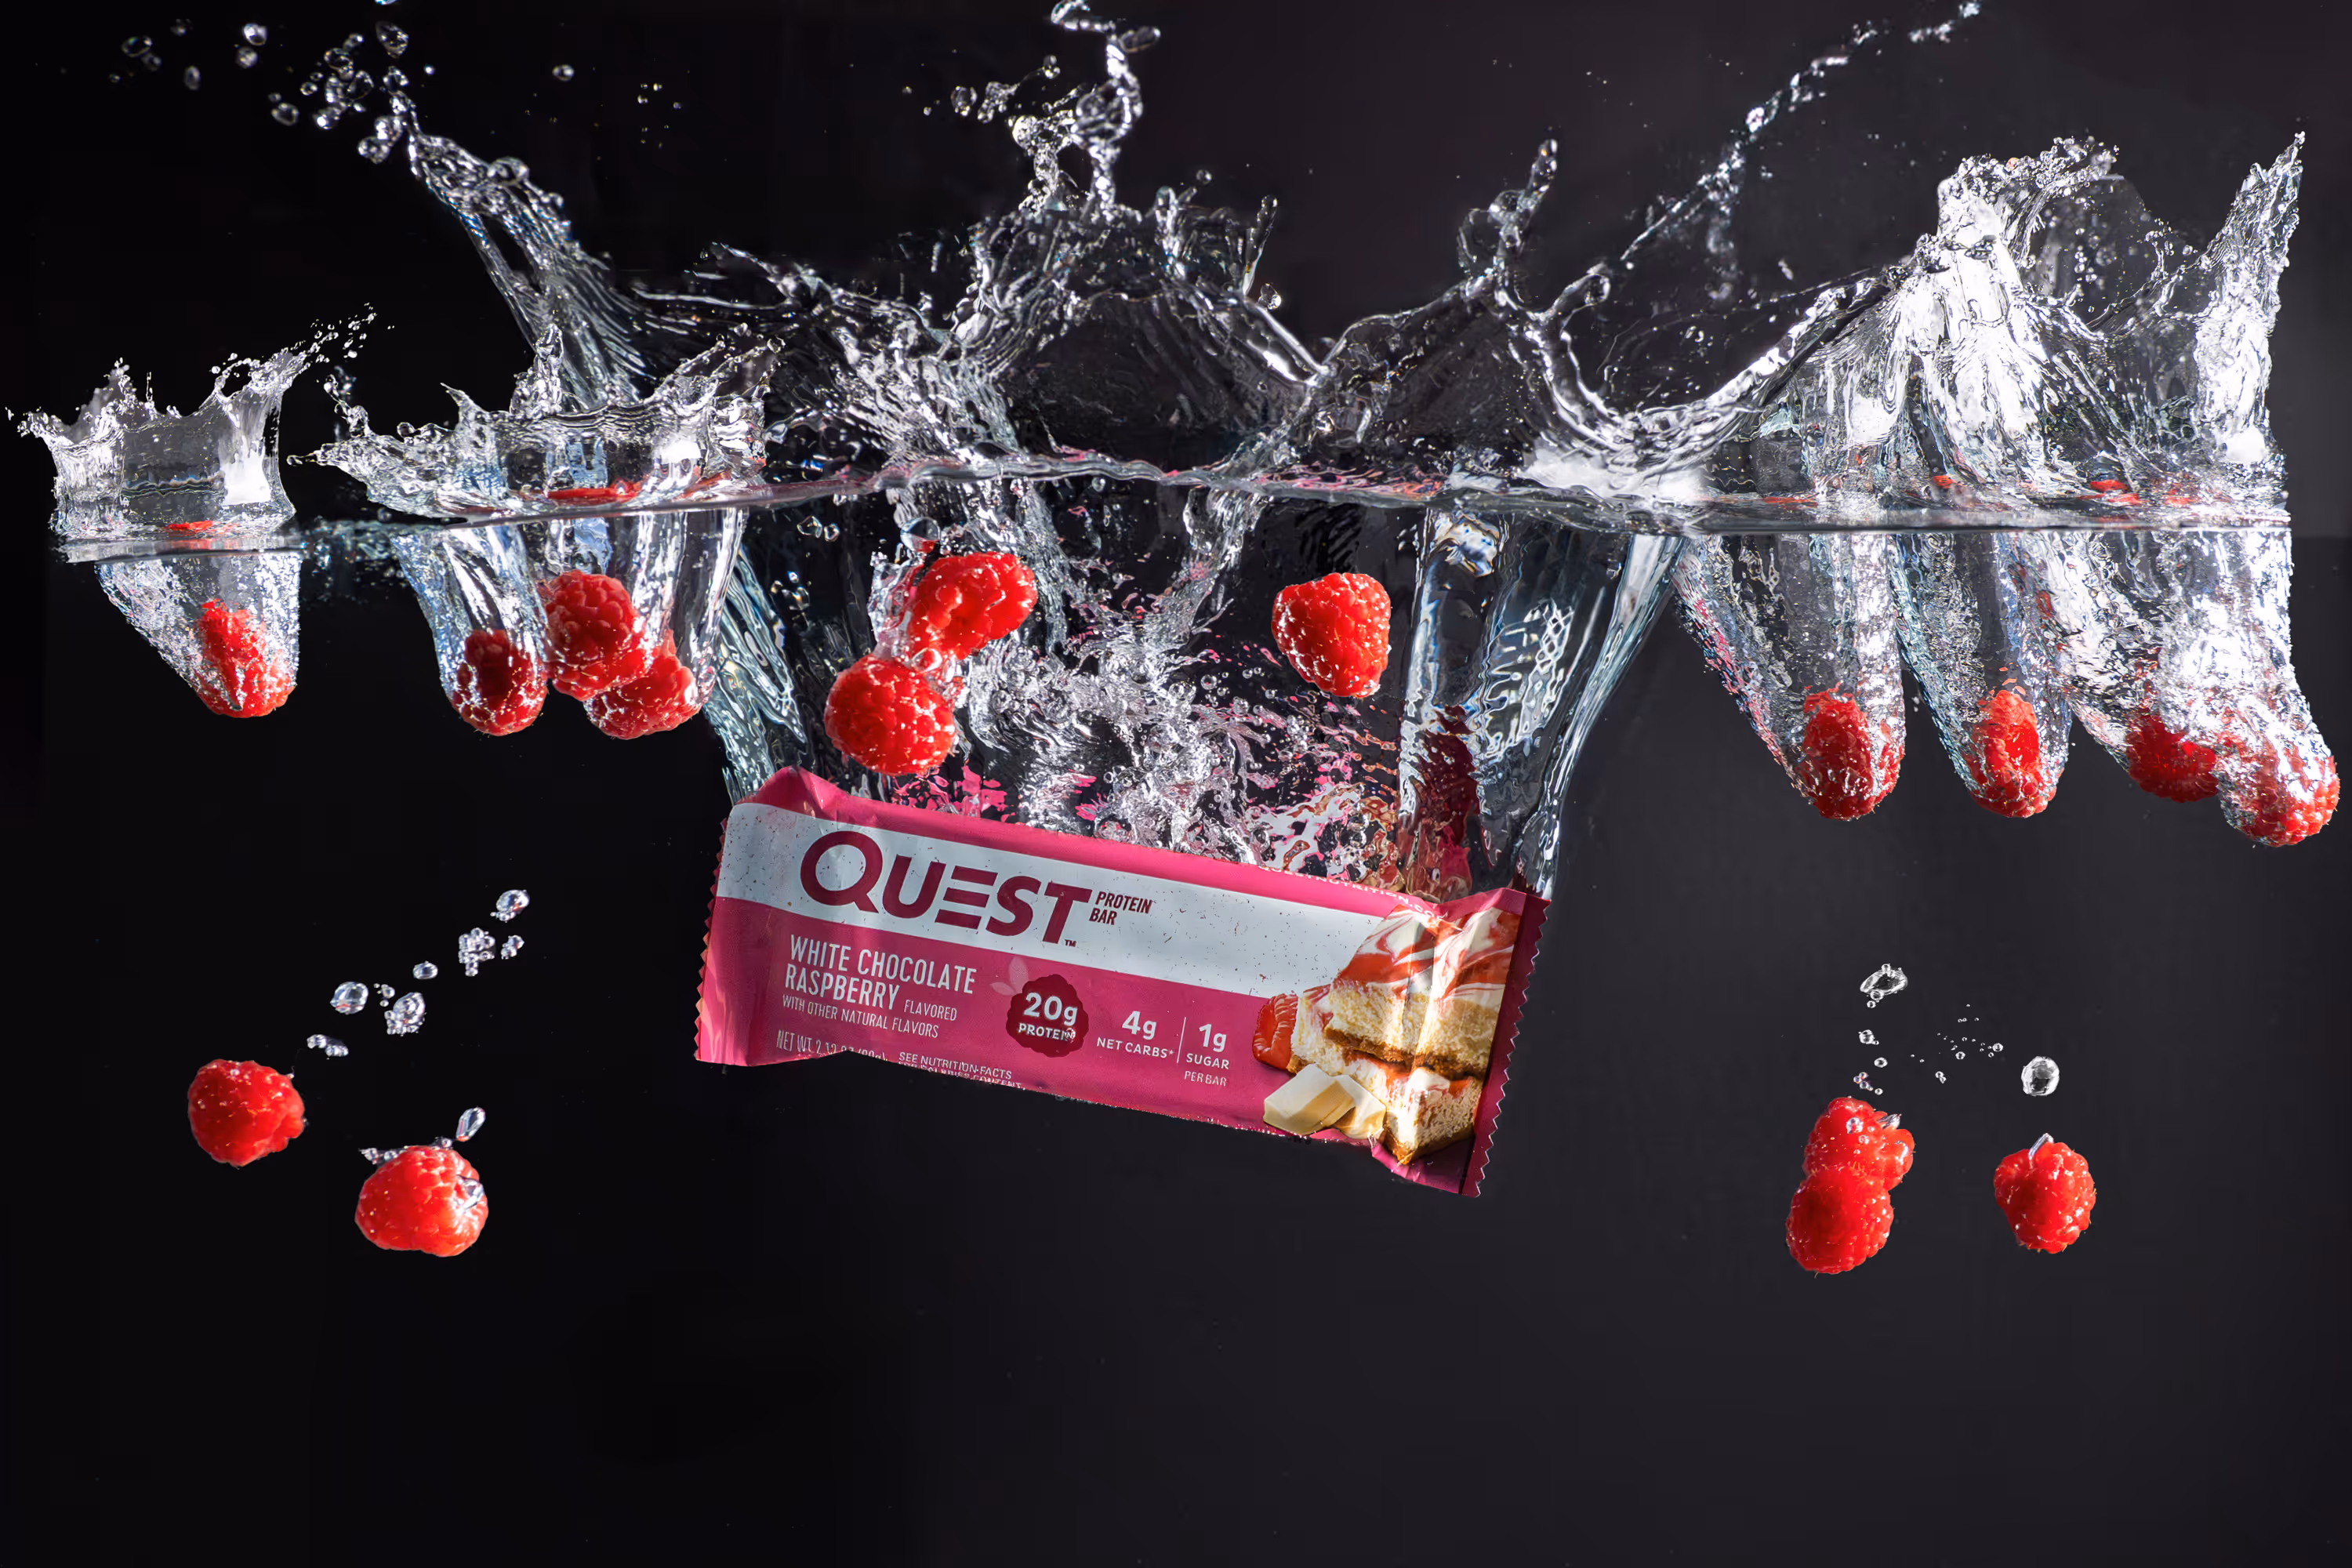
- Lifestyle Photo (to show the product in-use)
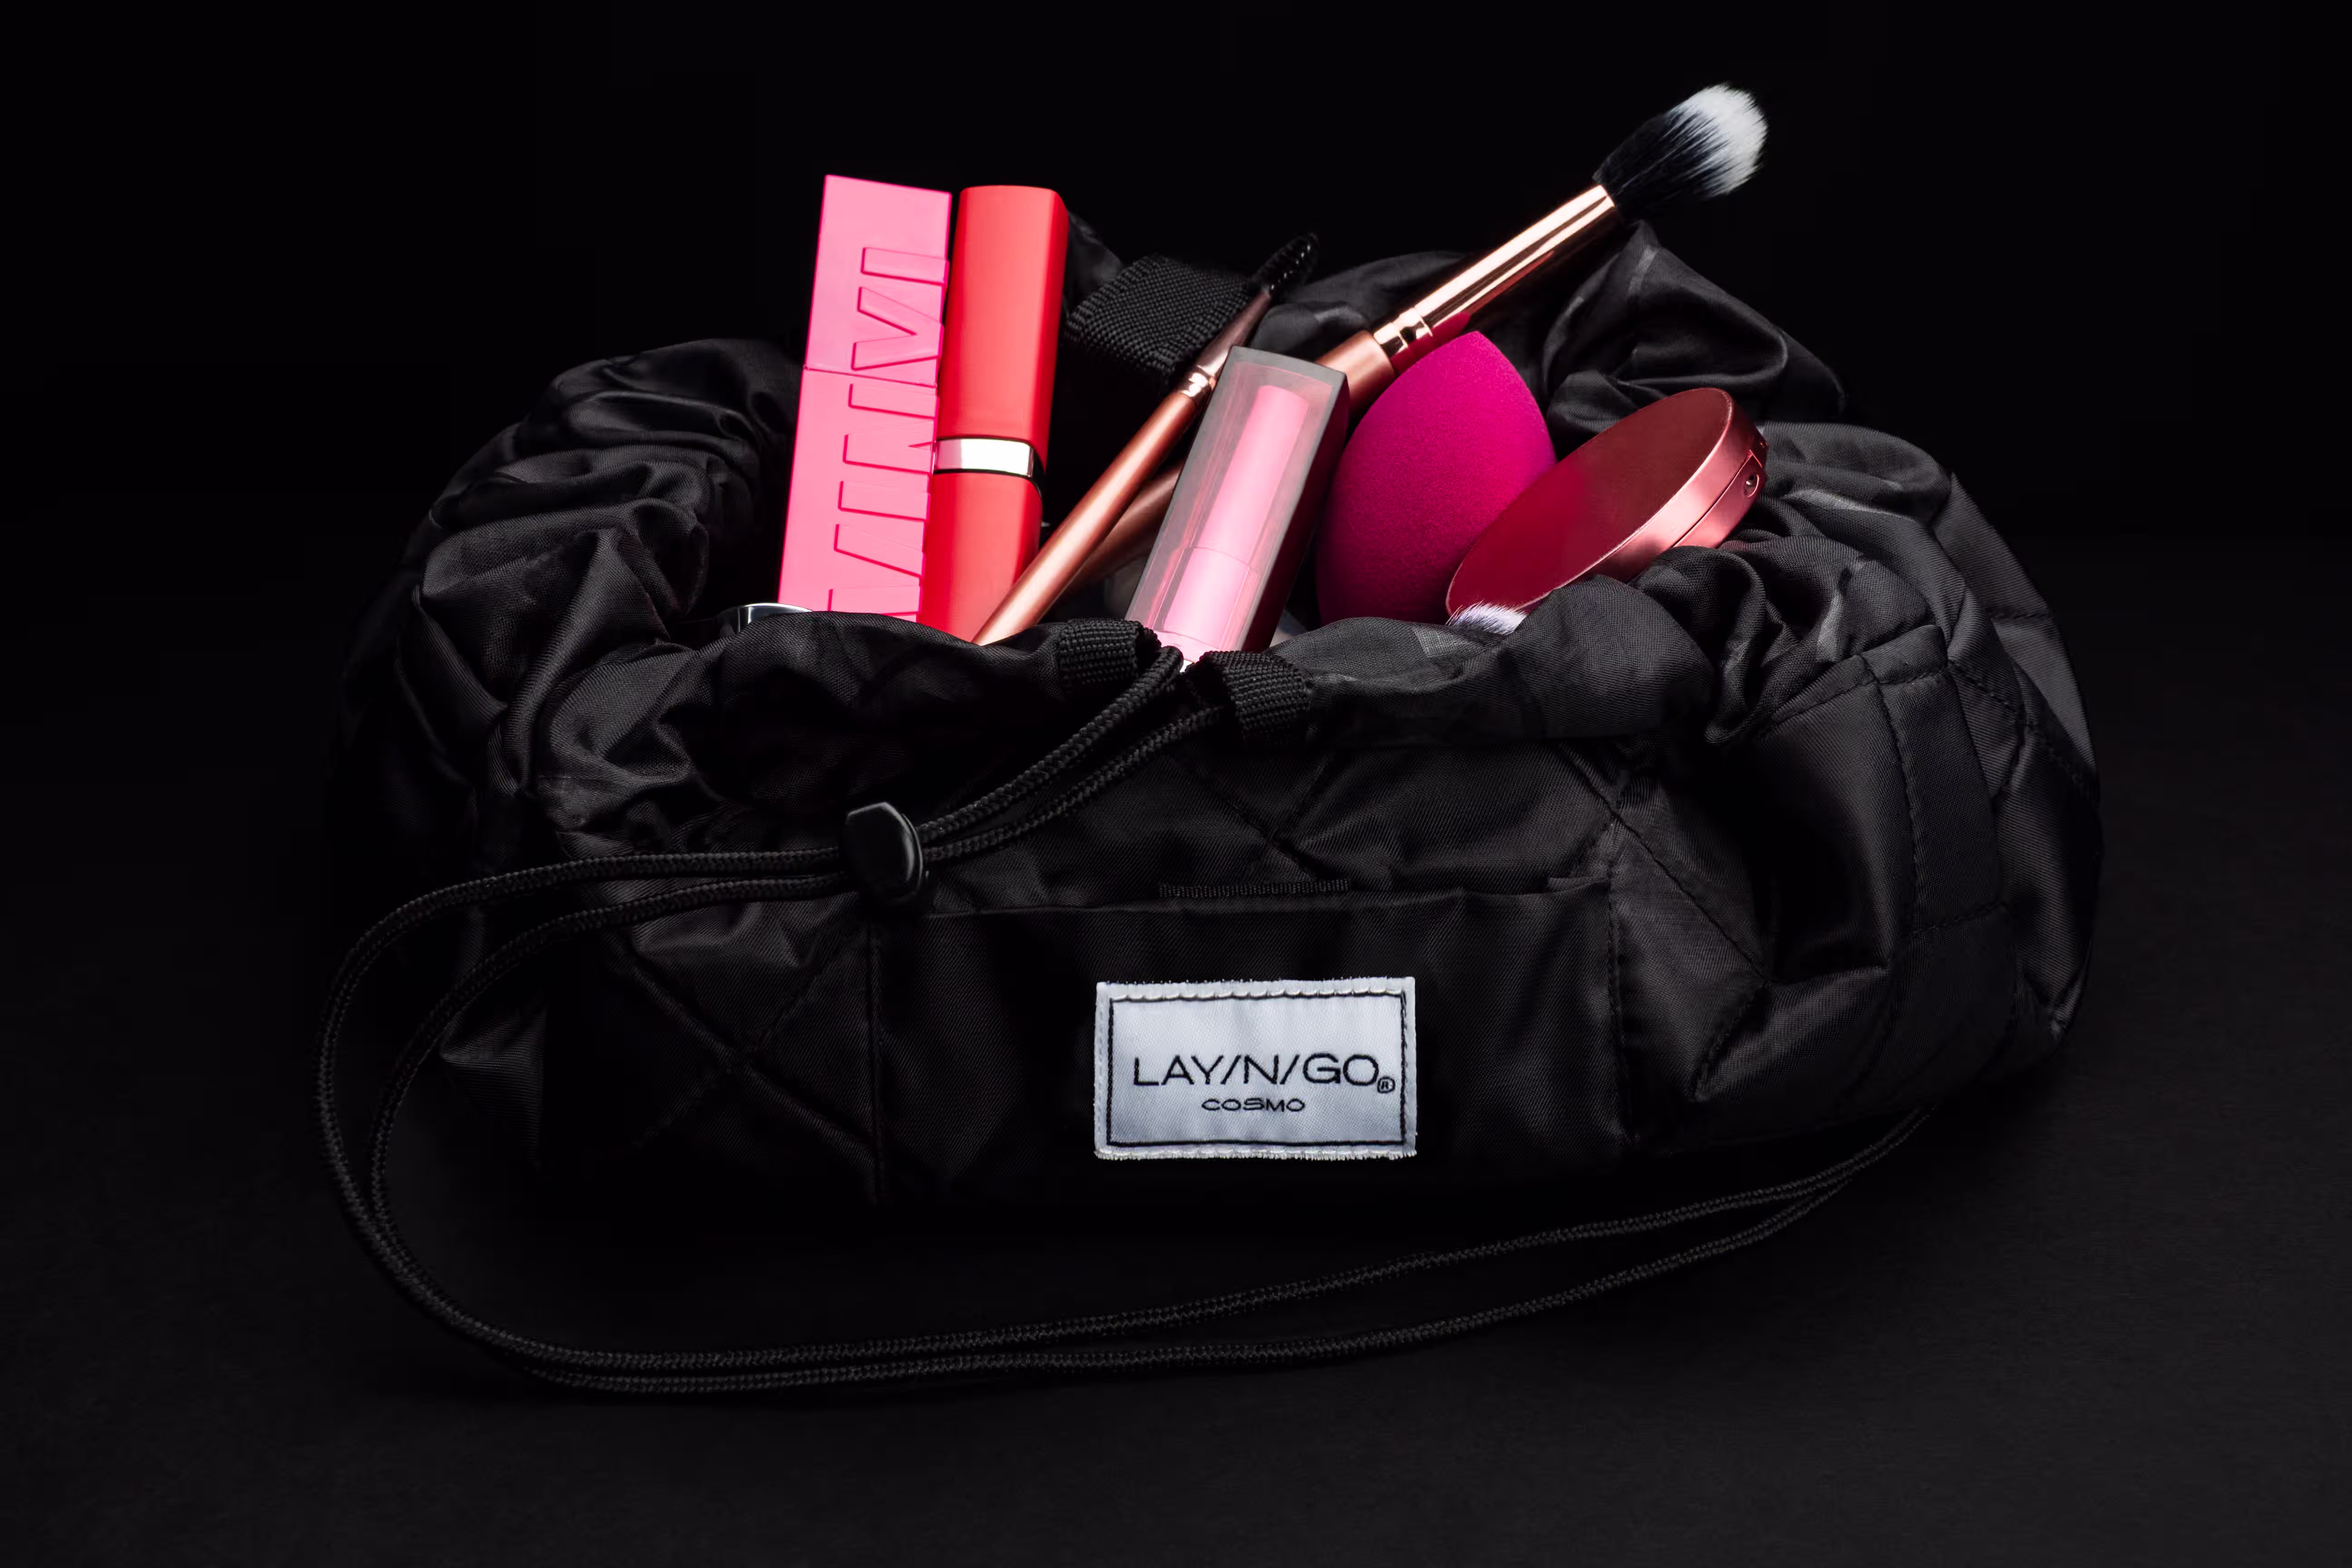
- Creative Product Photo (to make the product appear premium and differentiates your product)
4) Plan the look and feel before the shoot day
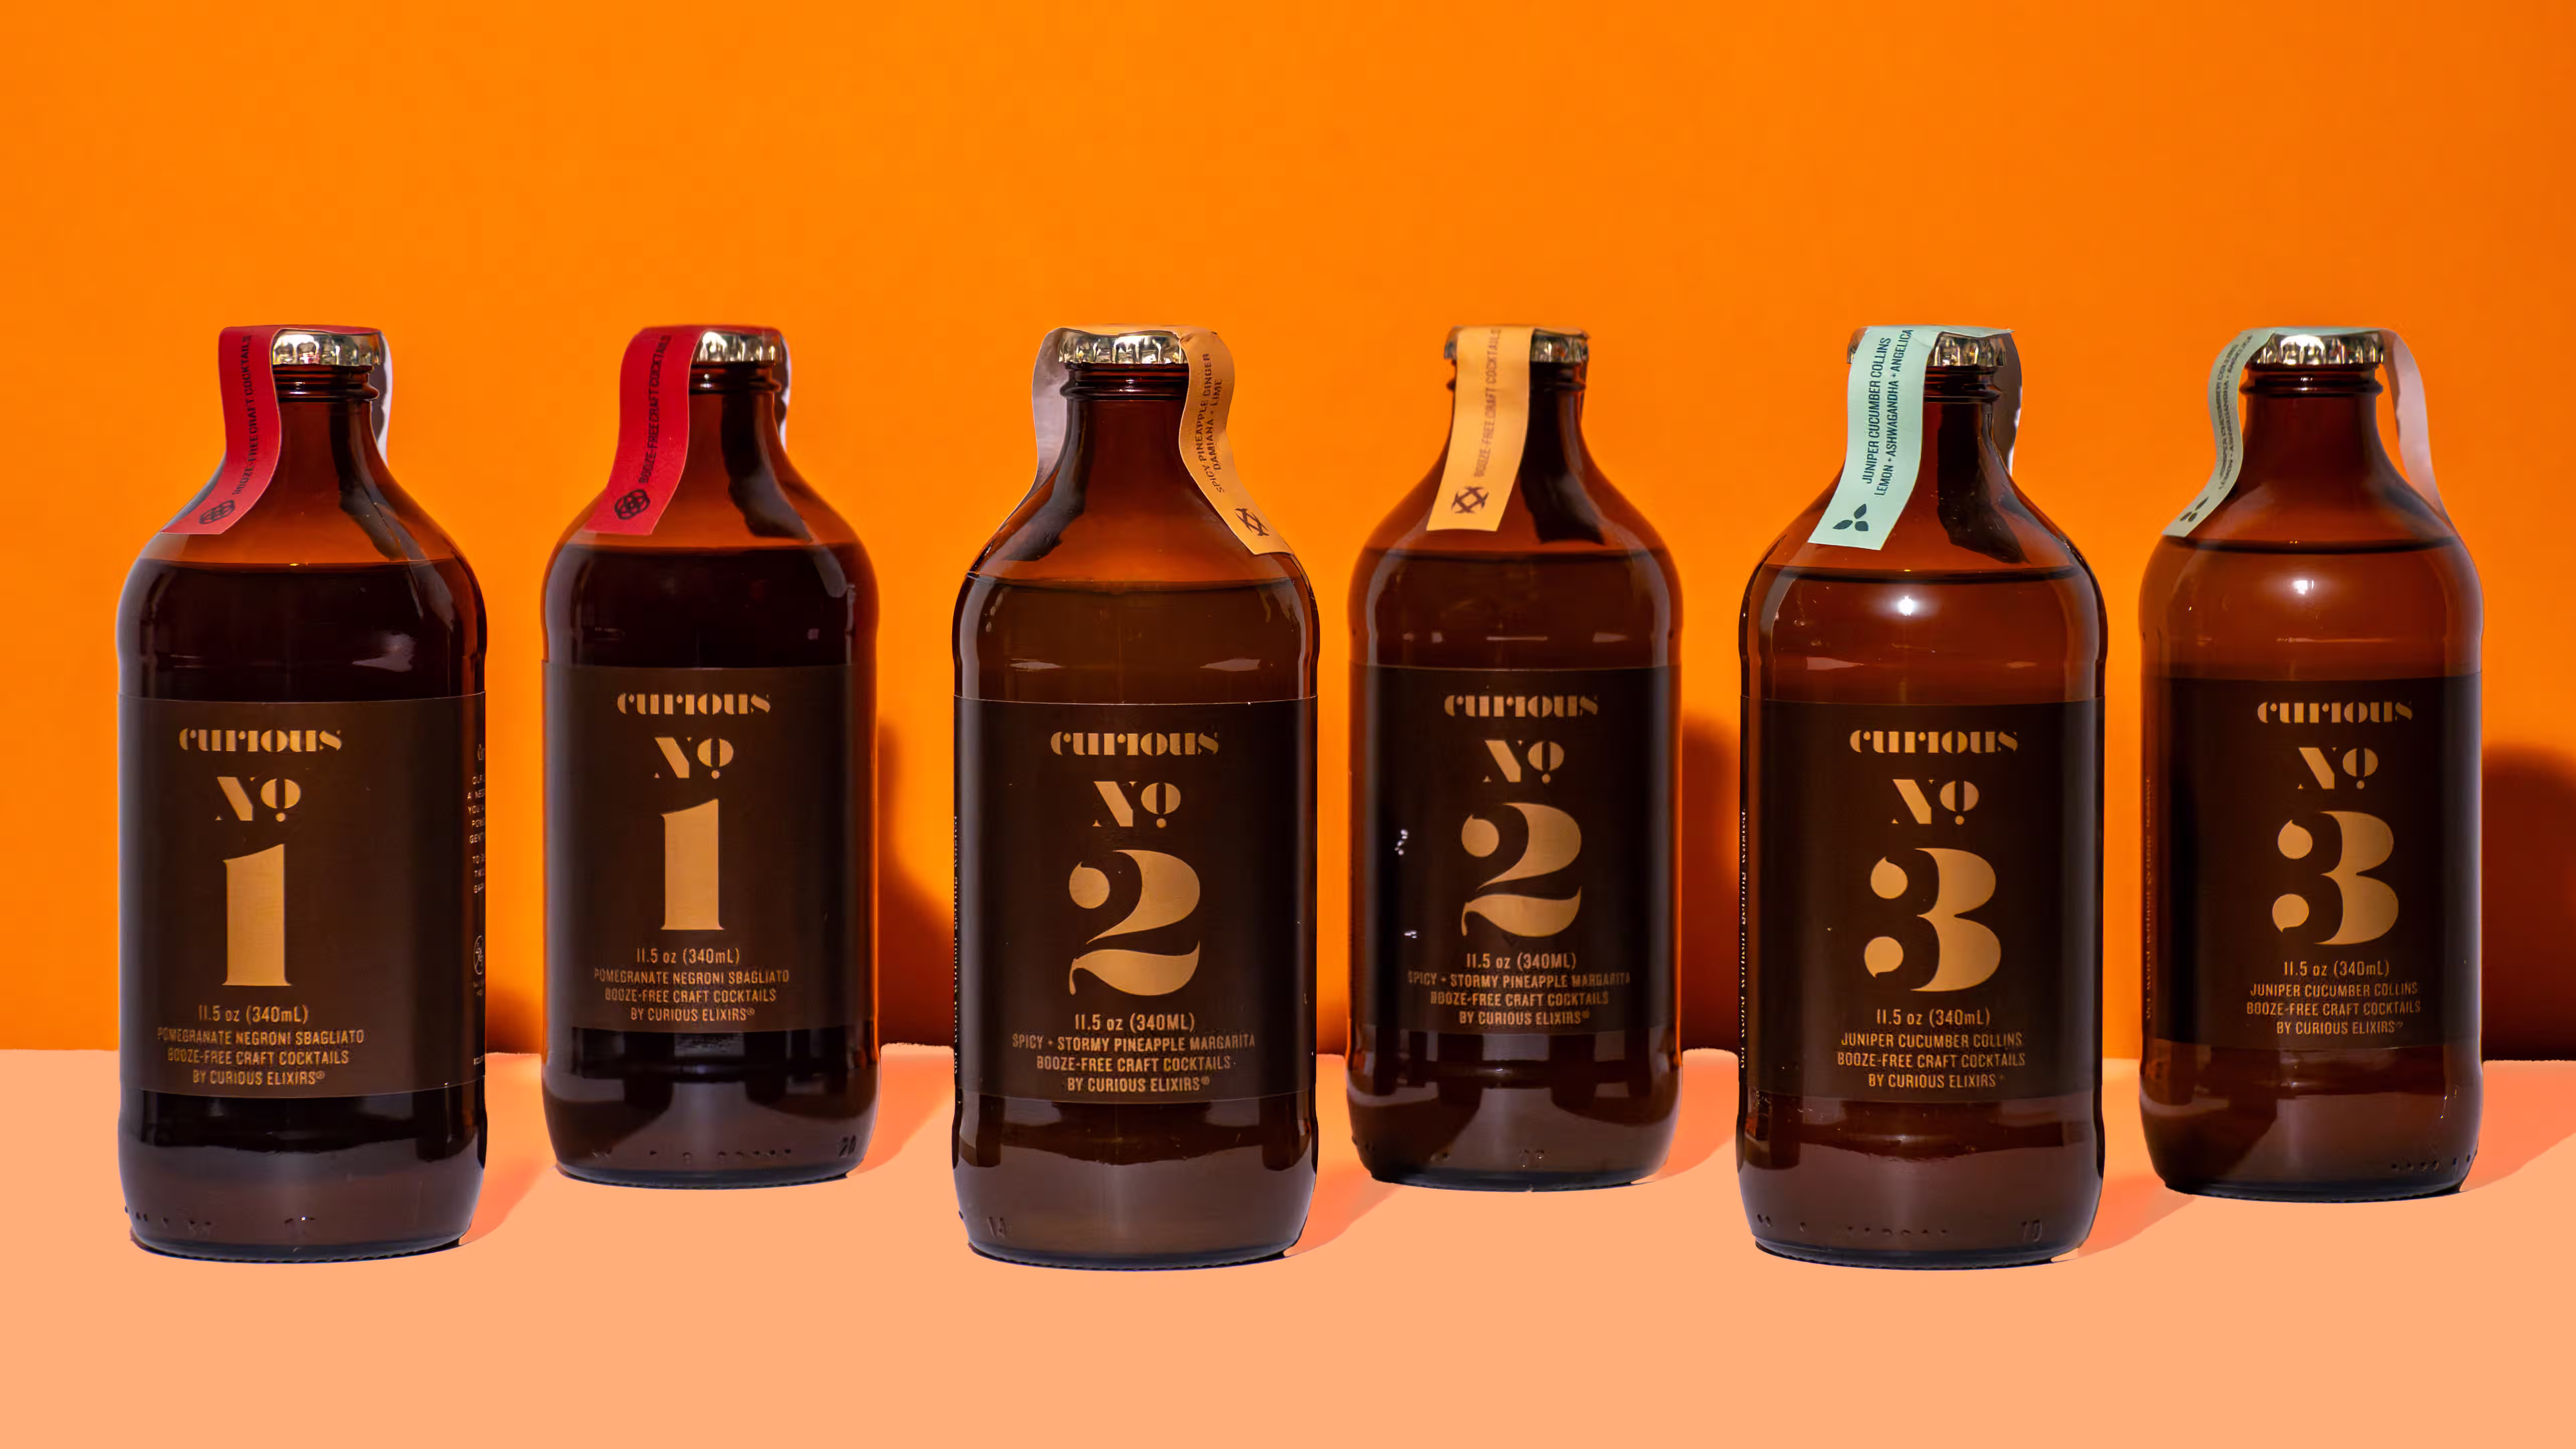
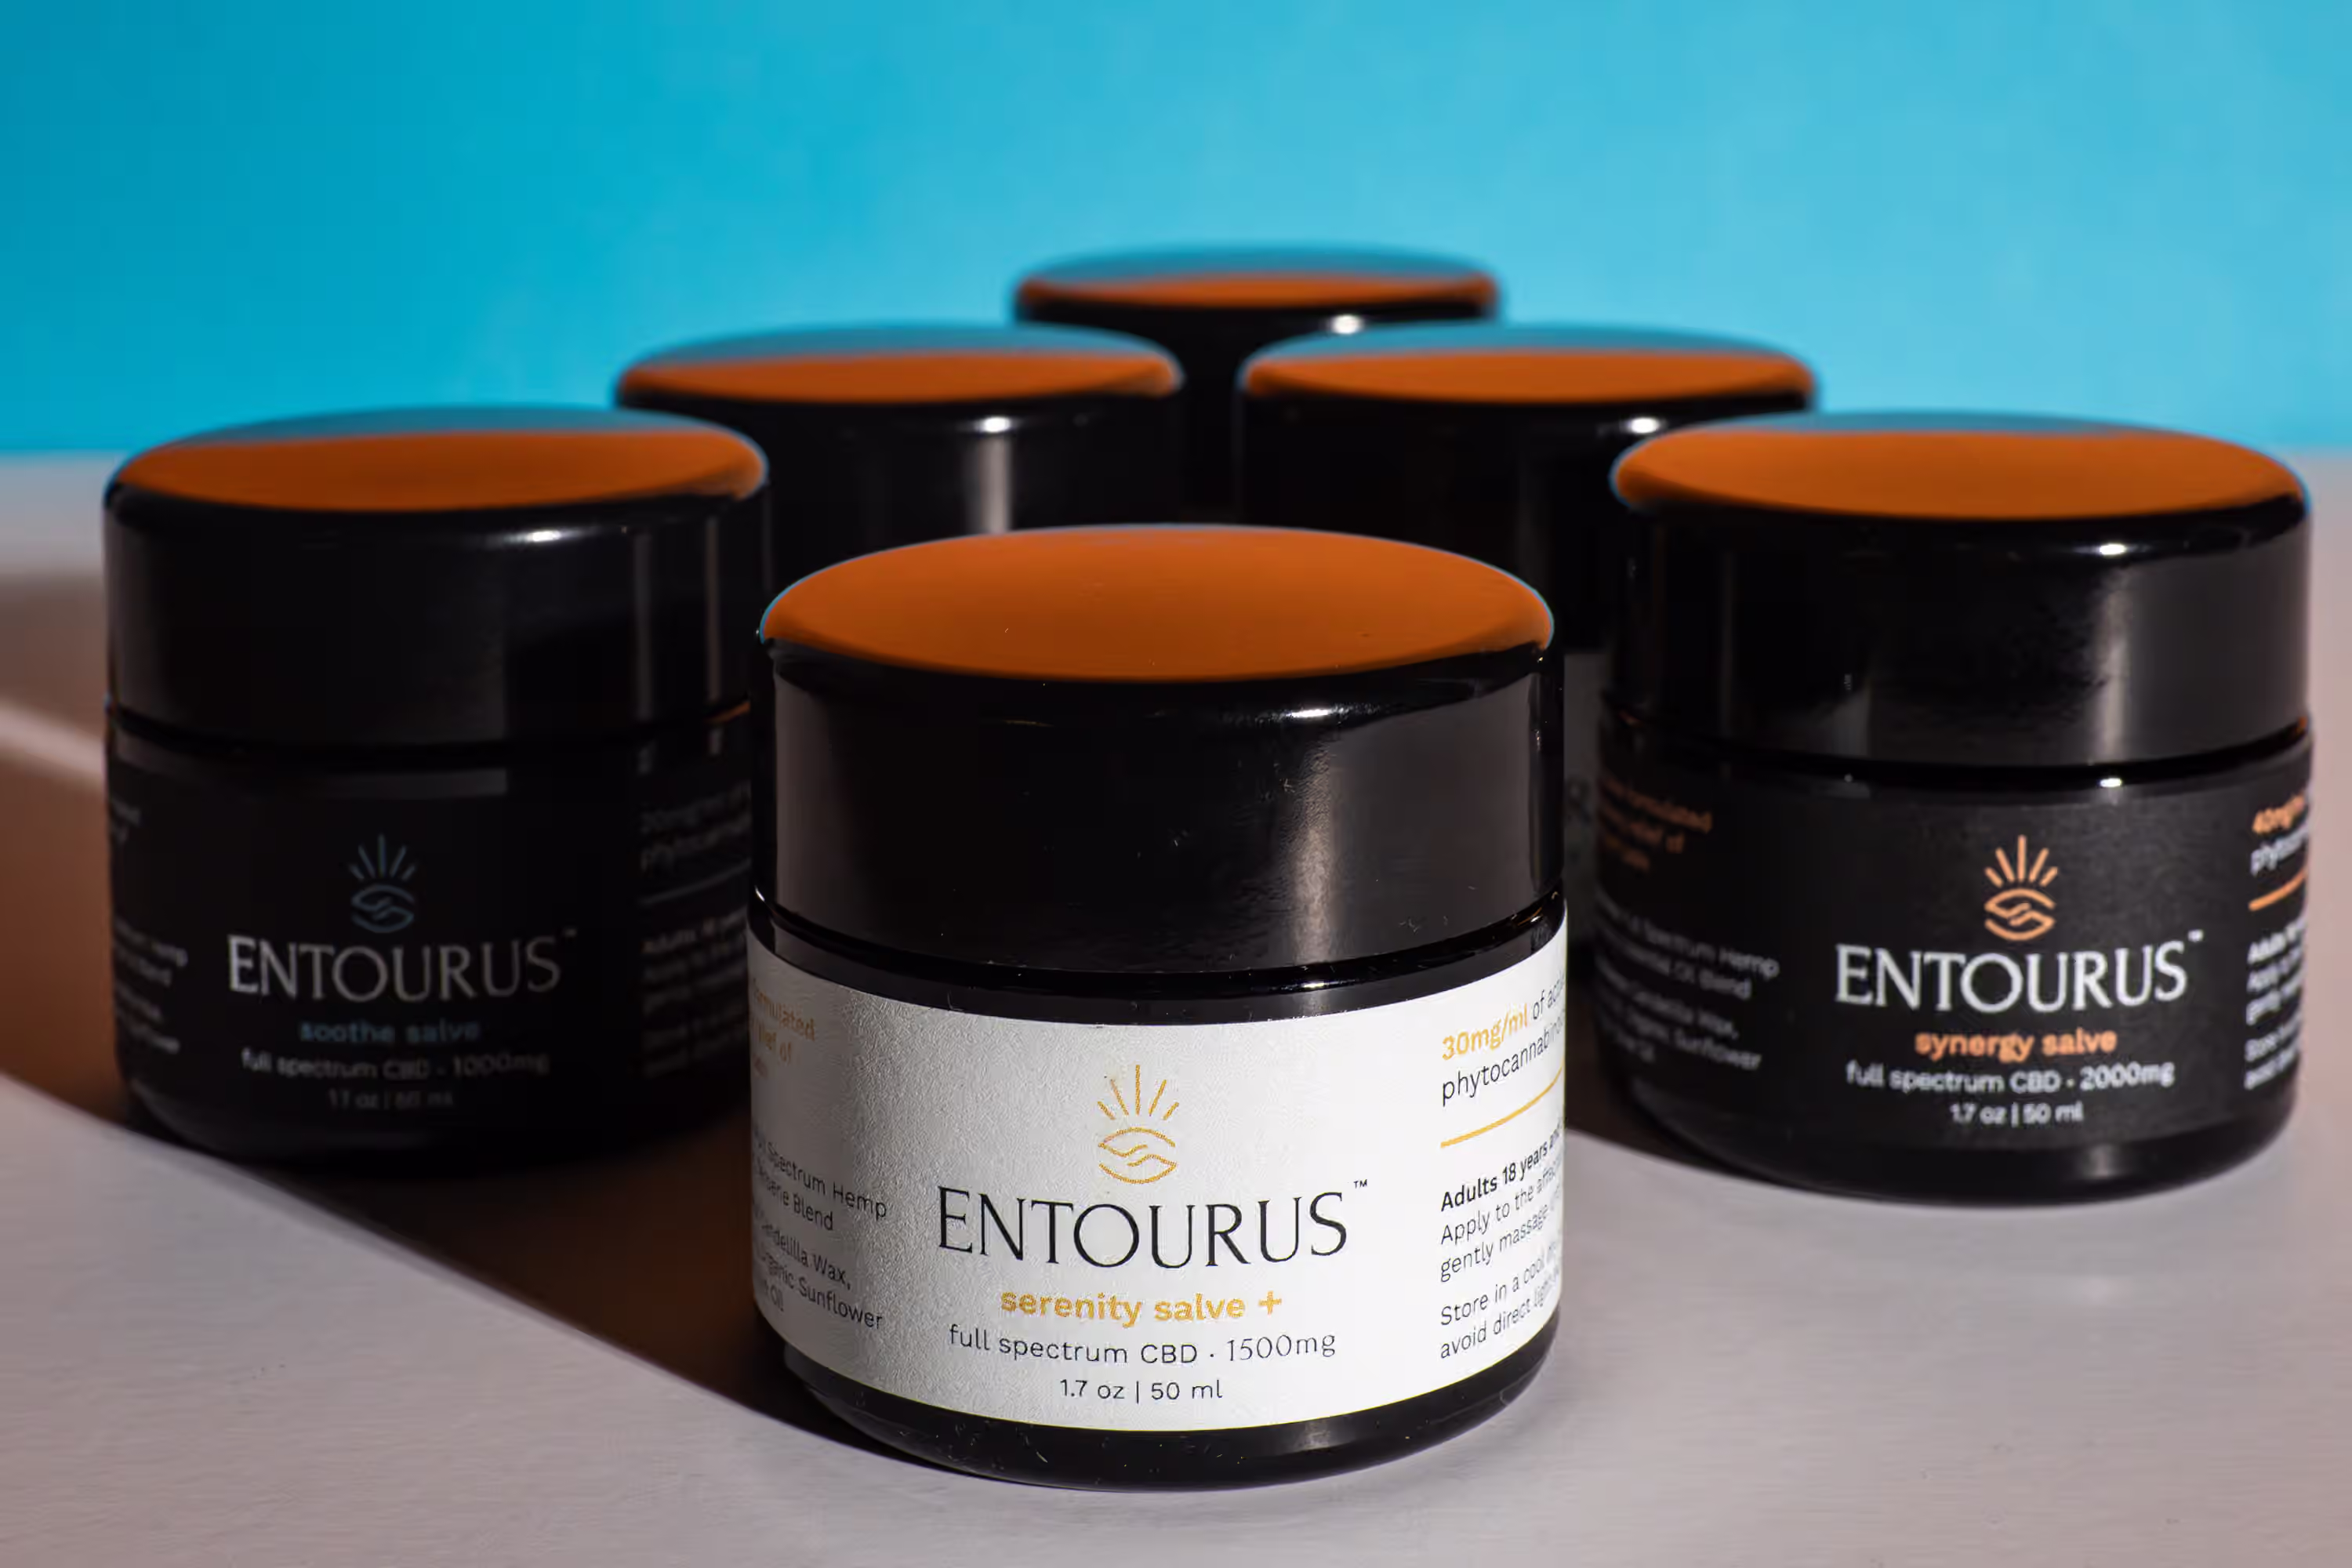
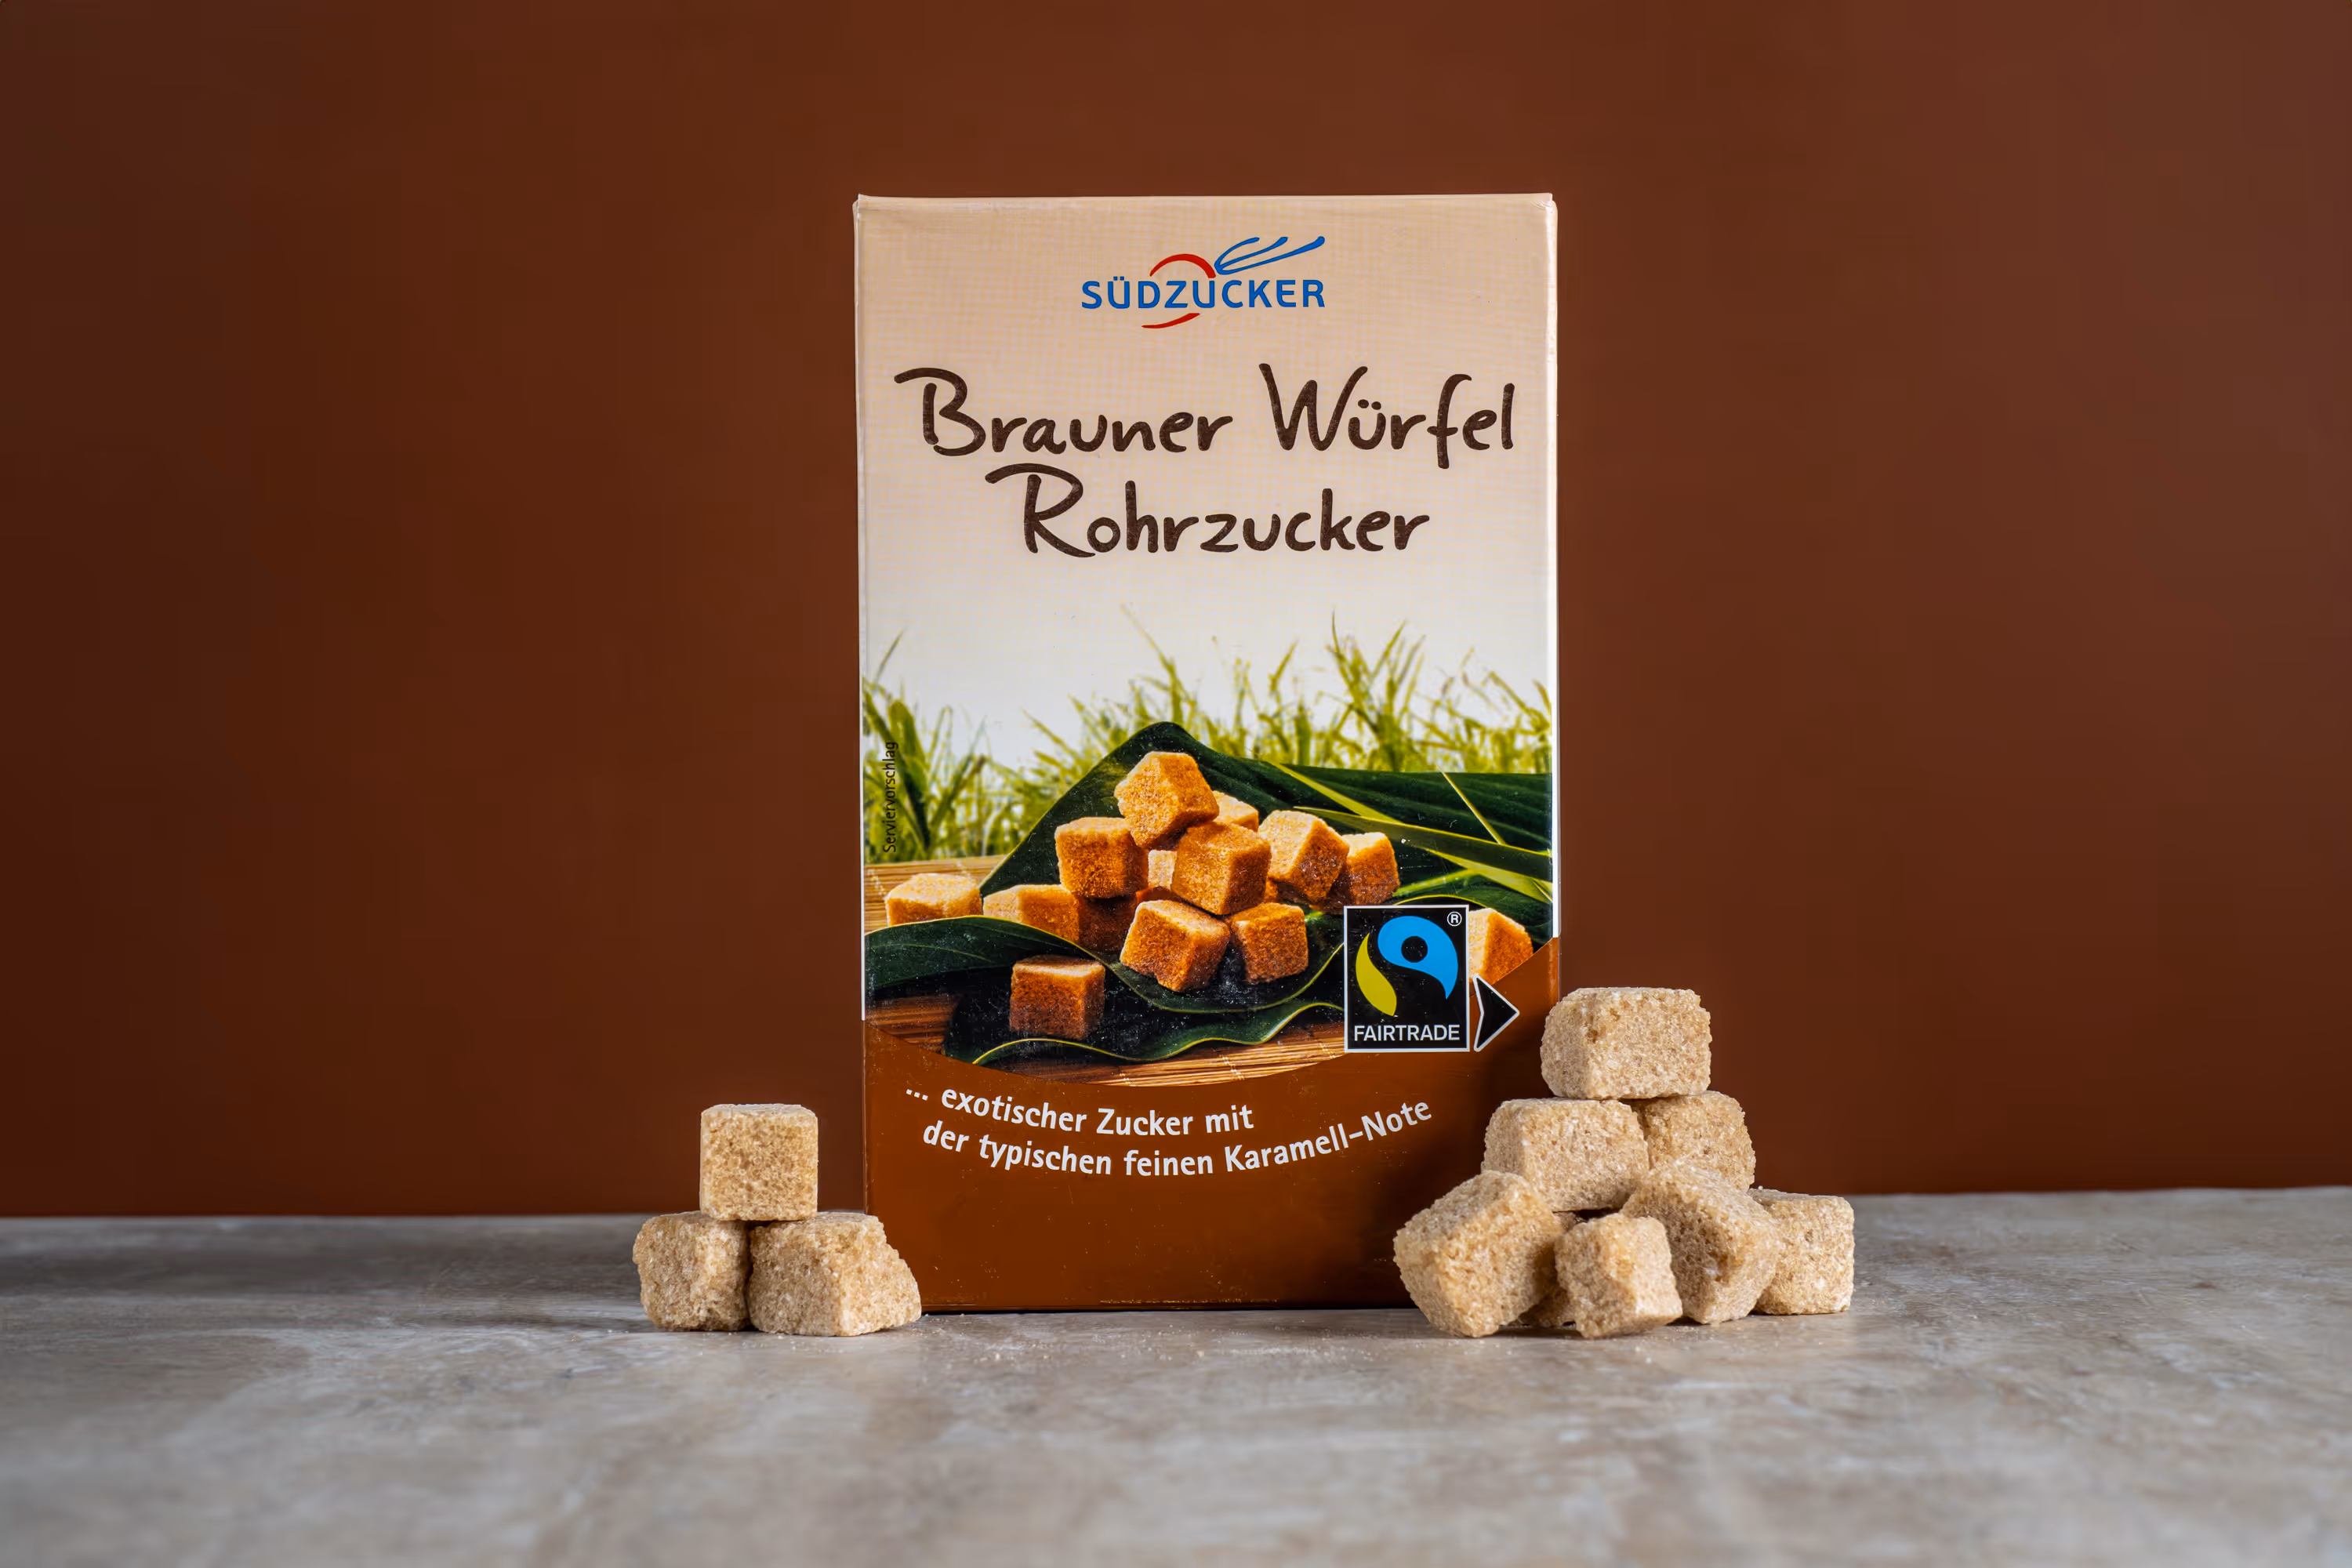
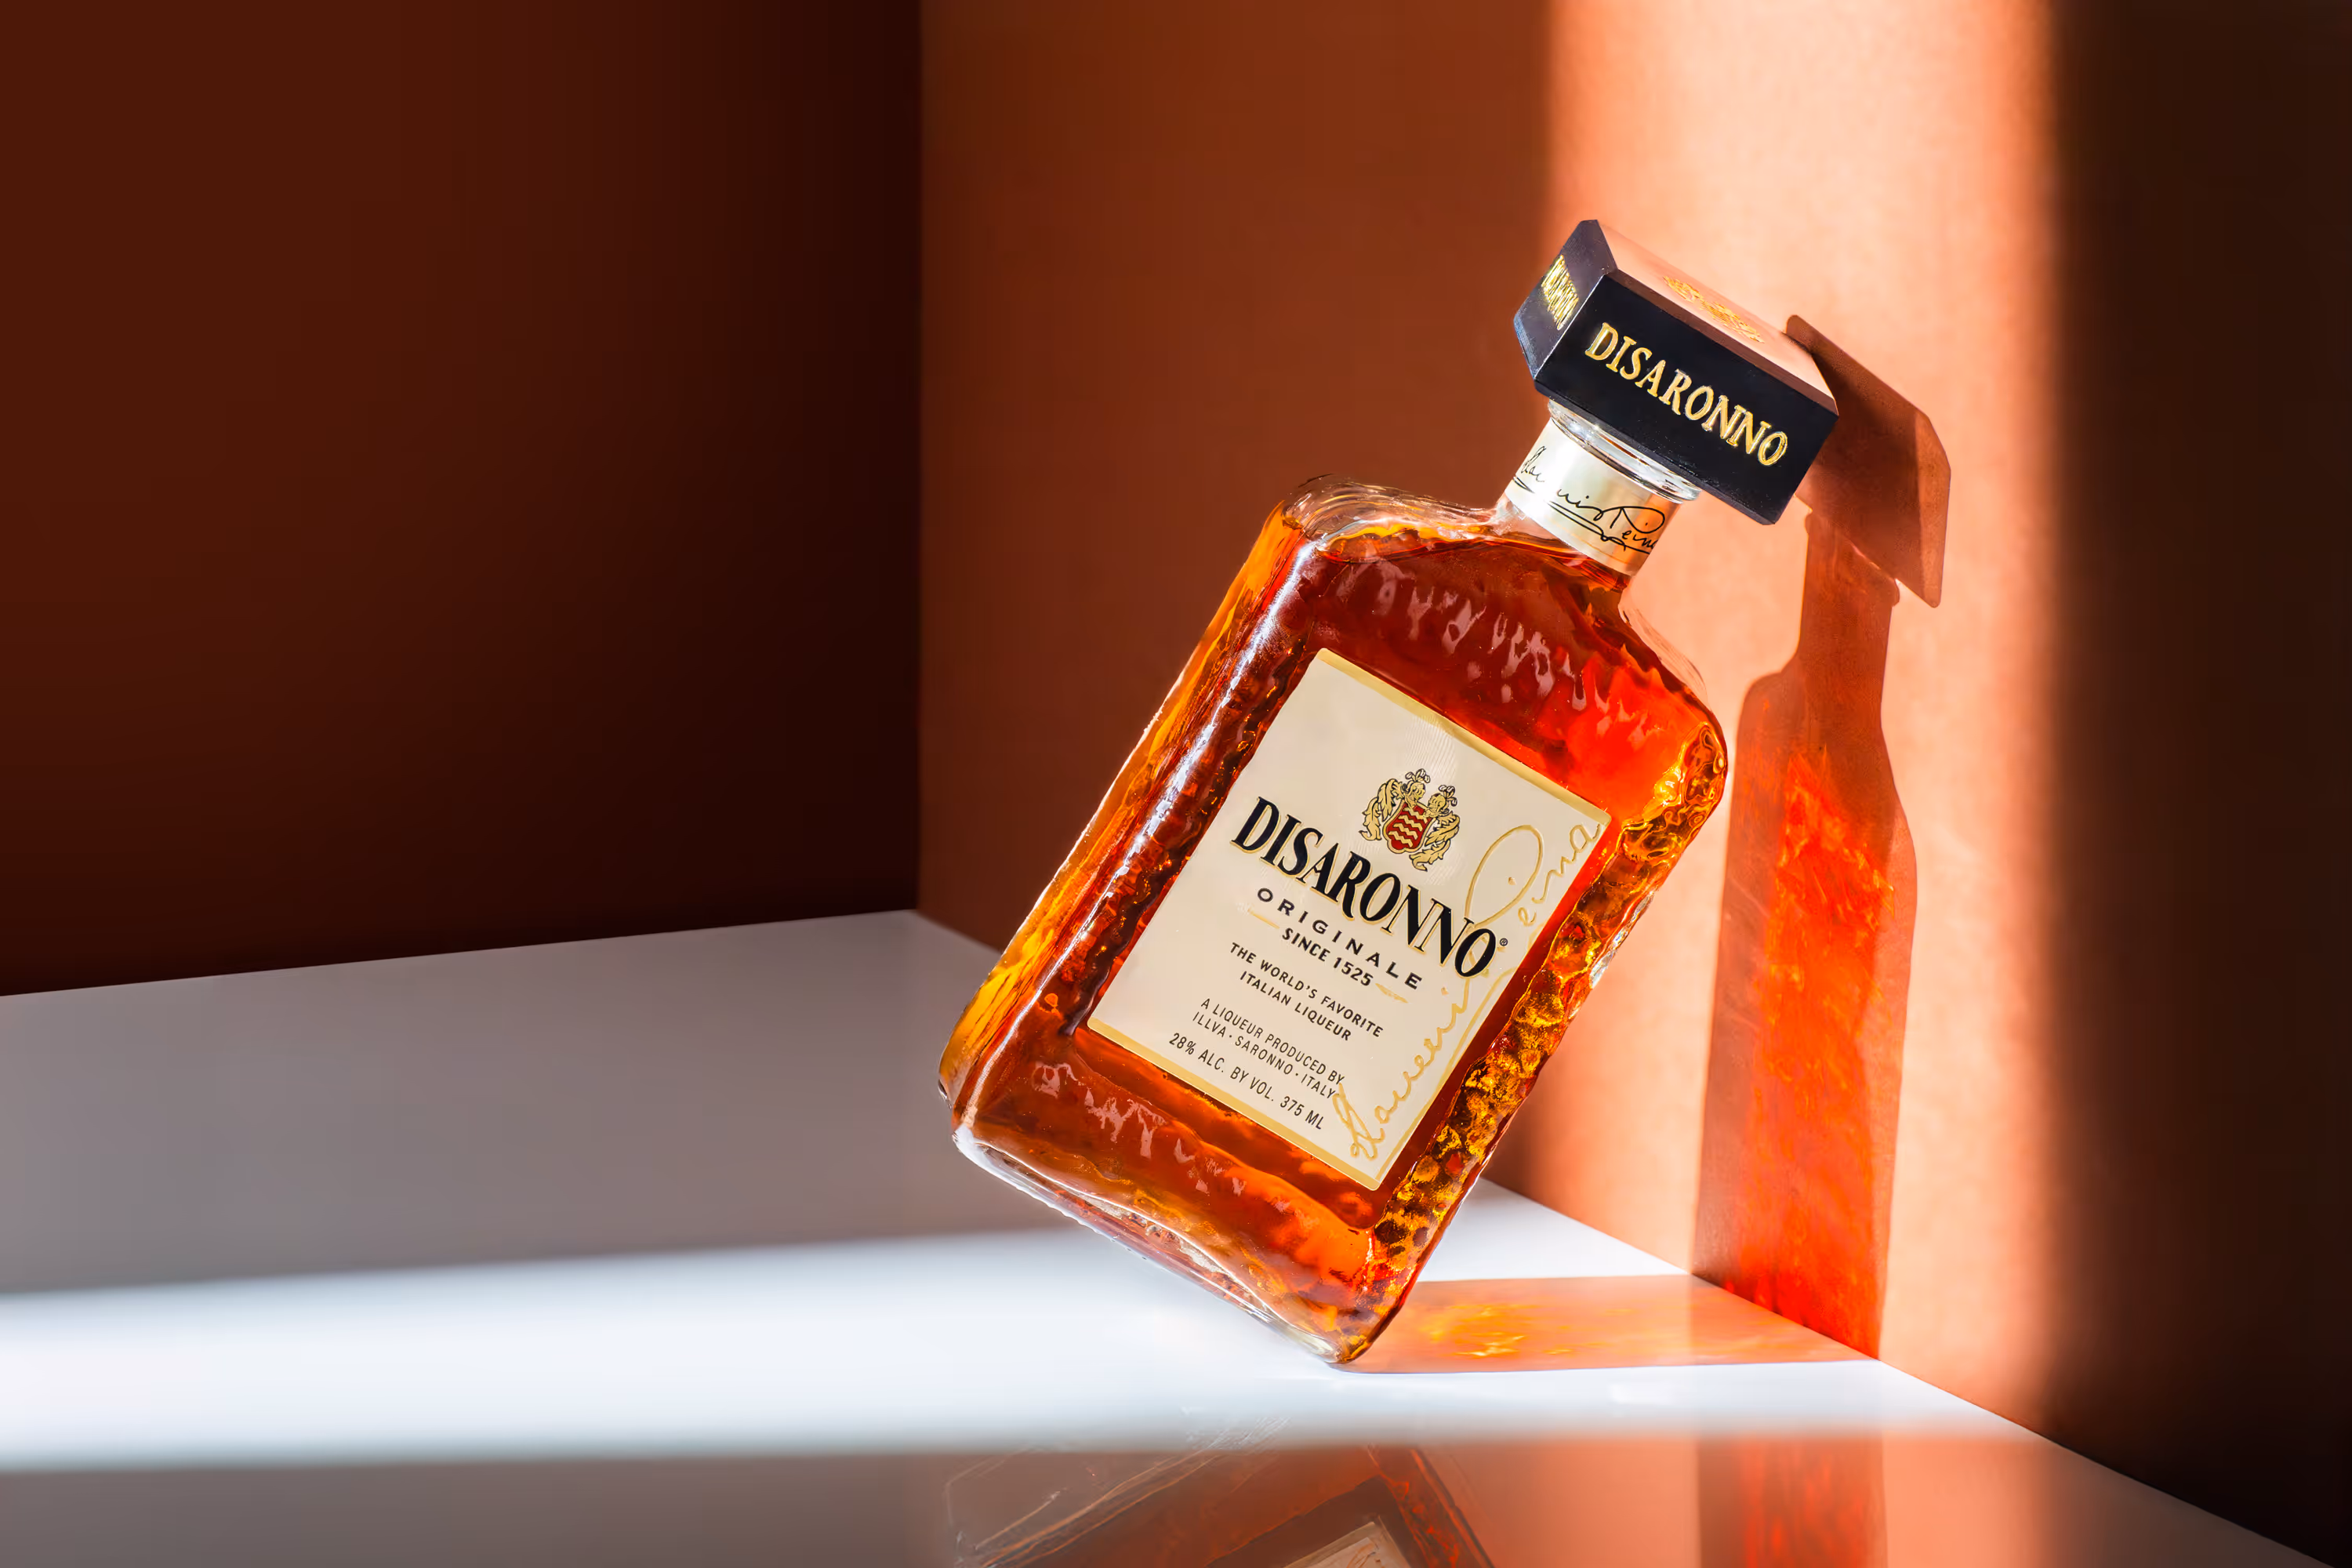
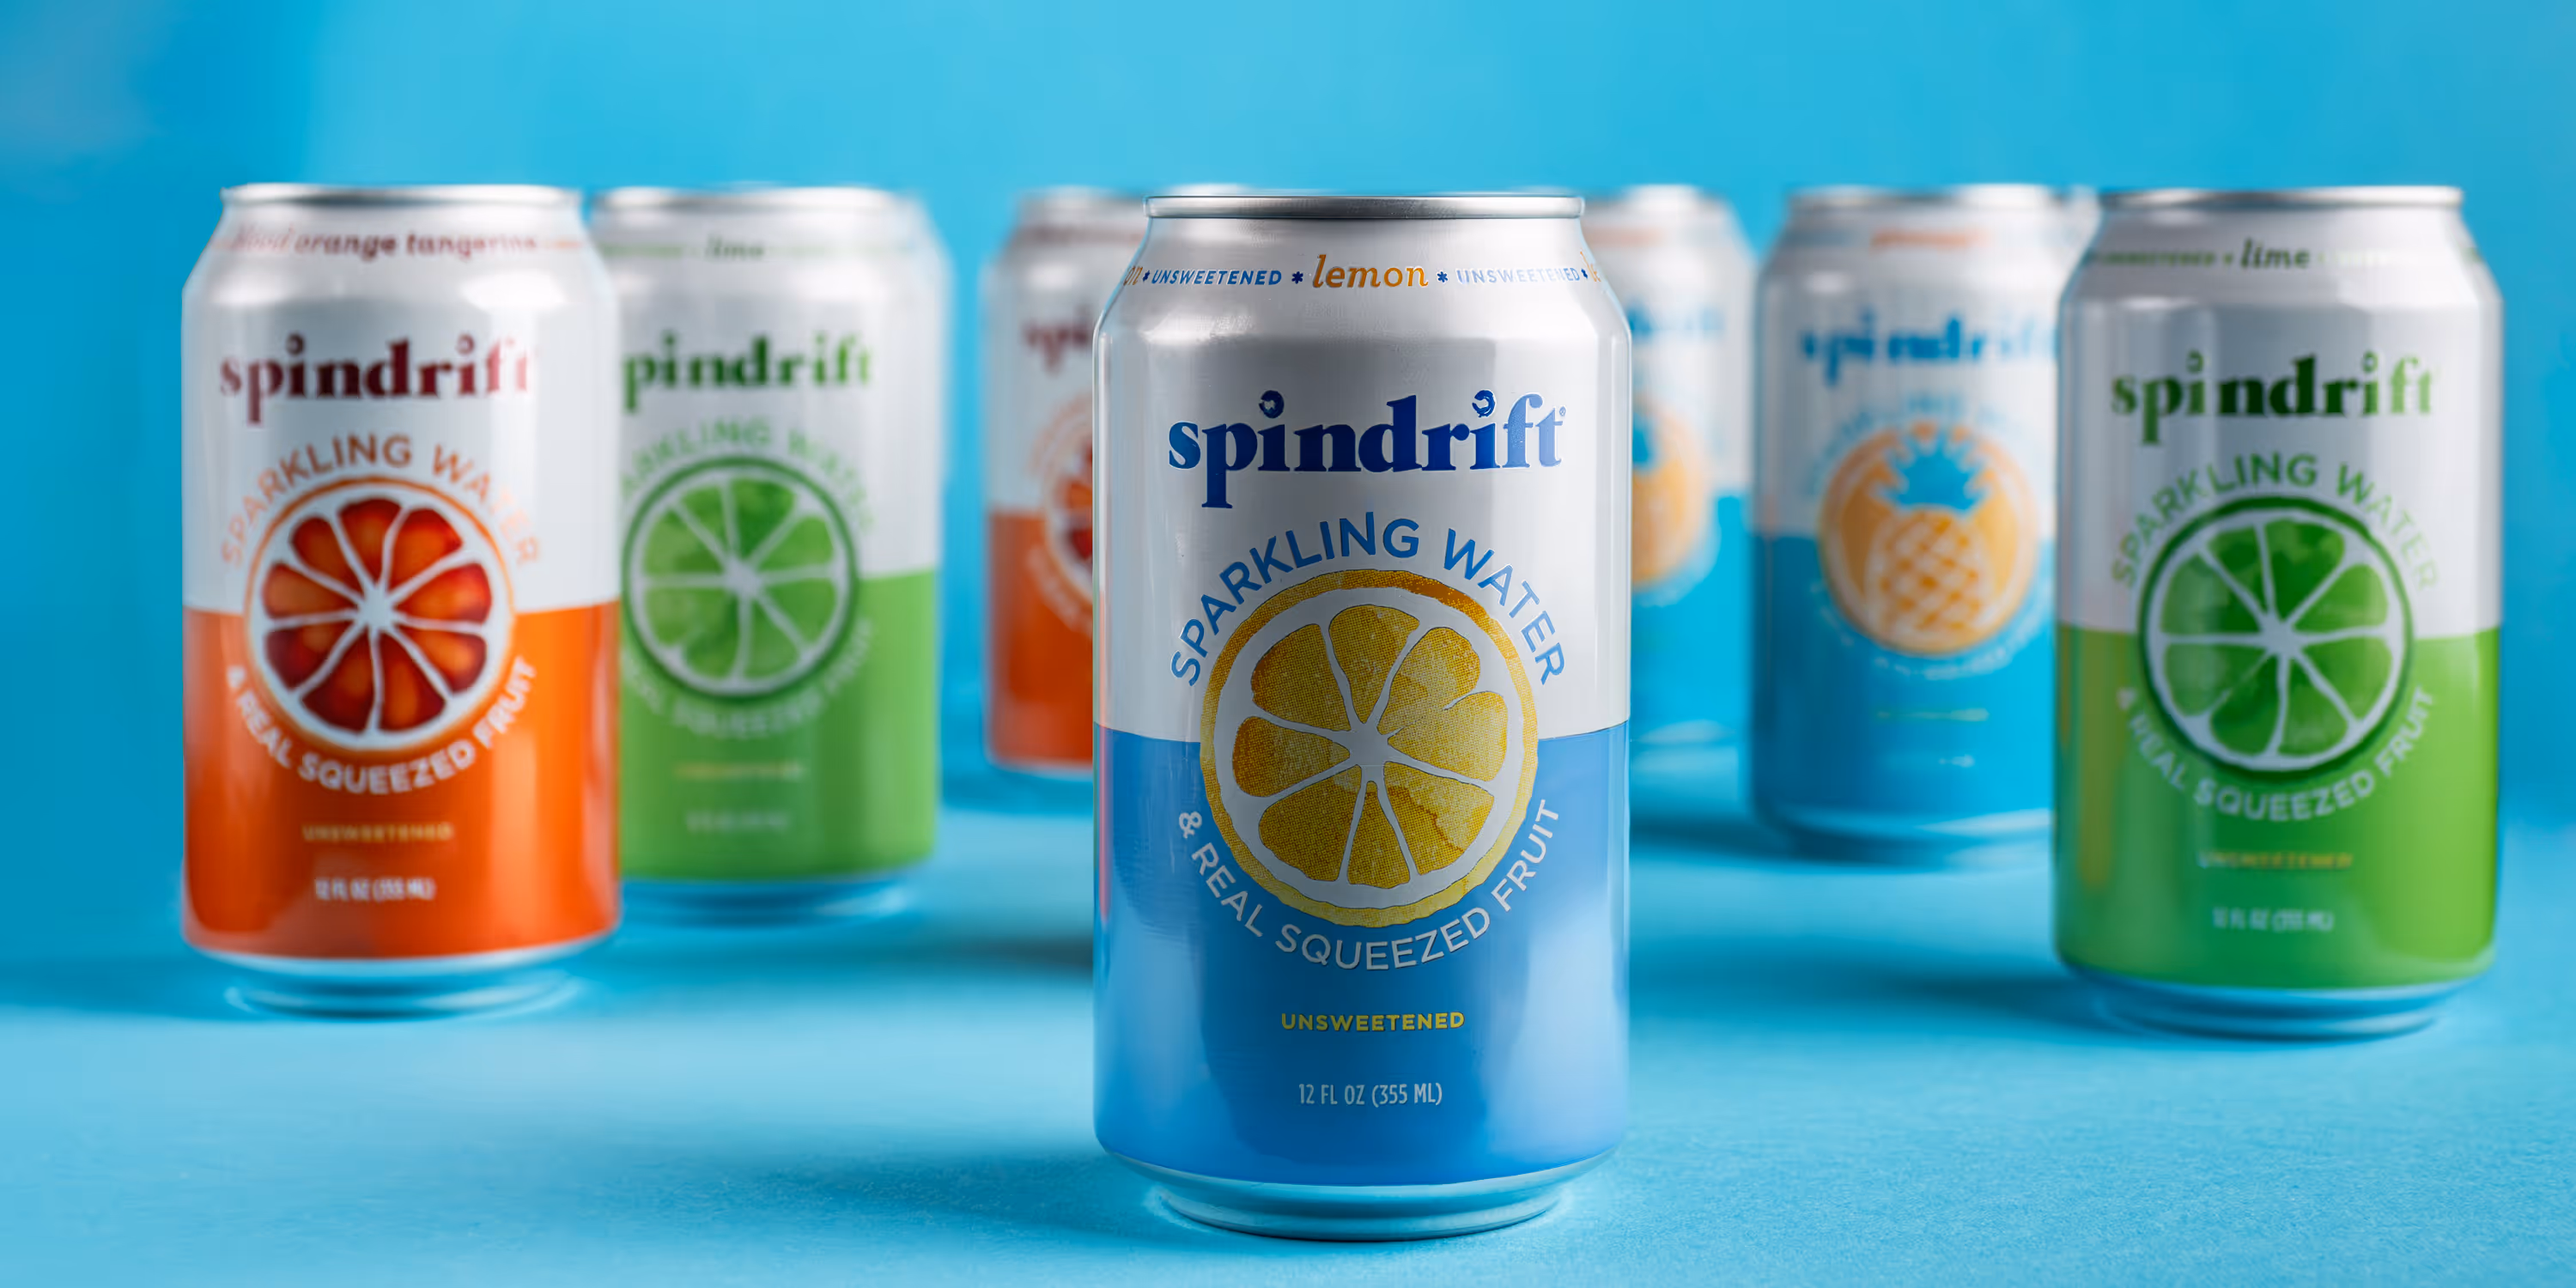
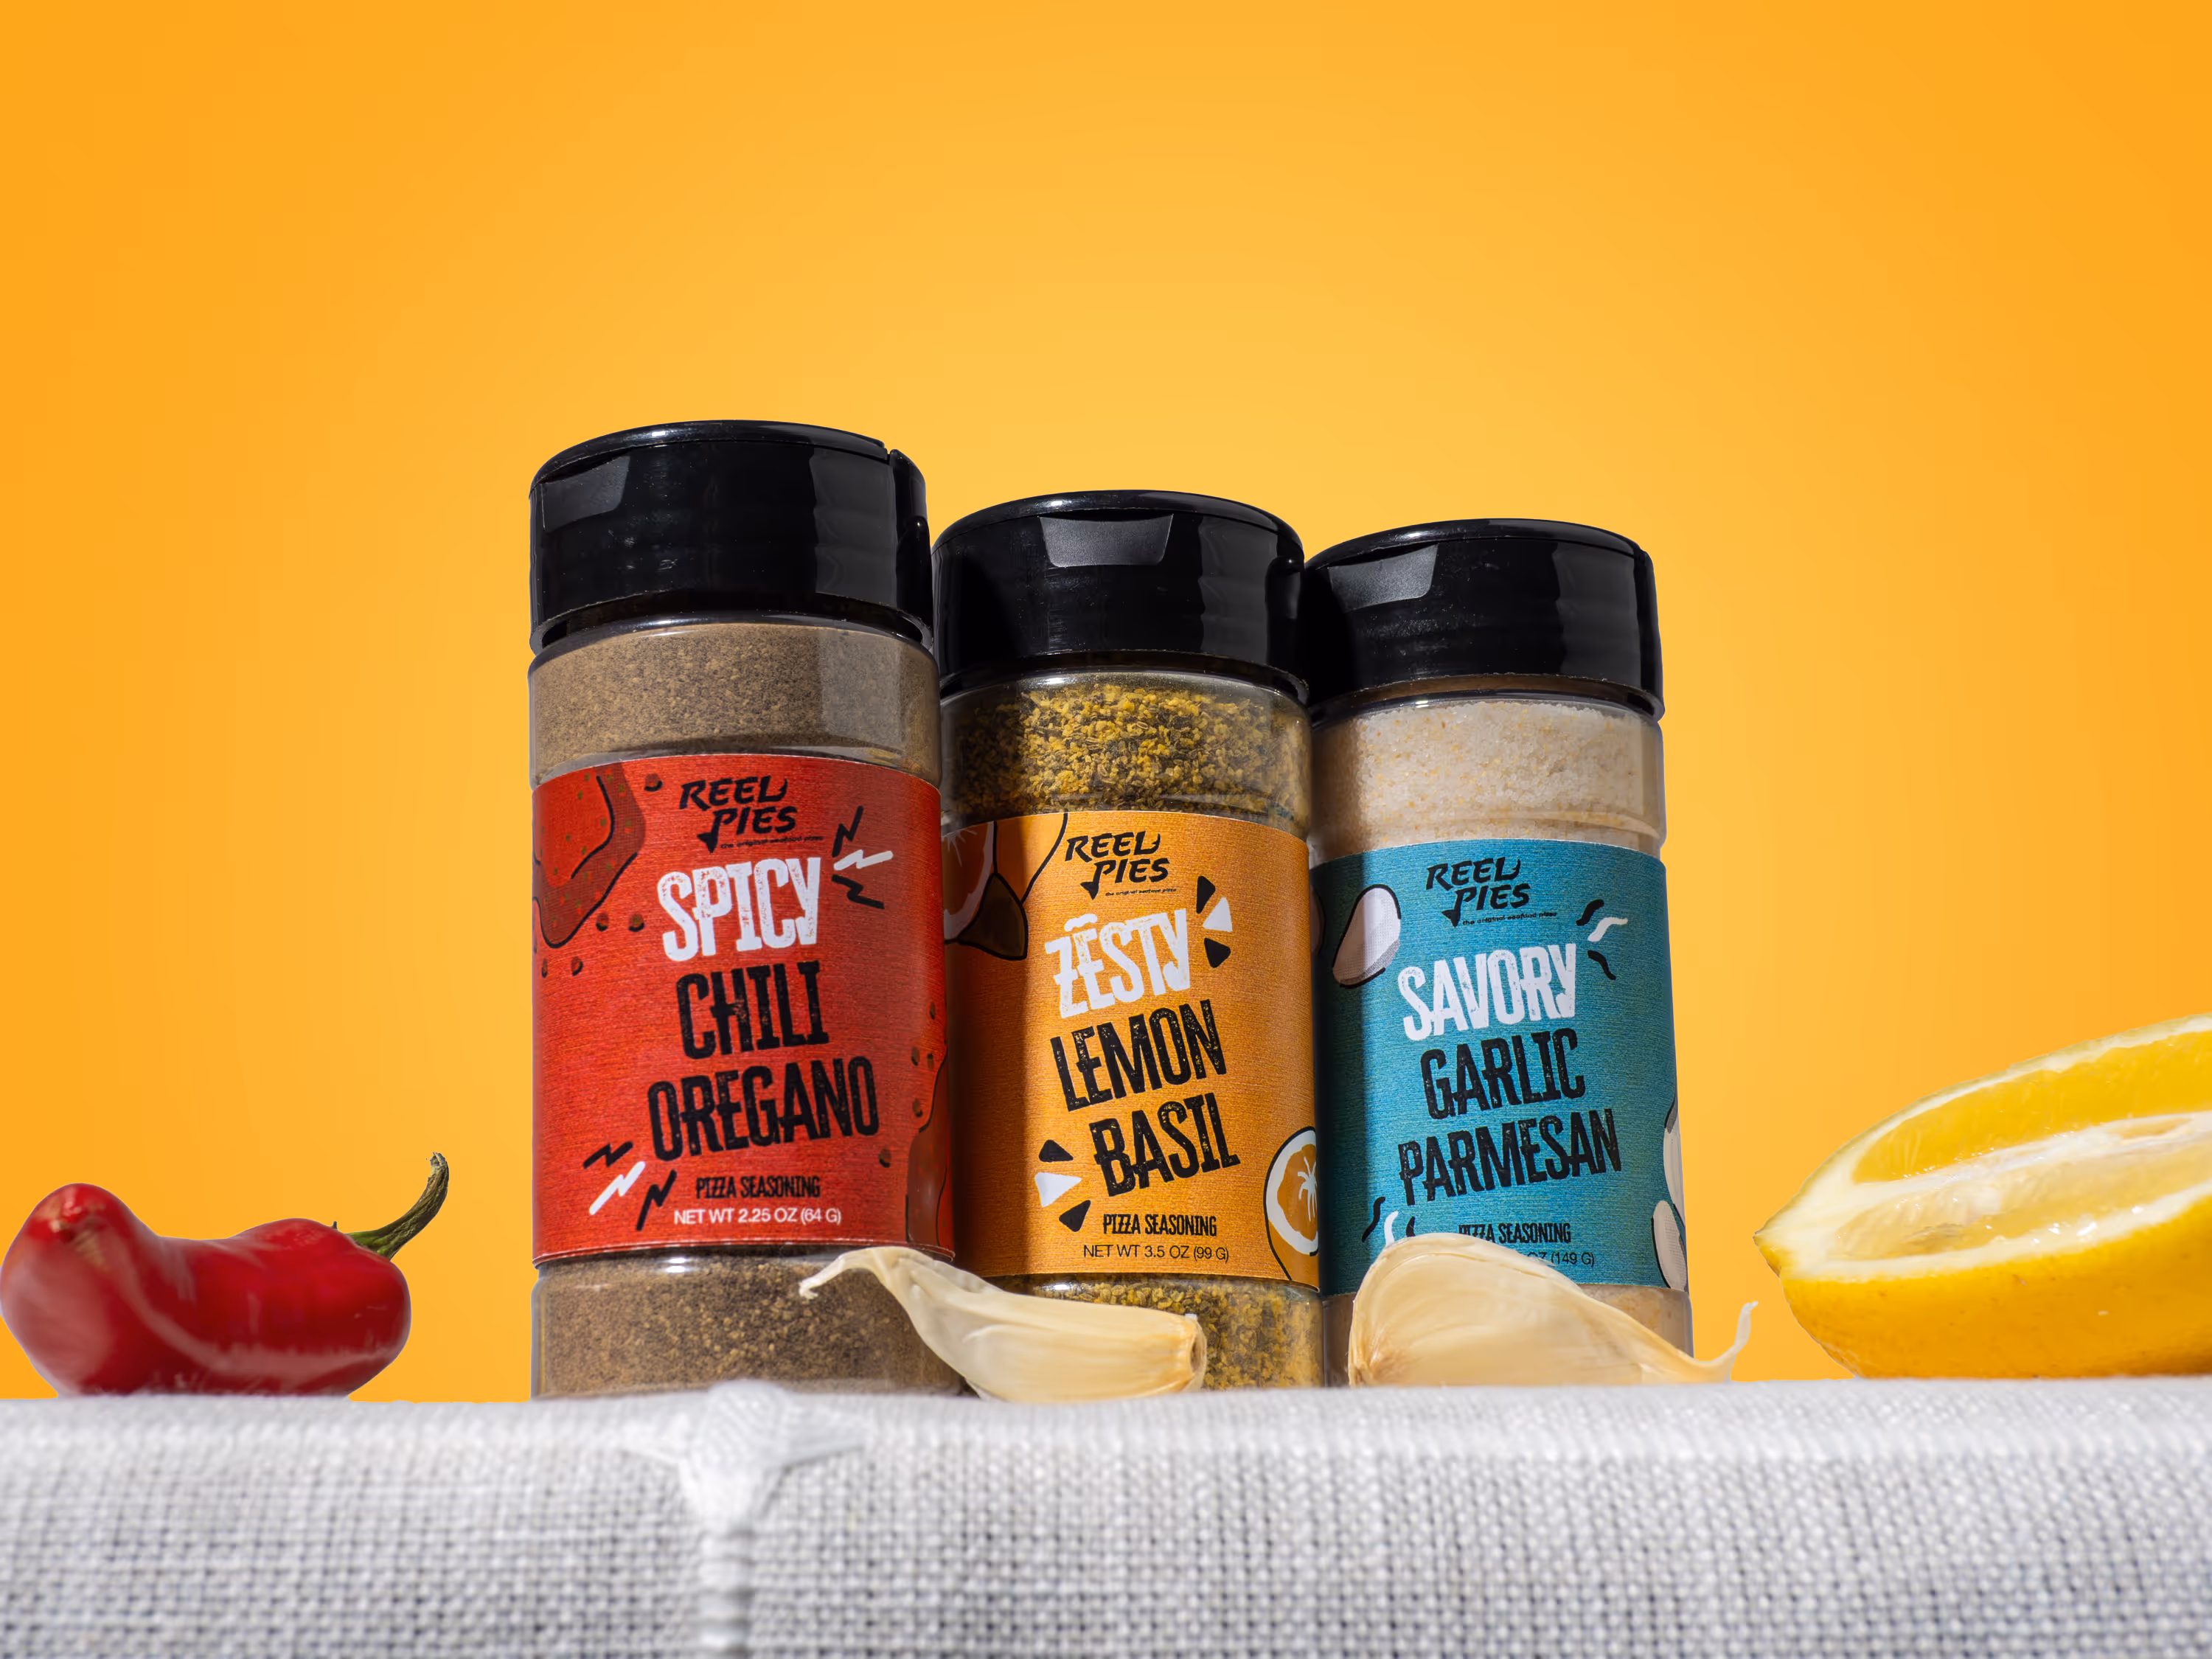
Pick one visual style and stick to it
Your product line looks more premium when everything matches.
Choose:
- Background color (white, light gray, brand color)
- Surface (stone, wood, paper, acrylic)
- Lighting style (bright and clean, soft and natural, moody and contrasty)
Then stick to that style for every SKU. If you want your photos to look consistent across flavors, don’t switch the whole setup halfway through.
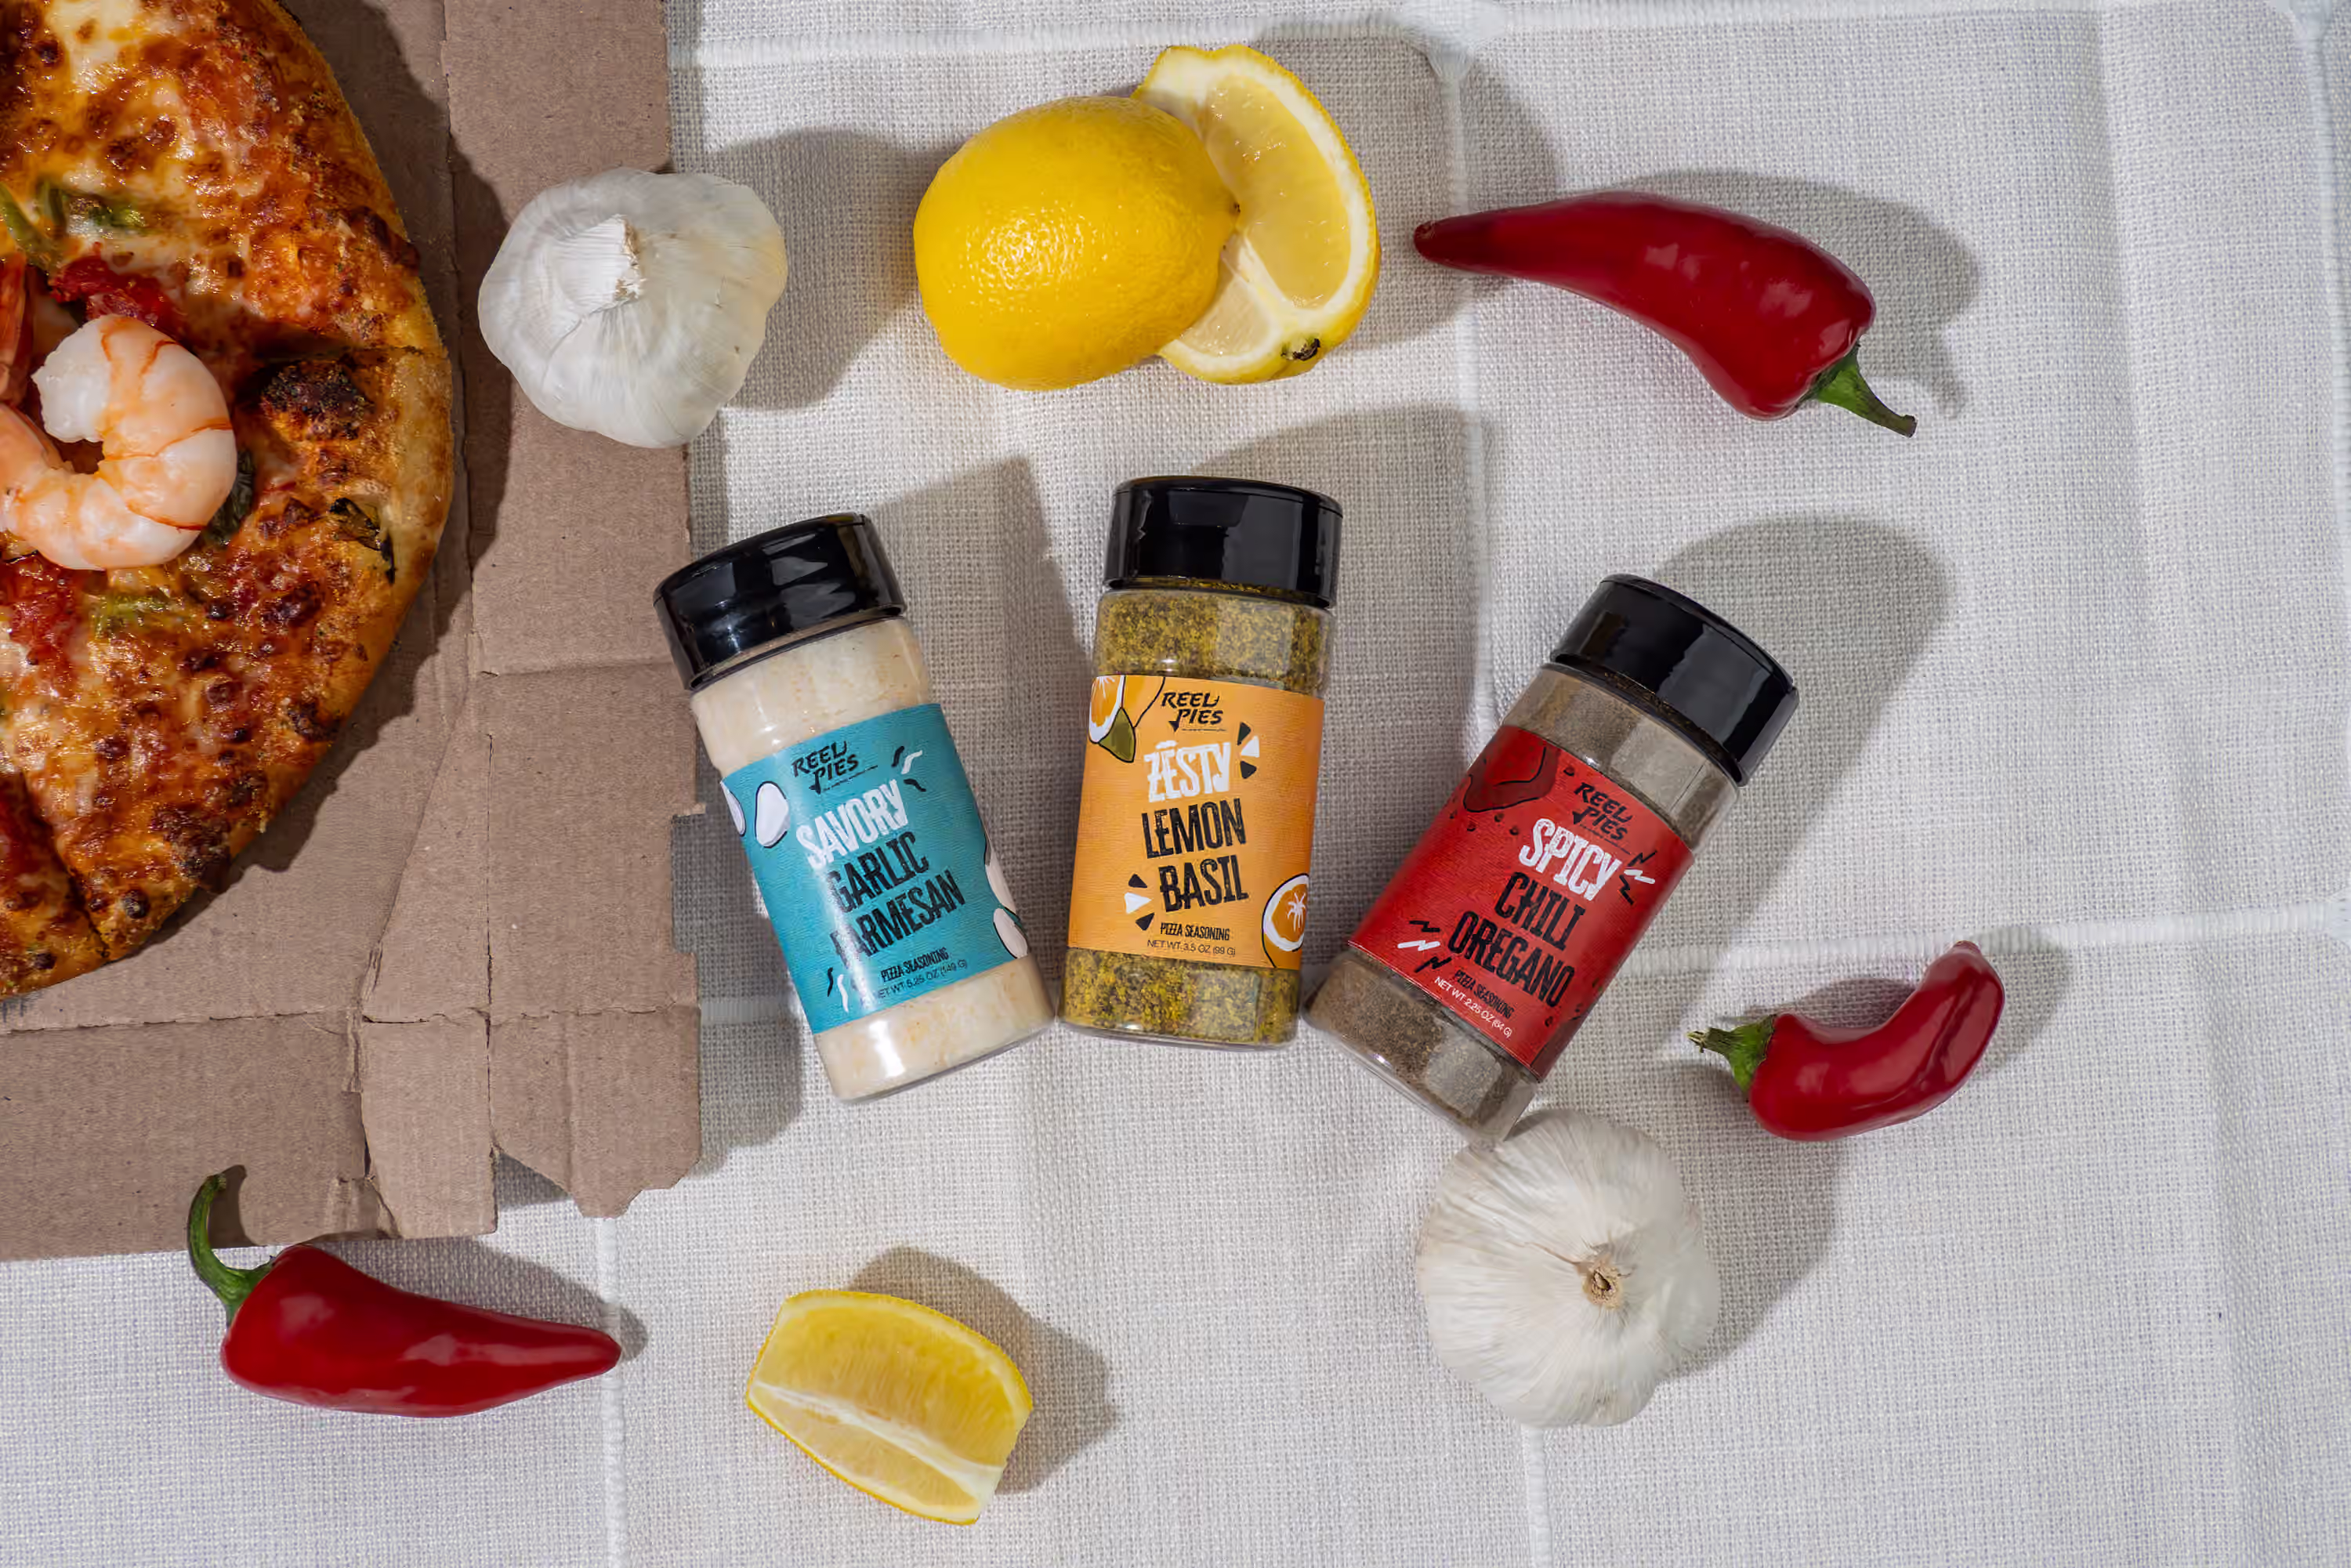
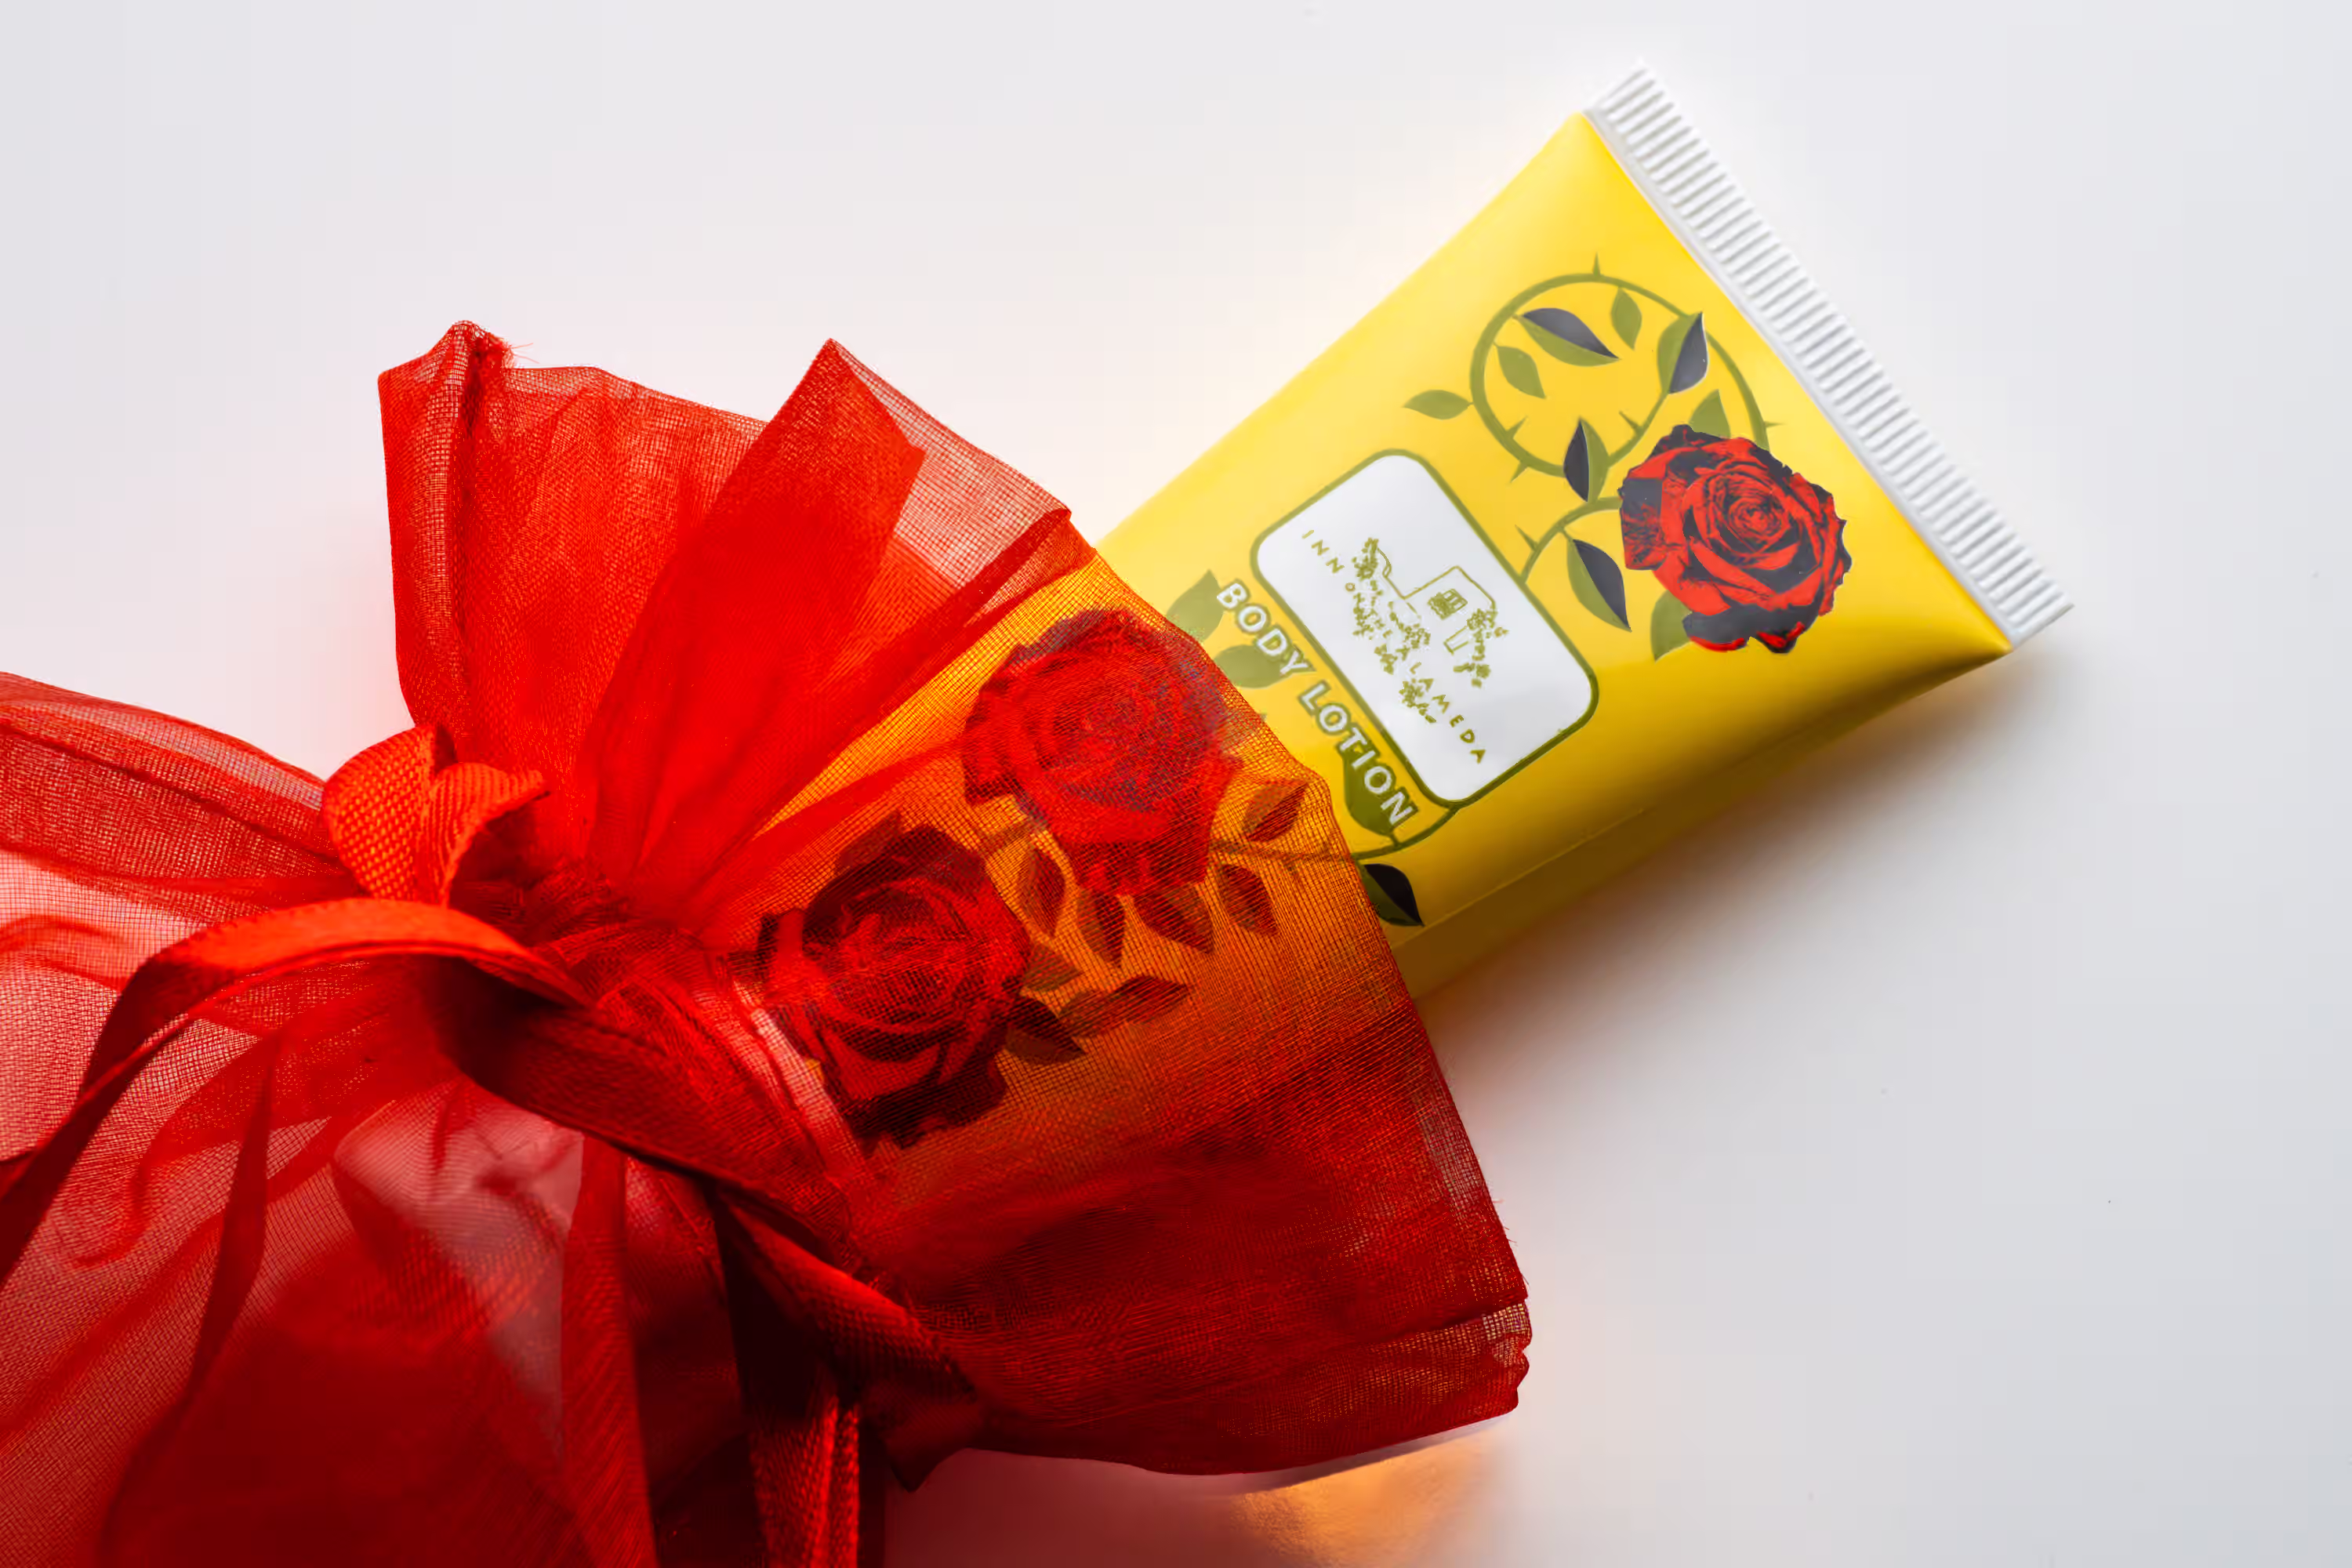
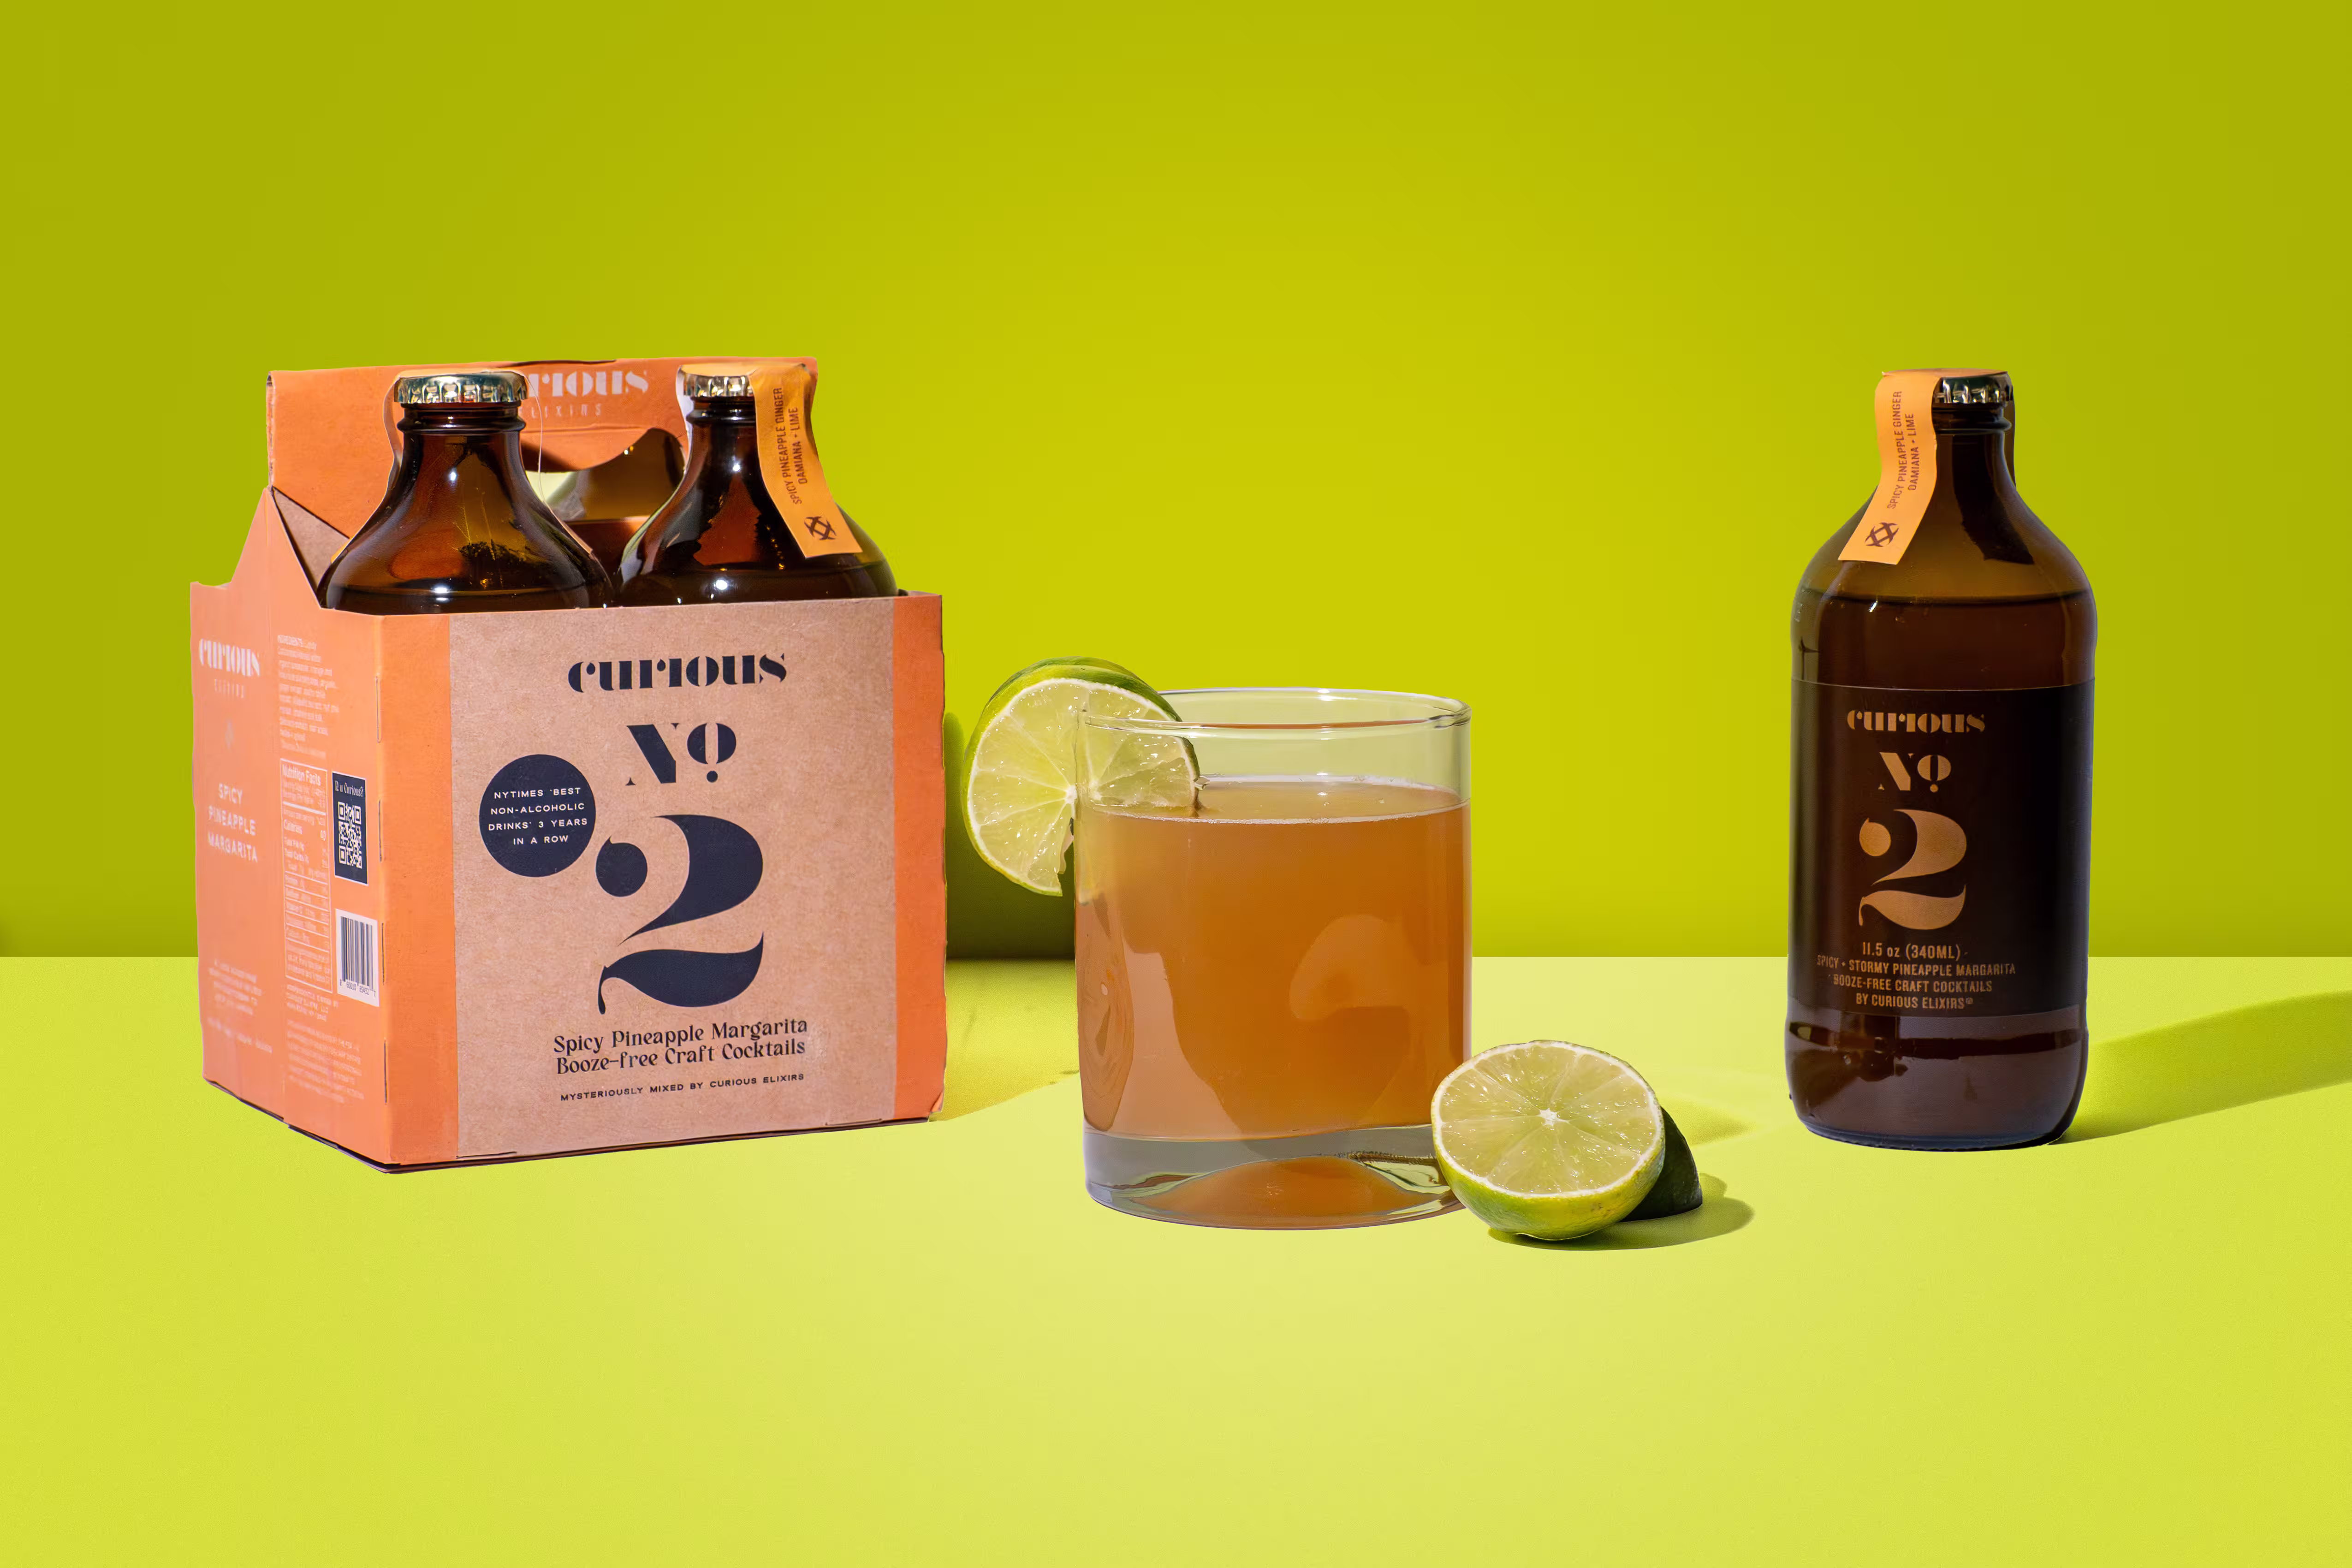
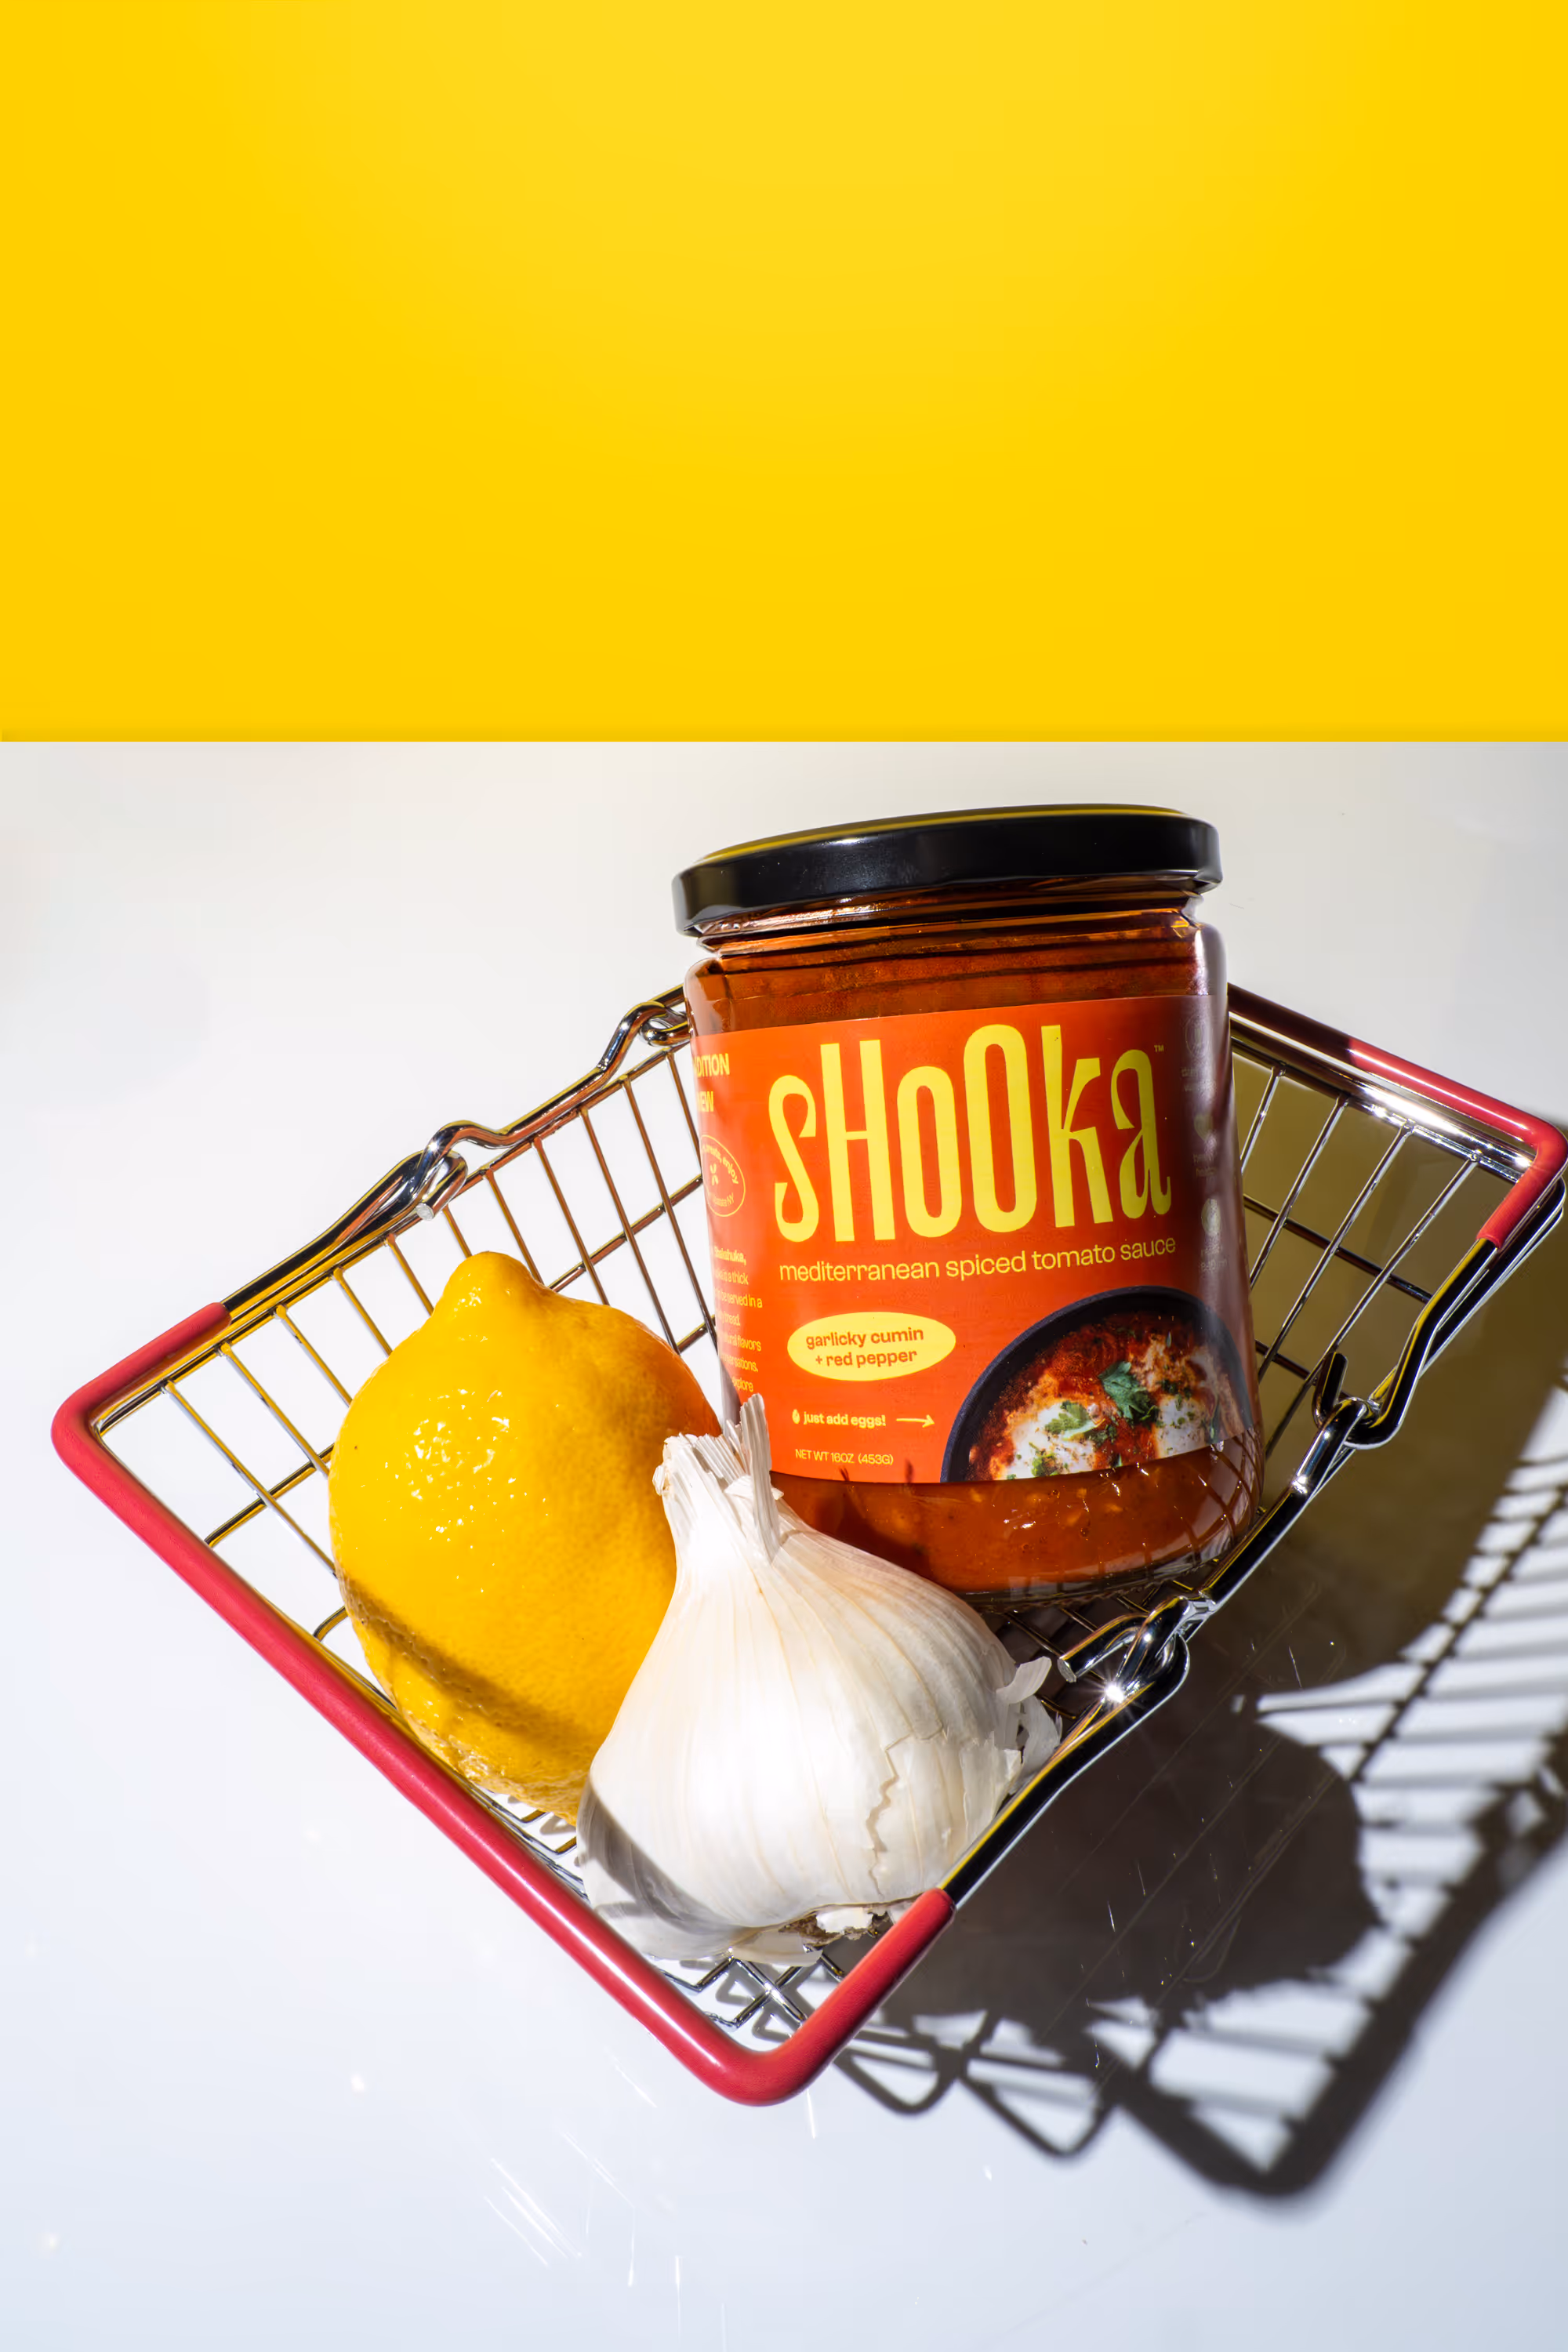
Keep props minimal and on-brand
Props should support the product, not compete with it. Good prop rules:
- Use 1 to 3 props per scene
- Use real ingredients when you can
- Match your brand colors
- Avoid random clutter
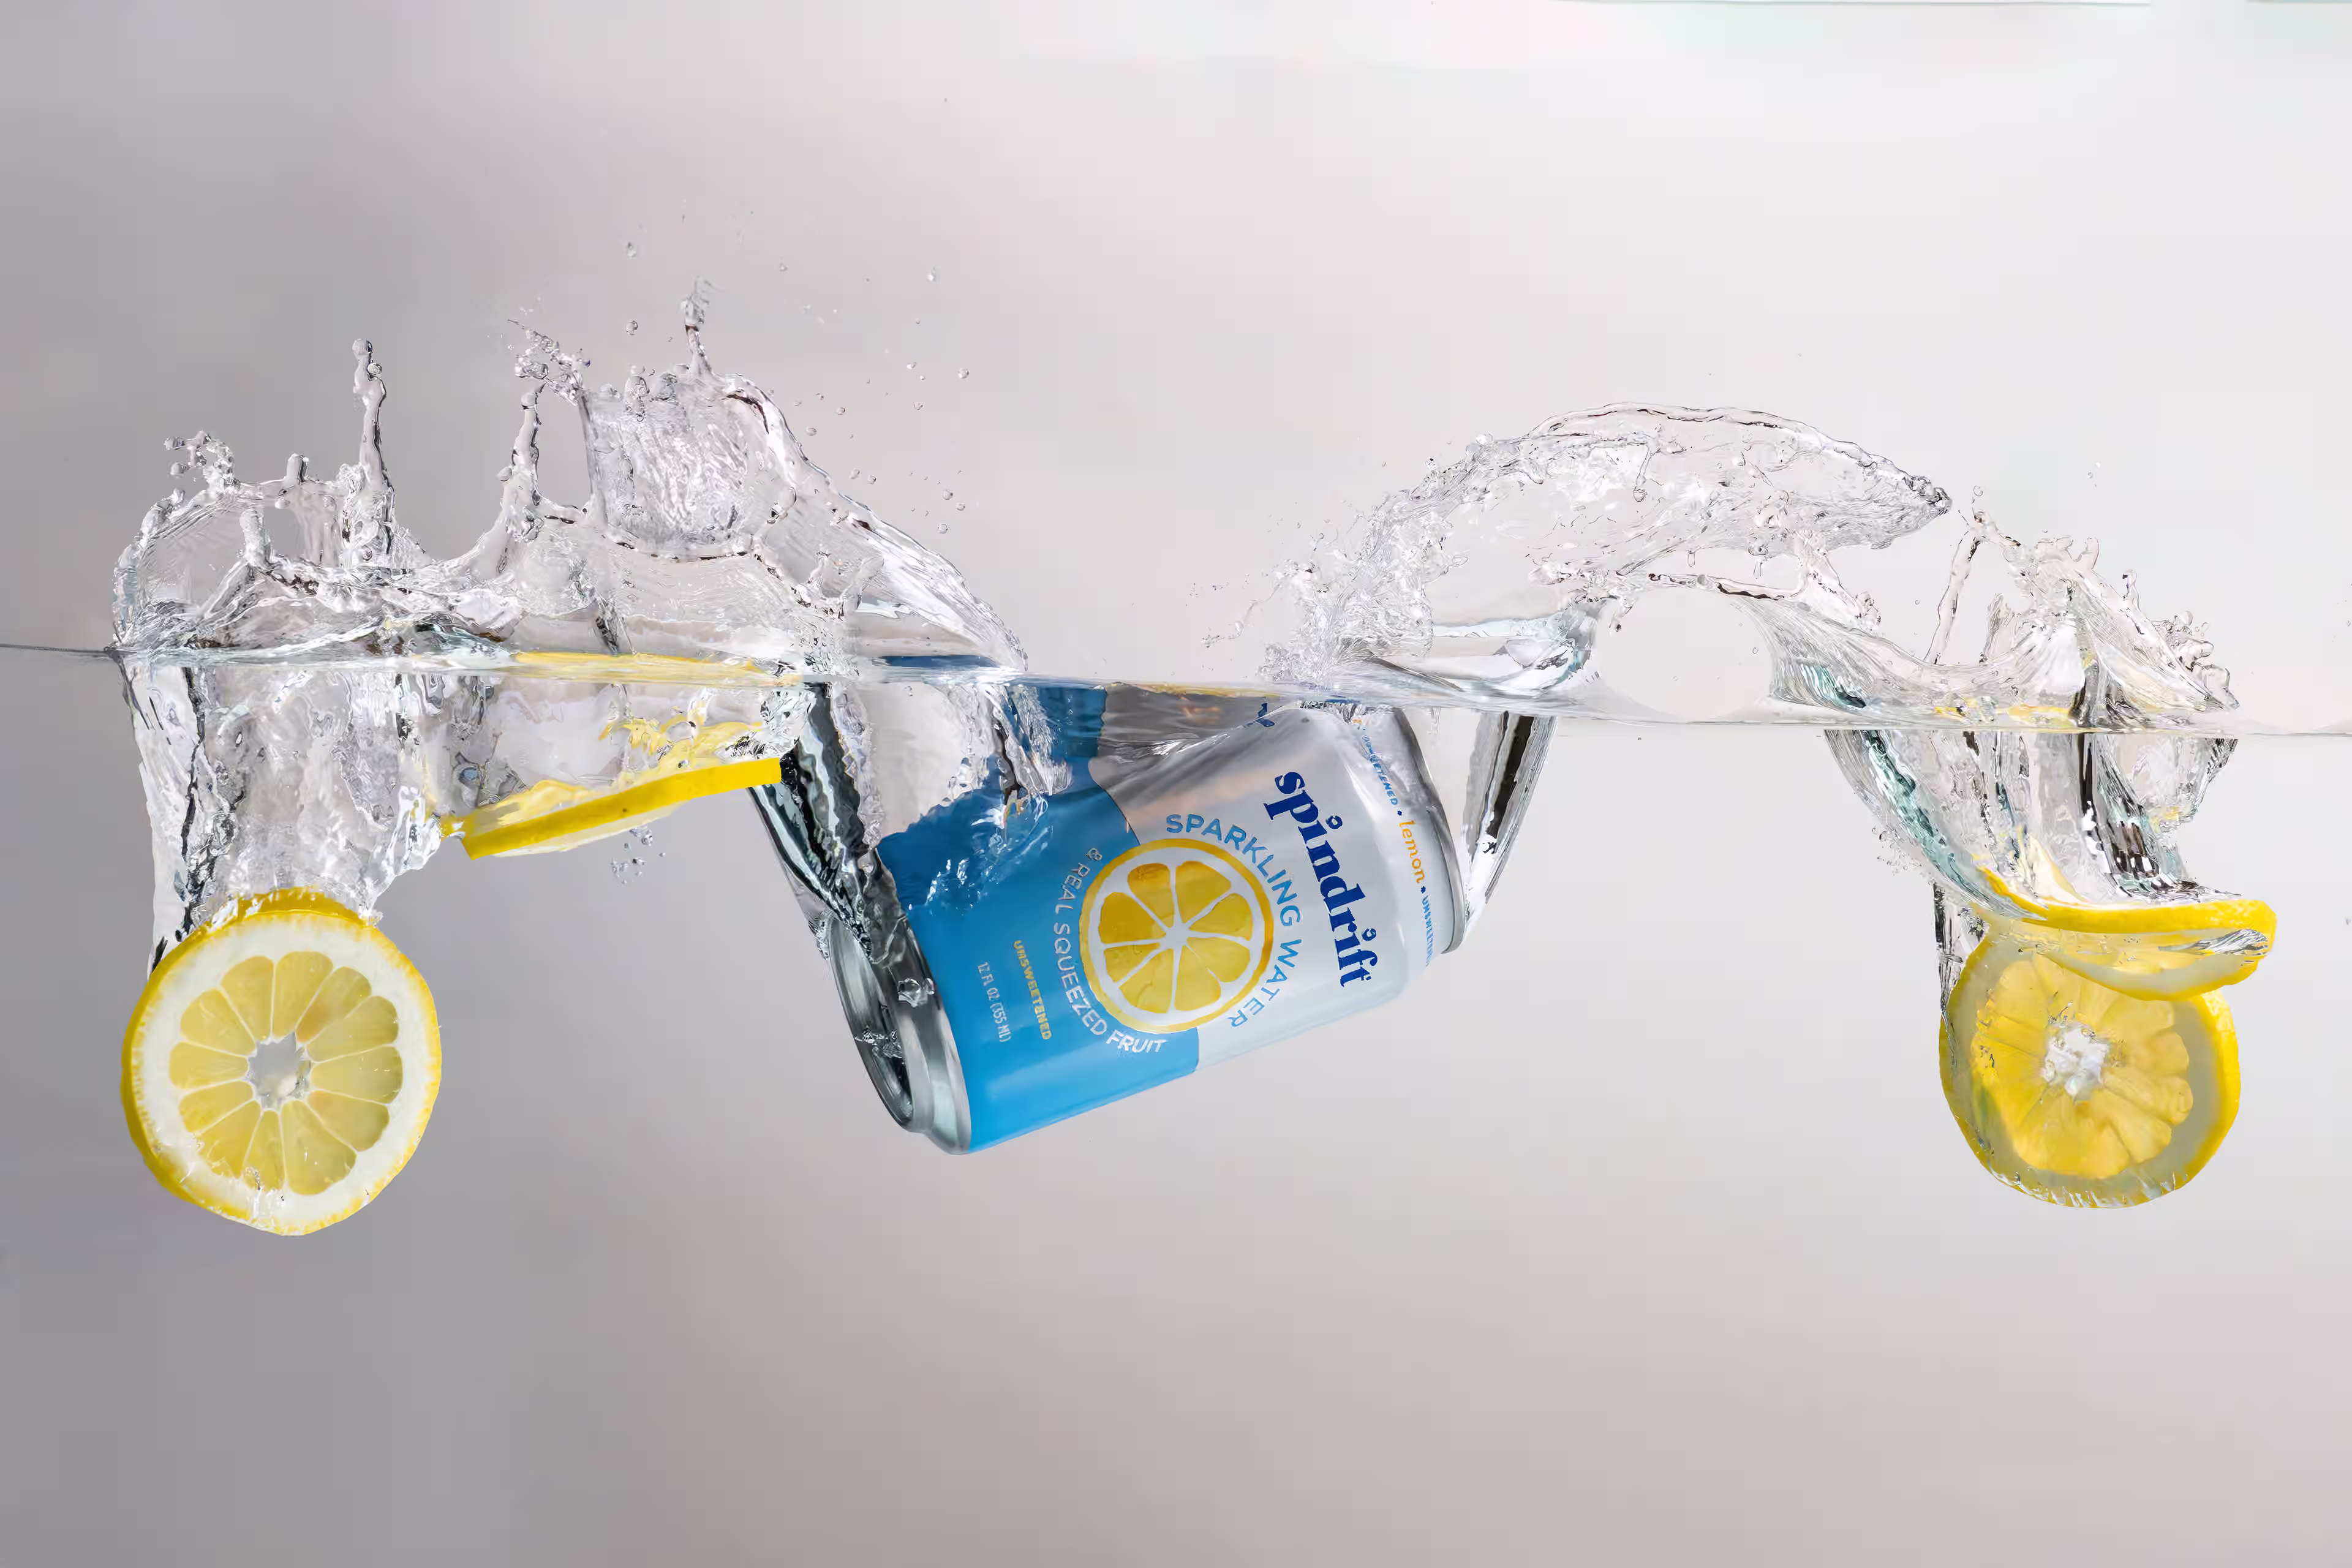
For food and beverage, props can include:
- Ice
- Citrus
- Herbs
- Glassware
- Linen napkins
- Cutting boards
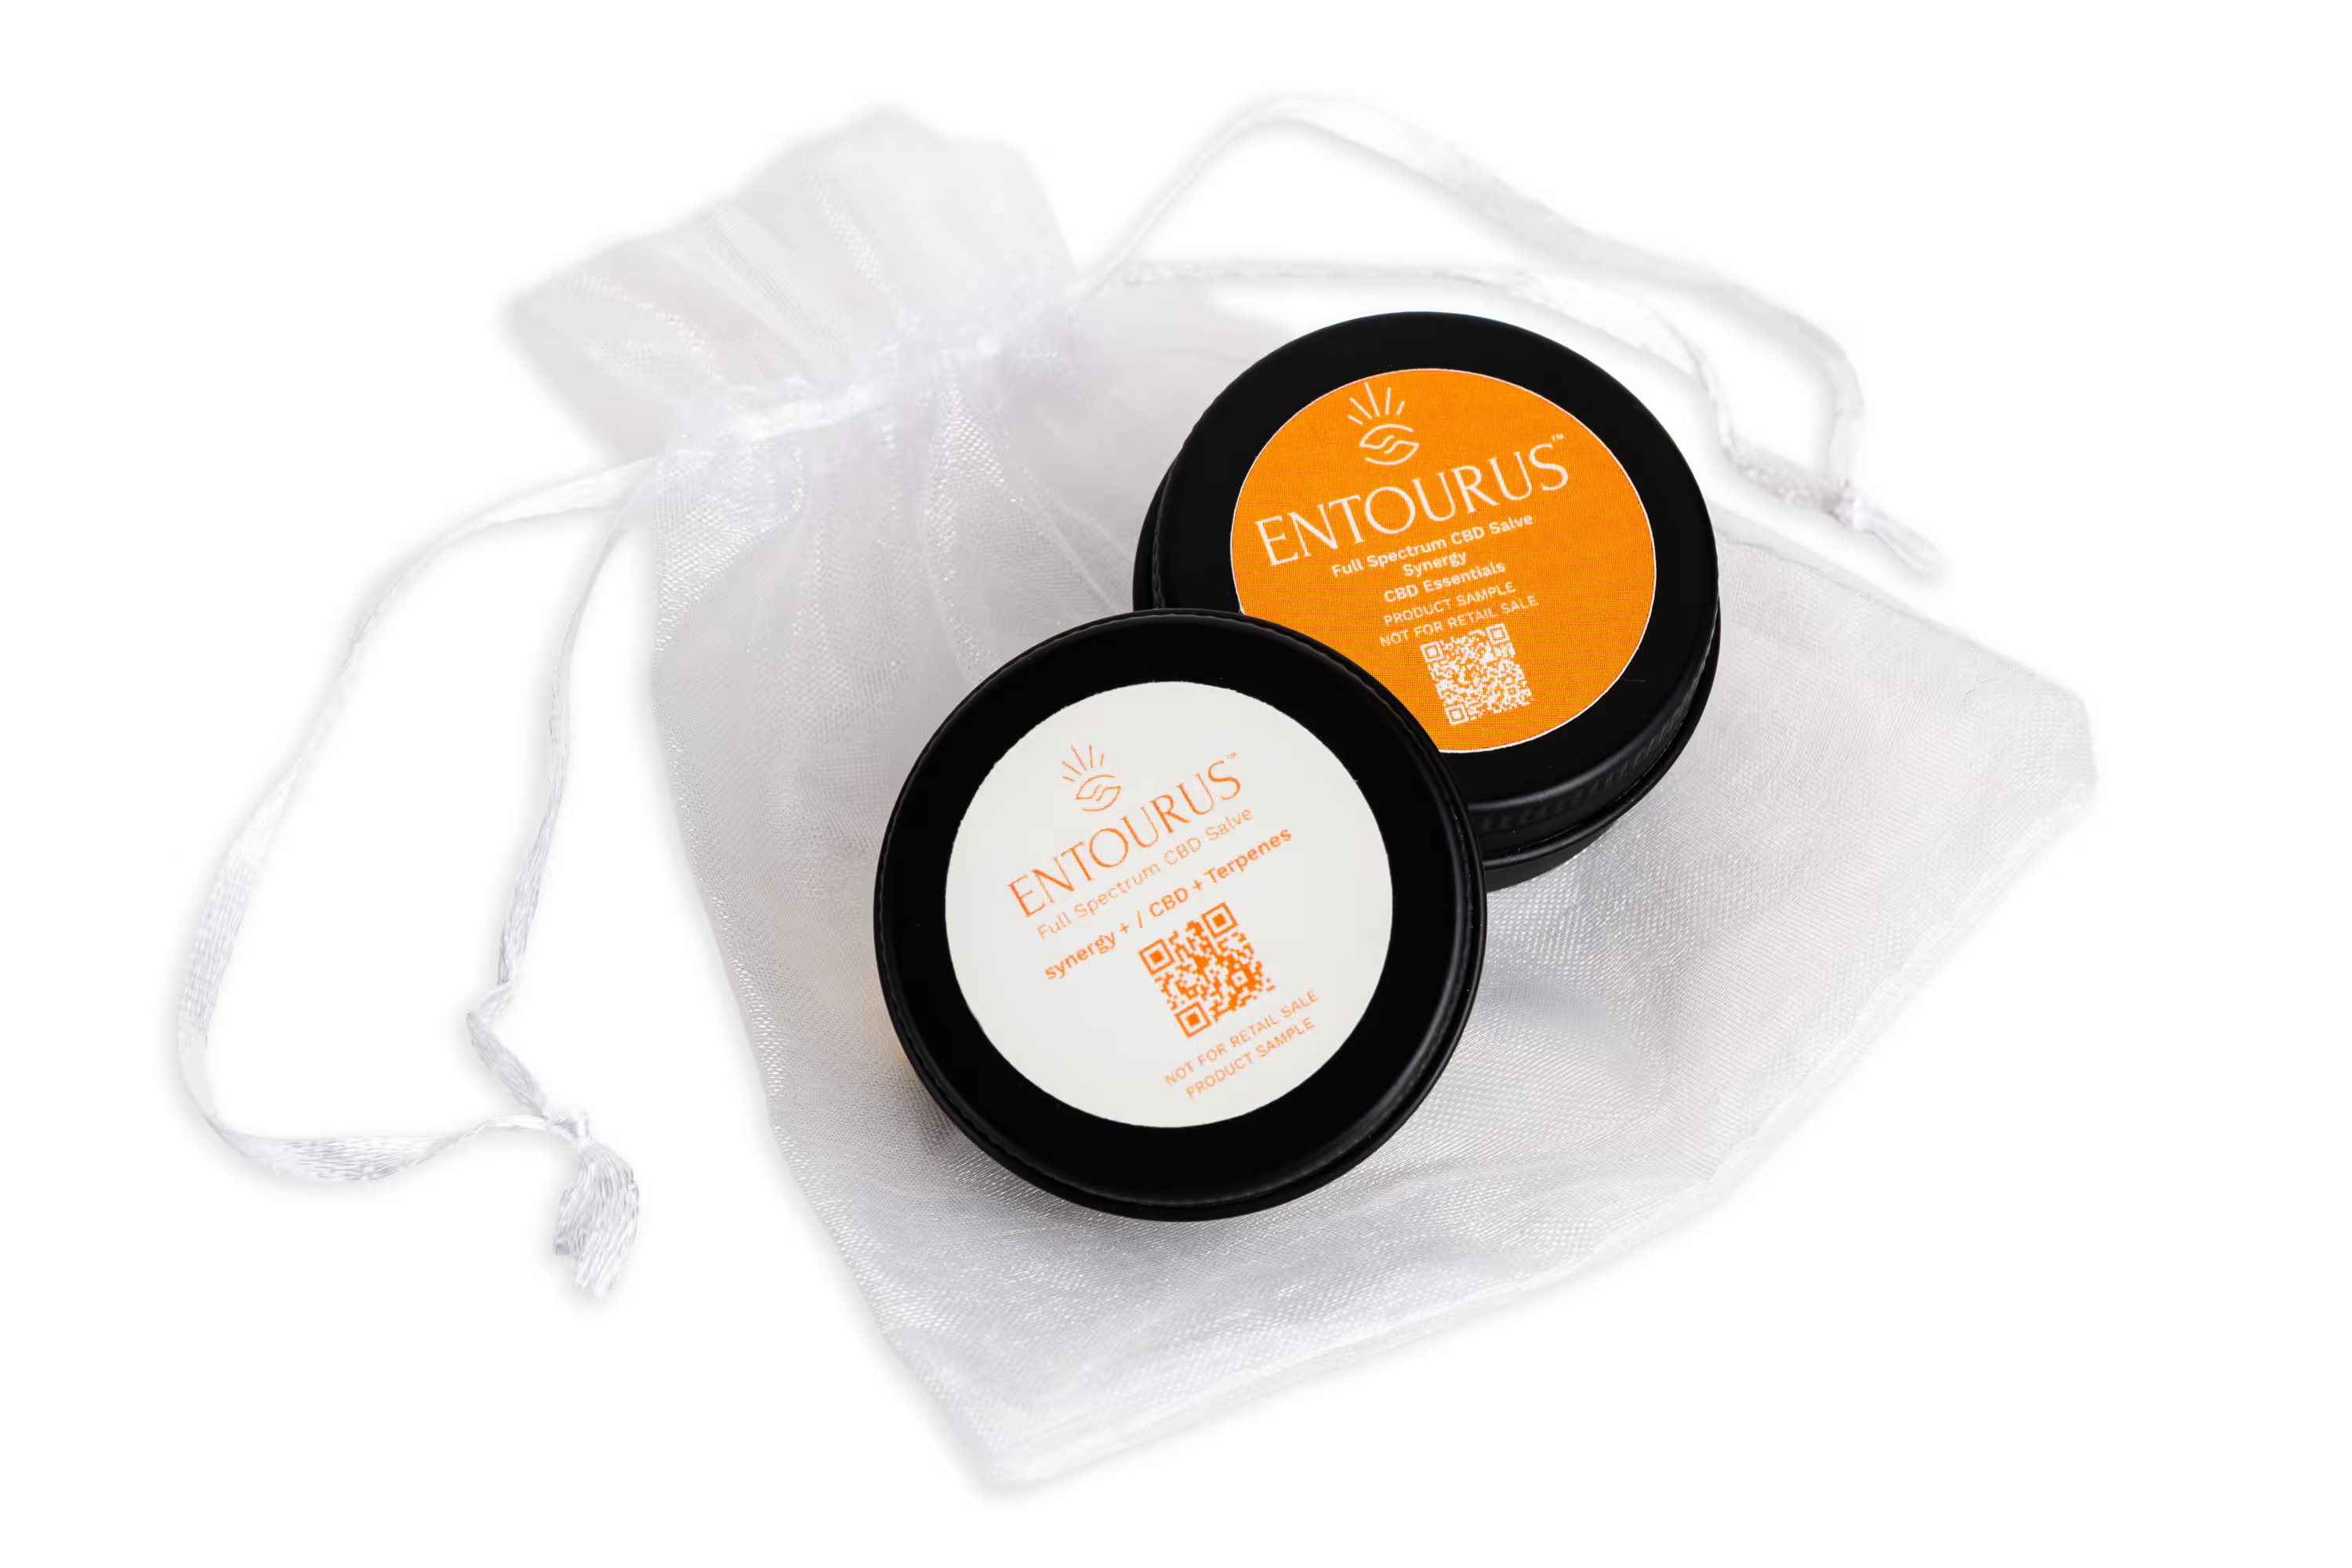
For wellness and beauty:
- Towels
- Stones
- Droppers
- Natural textures (wood, marble)
If the prop does not help explain the product, skip it.
5) Make sure you get the right files for your site and ads
Ask for these deliverables
This is where a lot of first shoots go wrong. You get photos, but they are not usable across platforms. Ask for:
- Web-ready images (for fast loading)
- High-resolution images (for print and packaging)
- Crops for your key channels
Basic crop sizes:
- Square 1:1 (great for grids and some ads)
- Vertical 4:5 (great for Instagram feeds)
- Full vertical 9:16 (stories and TikTok style)
Also ask for consistent naming like: Brand_Product_Flavor_ShotType_01.jpg Your team will thank you.
Don’t ruin page speed with huge images. Sharp photos are good. Giant files are not. Google says, “High-quality photos appeal to users more than blurry, unclear images.” Google also warns that images often create most of the page size, which can slow your site. So export your images for the web the right way. High quality, reasonable file size.
.avif)
The simple checklist you can copy into your notes
Here’s your first CPG product shoot checklist:
Before the shoot:
- List your channels (site, Amazon, ads, email, retail)
- Pick your main goal (launch, refresh, new flavor set)
- Choose a visual style (background, surface, lighting)
- Write your shot list per SKU
- Gather props and ingredients
- Bring 3 to 6 clean units per SKU
- Clean products, remove stickers, check labels
During the shoot:
- Shoot the baseline product set first
- Keep angles and spacing consistent across SKUs
- Capture one in-scale photo per SKU
- Take a few lifestyle scenes for ads
- Review a few images on a laptop screen before moving on
After the shoot:
- Get web-ready files plus high-res files
- Get the key crop sizes (1:1, 4:5, 9:16)
- Rename files so your team can find them fast
- Upload and check how images look on mobile
Next Step
If you want to have a successful shoot without needing to know everything, we can plan it with you, shoot it, and deliver files your team can use right away. Book a call today to get product photos you love.
FAQ
How many photos do I need for my first CPG product launch?
Start with 7 photos per SKU: hero, front, angle, back, two close-ups, and one in-scale shot.
What is the best background for CPG product photos?
White is the safest choice for clean ecommerce. You can add brand colors for ads and lifestyle shots.
Do I need lifestyle photos for CPG?
Yes, if you run ads or social. Lifestyle photos show how someone uses your product, and they make your content feel real.
What should I bring to a product shoot?
Bring 3 to 6 perfect units per SKU, backups, clean packaging, props that match your brand, and a written shot list.
How do I make my product photos look consistent across flavors?
Use the same lighting, same camera angle, same distance, and the same crop rules for every SKU.
How do I optimize product photos for my website?
Use sharp images, export smaller web files, write clear alt text, and test the page on mobile. Google says high-quality images help users, but huge files can slow your page.