You do not need a $5,000 camera to take product photos that look clean. You do need three things: A good light, a simple setup, and a repeatable process.
1) Why phone photos look “DIY” (and how to fix it)
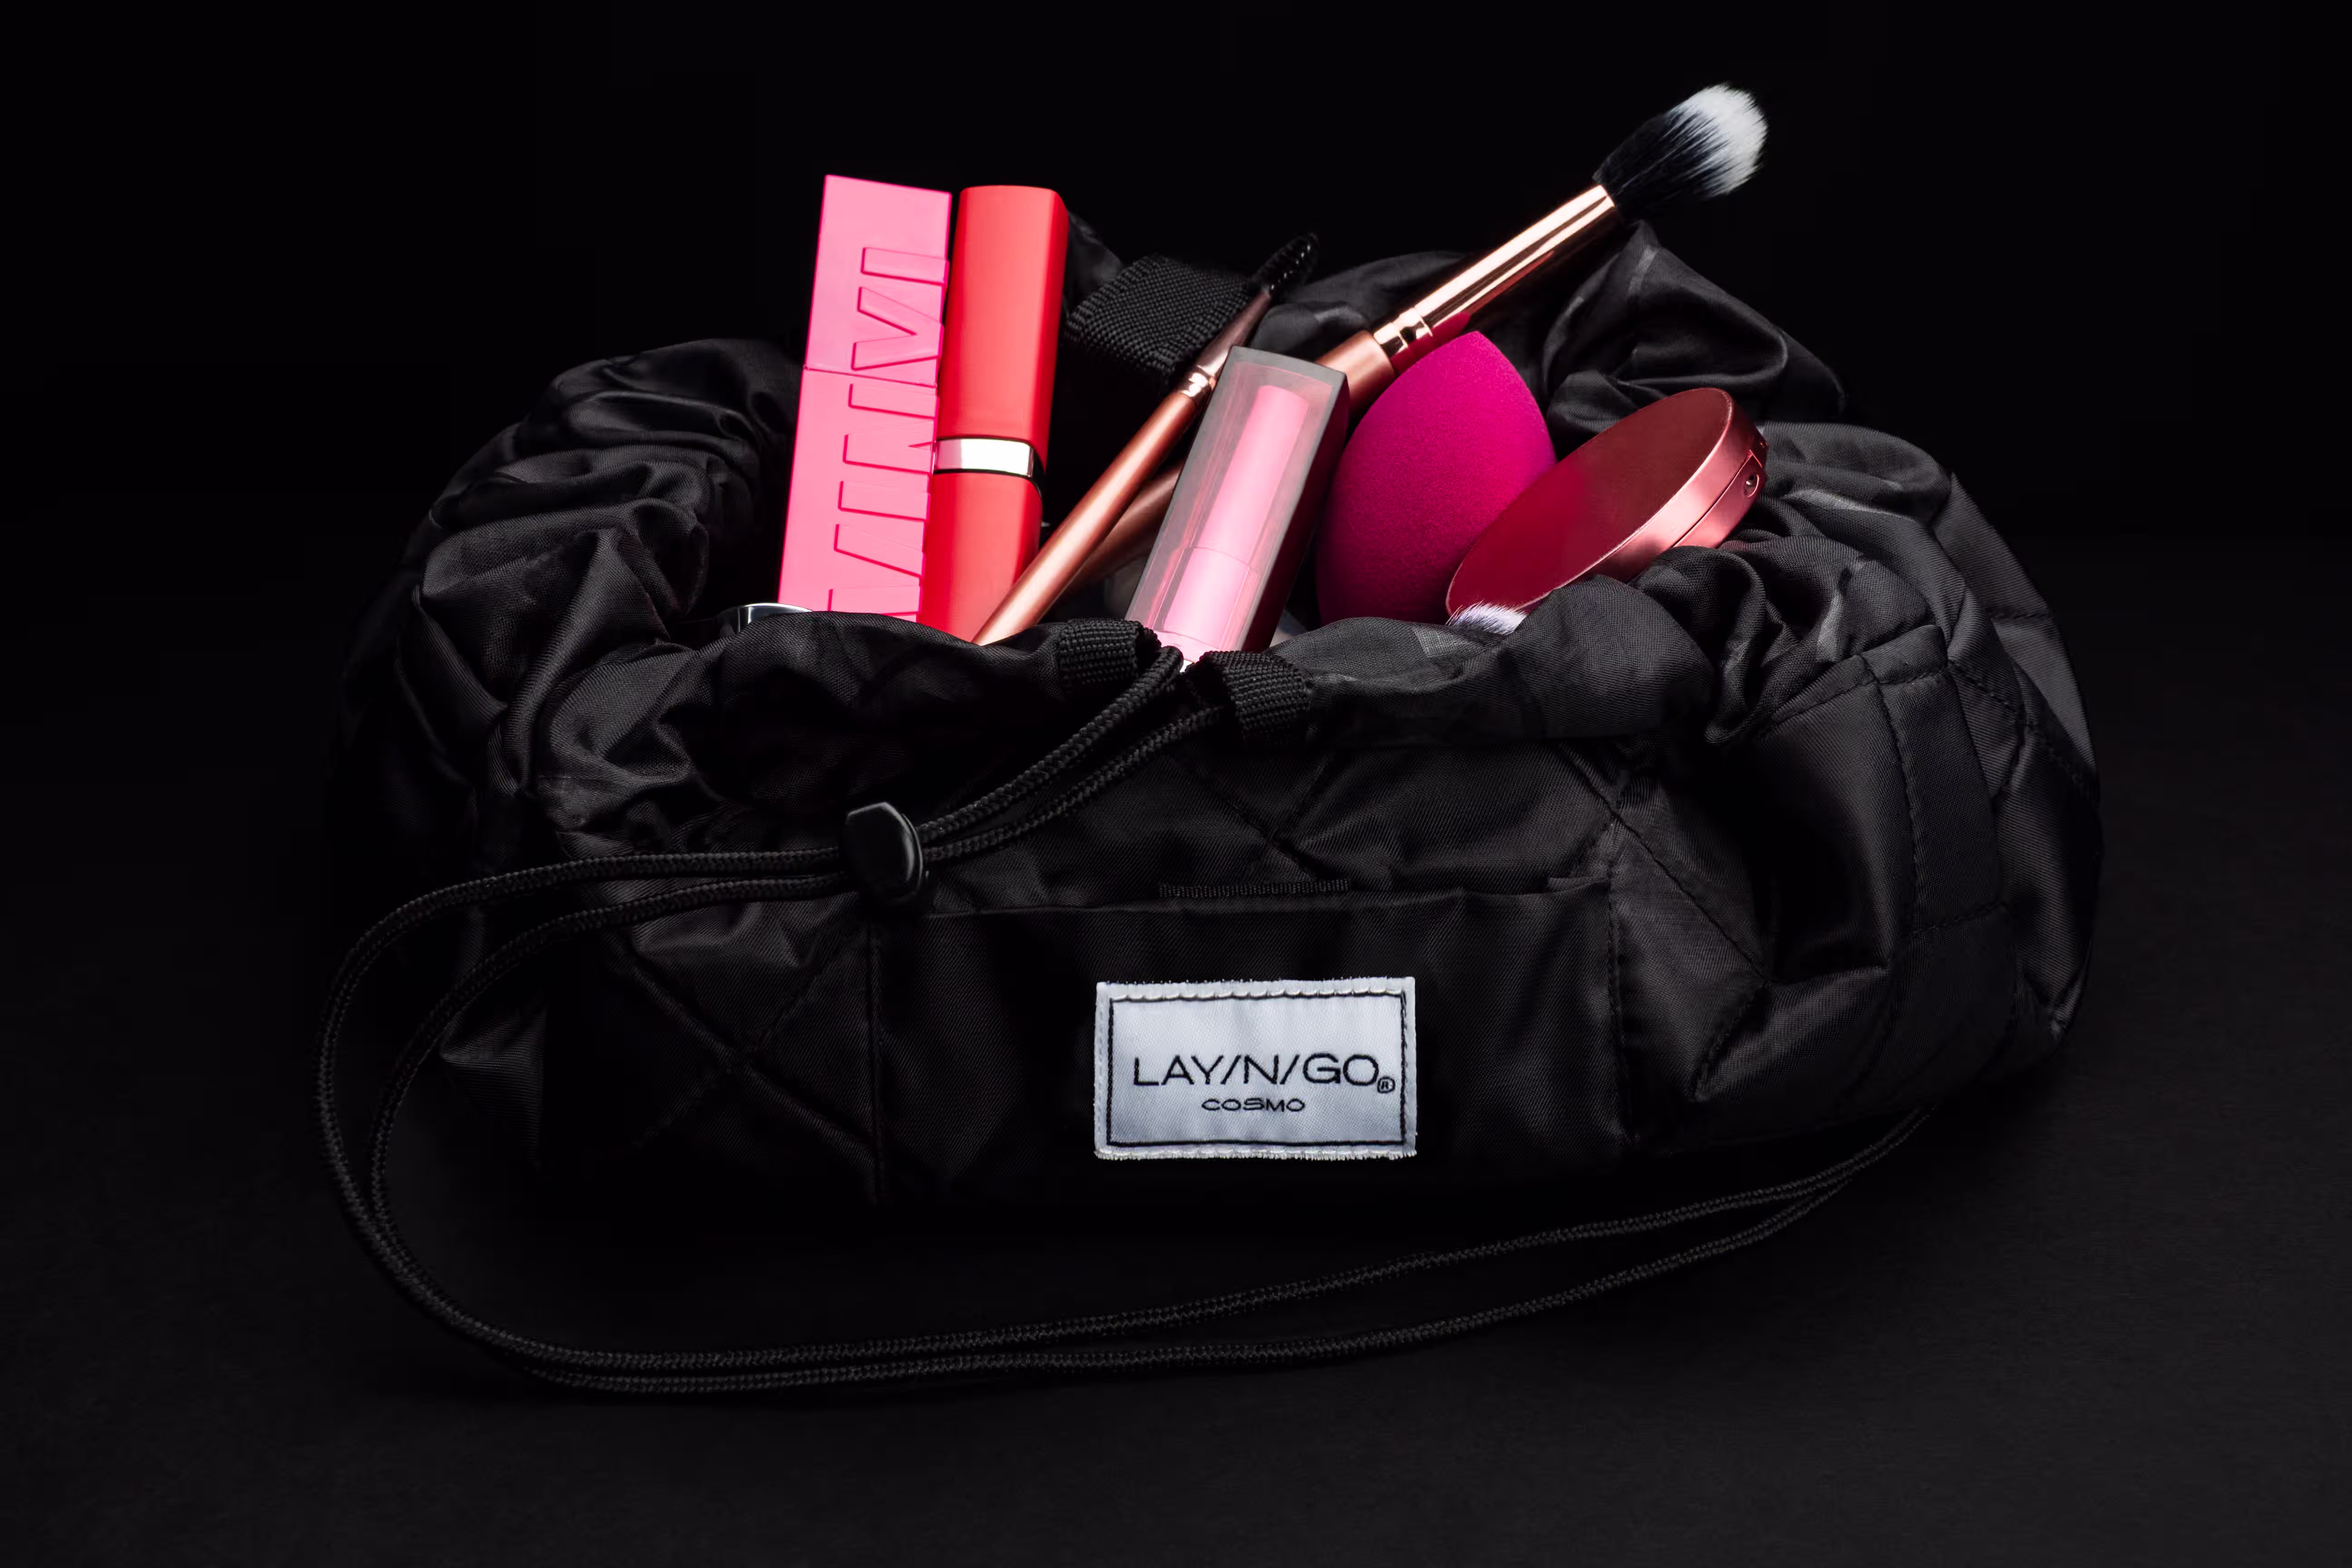
The biggest issue is bad light. Most DIY product photos fail because the light is harsh, yellow, or uneven. Common mistakes include using overhead kitchen lights, phone flash, or mixed lighting (window light plus warm lamps), as well as having light that throws dark shadows that hide the label. Fix it with one rule: Use one light source. Window light works best because it’s soft and flattering.
The second issue is messy framing. Your product needs to look intentional. DIY framing usually looks like: the poduct is crooked, the label is slightly tilted, the camera angle is too high or too low, or there's simply too much background clutter
Fix it with:
- A straight-on angle for your hero shot
- Grid lines turned on
- A stable phone position (even a stack of books works)
2) A simple setup you can build in 10 minutes
Use a window, not a ring light. Start near a window with indirect light. Do this:
- Turn off overhead lights
- Place your product 2 to 4 feet from the window
- Put the window to the side of the product, not behind it
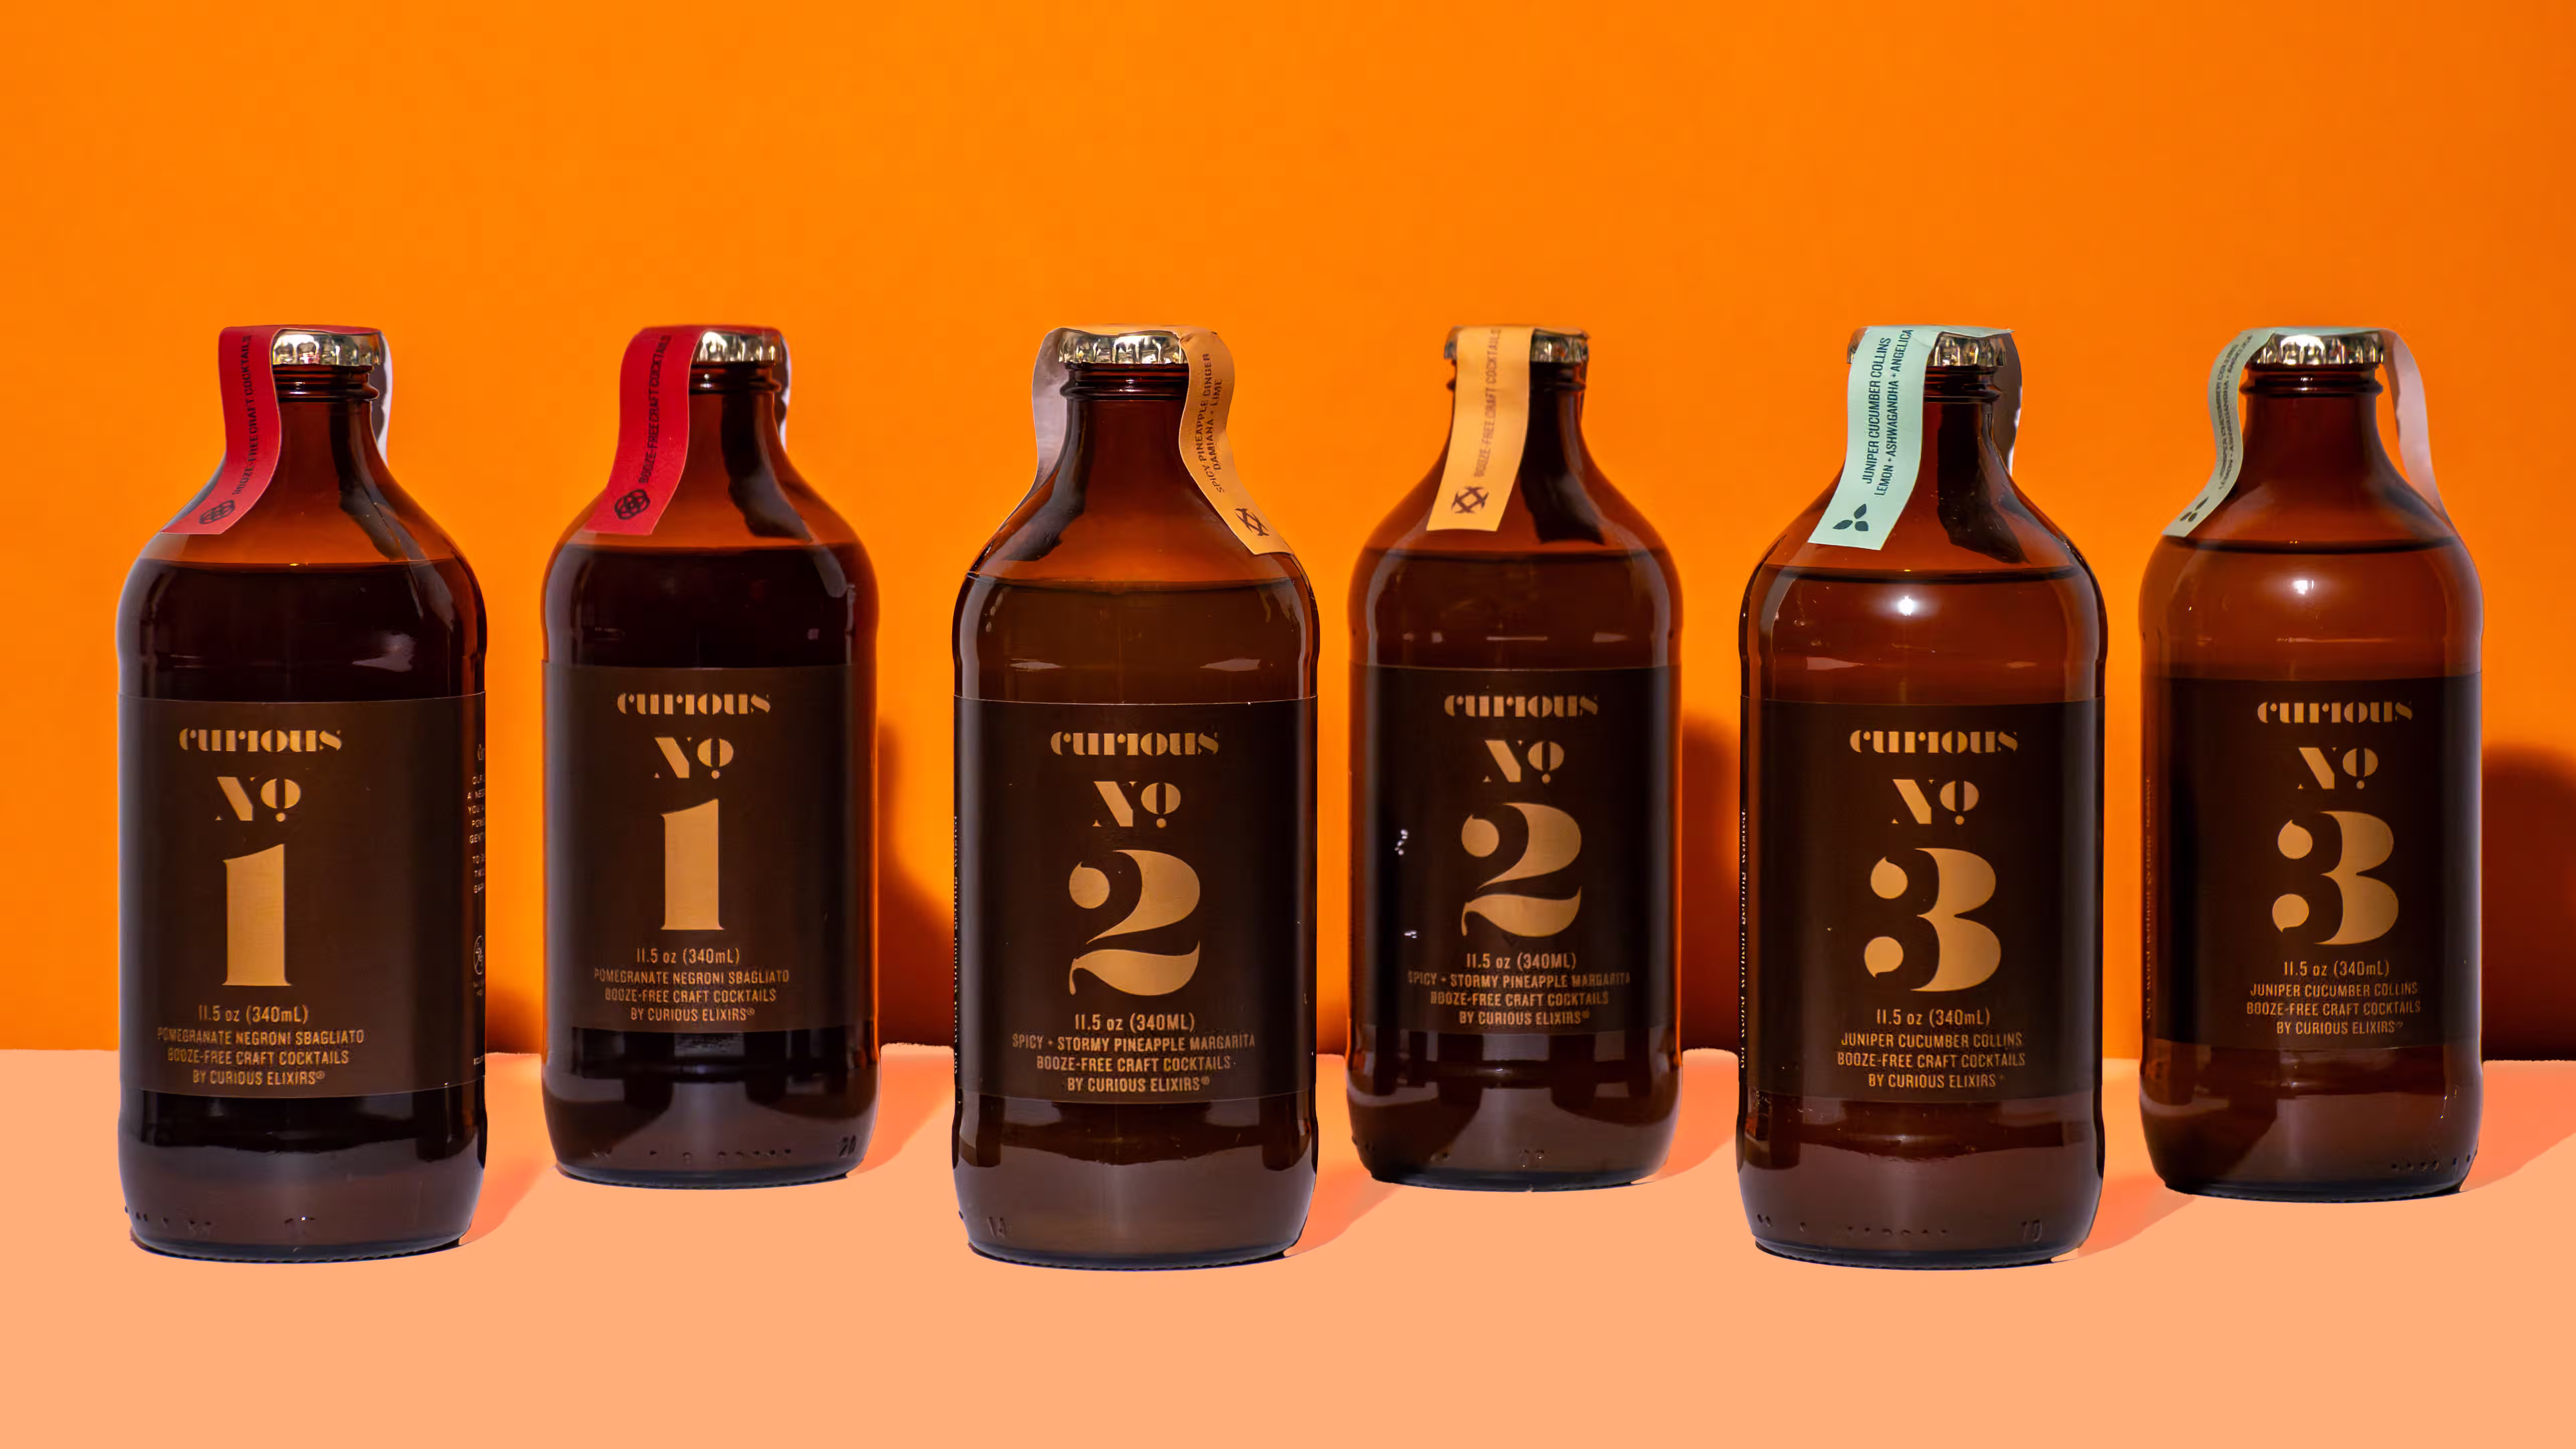
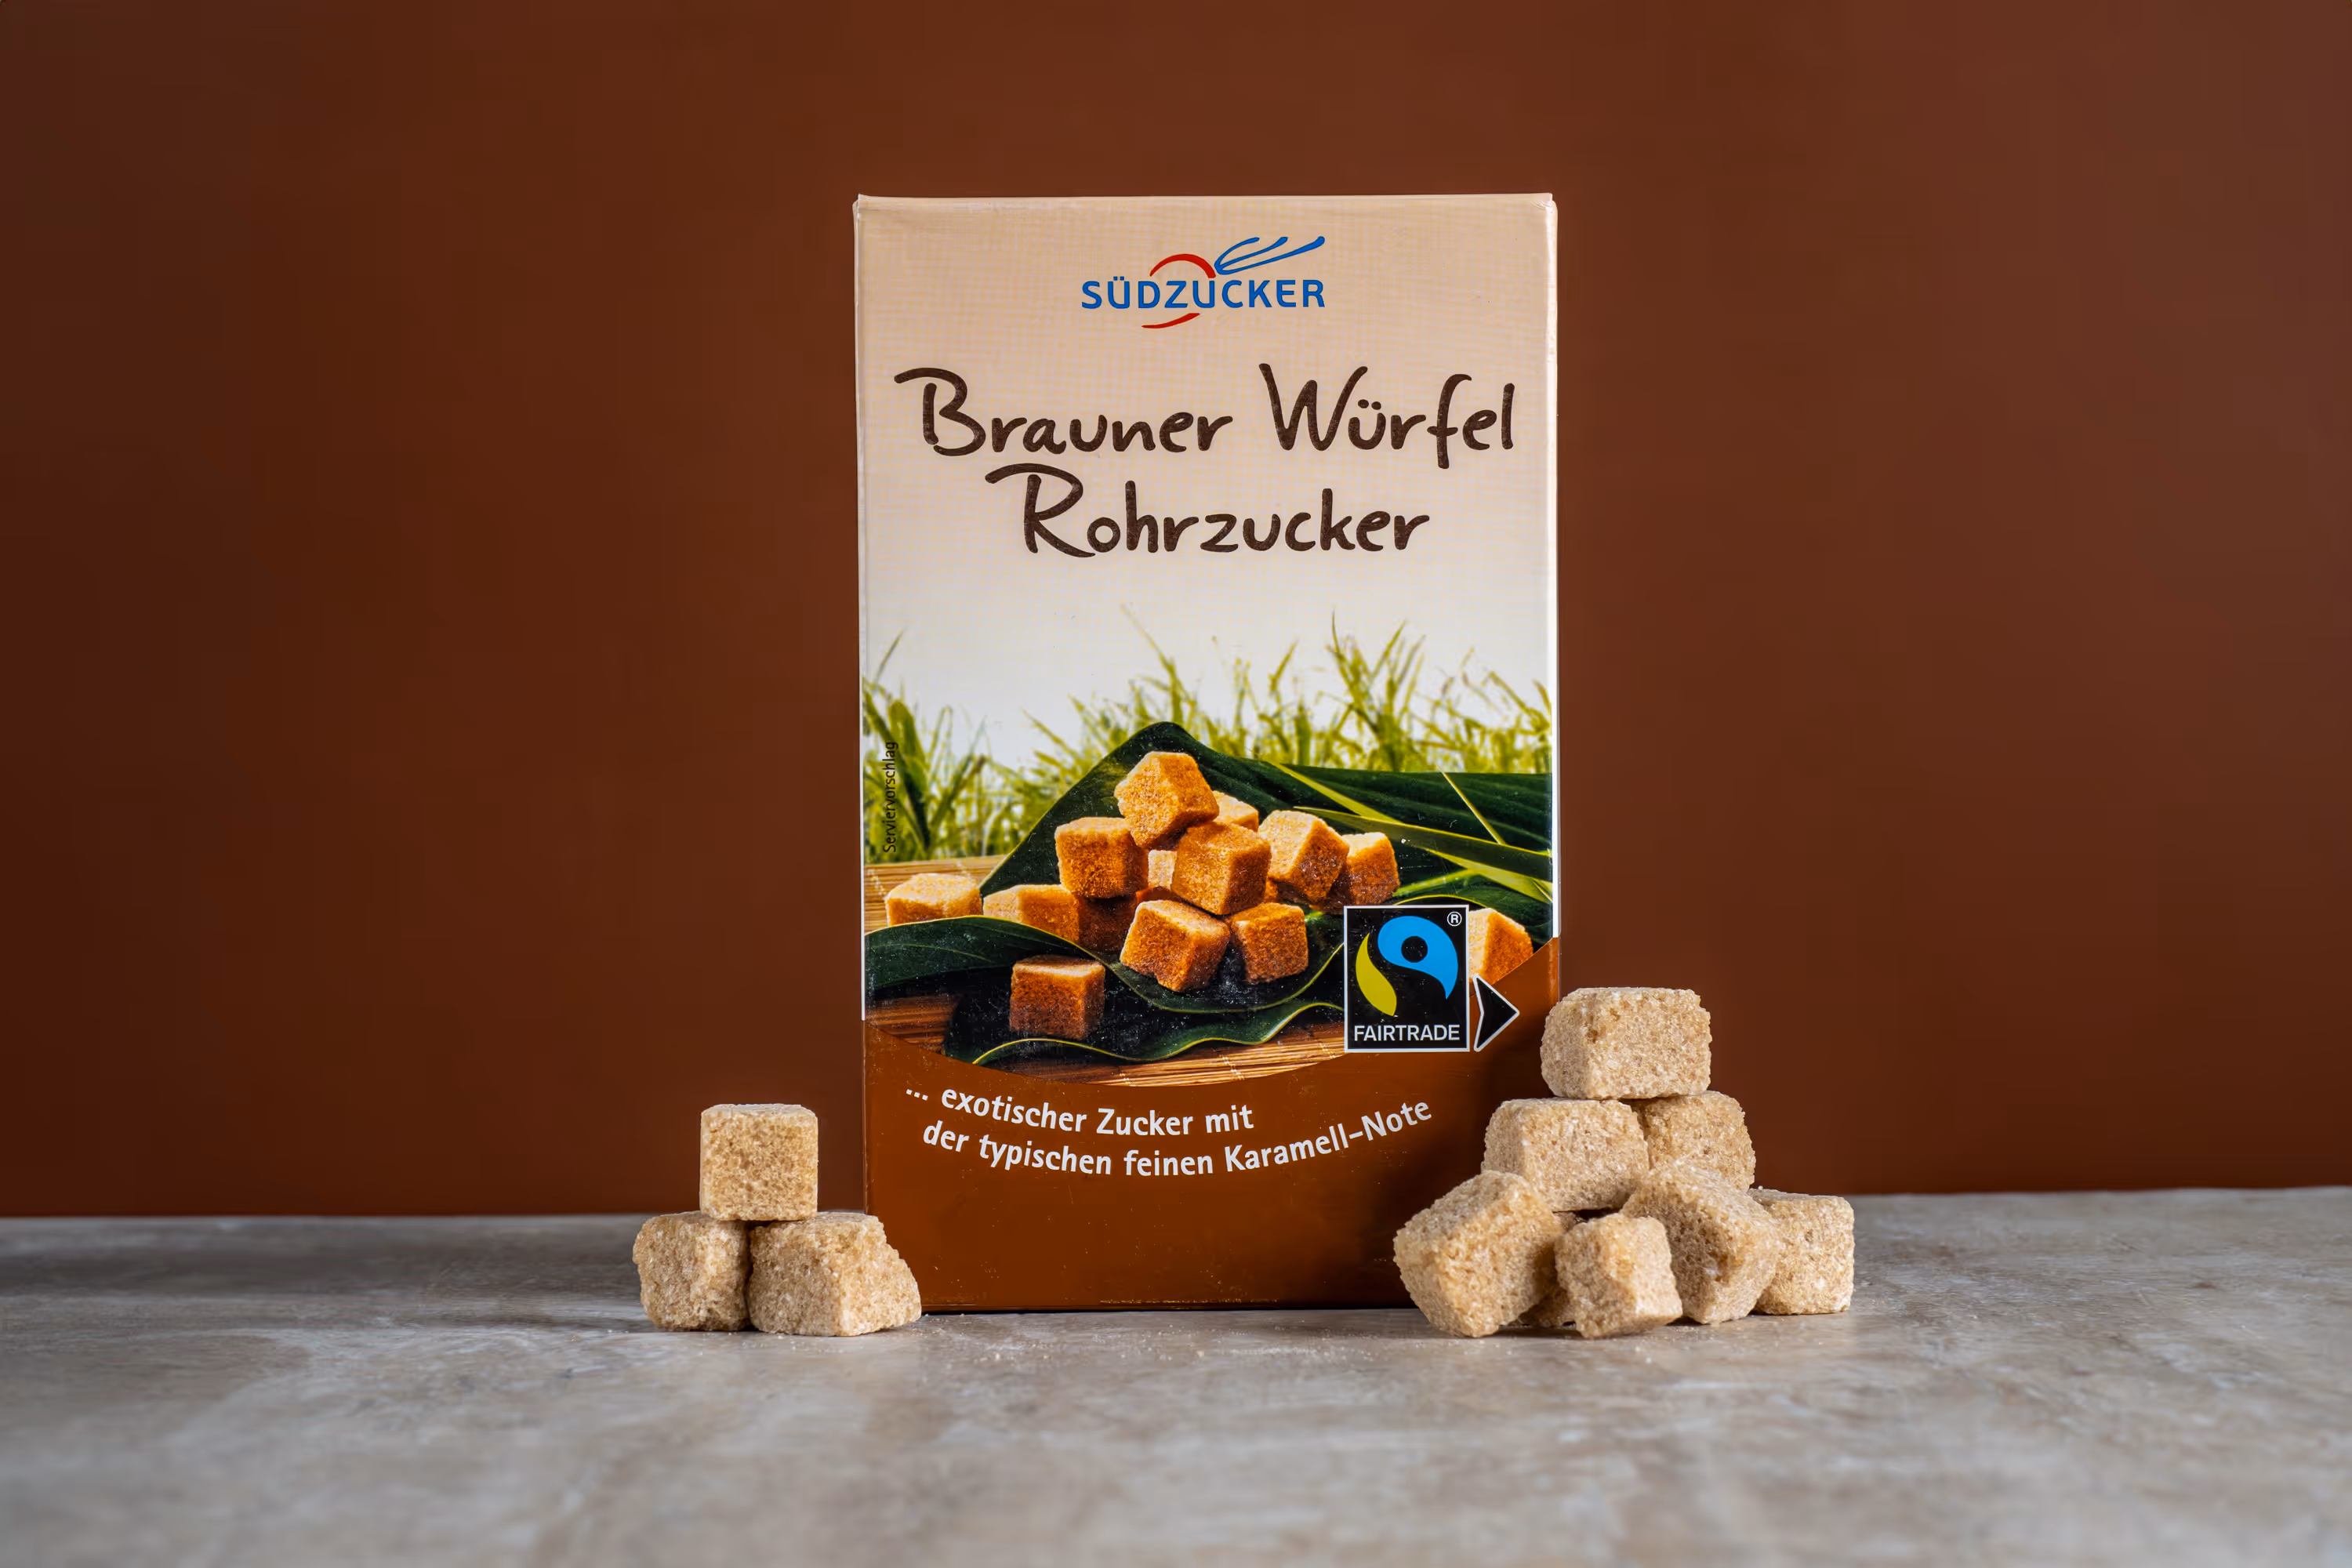
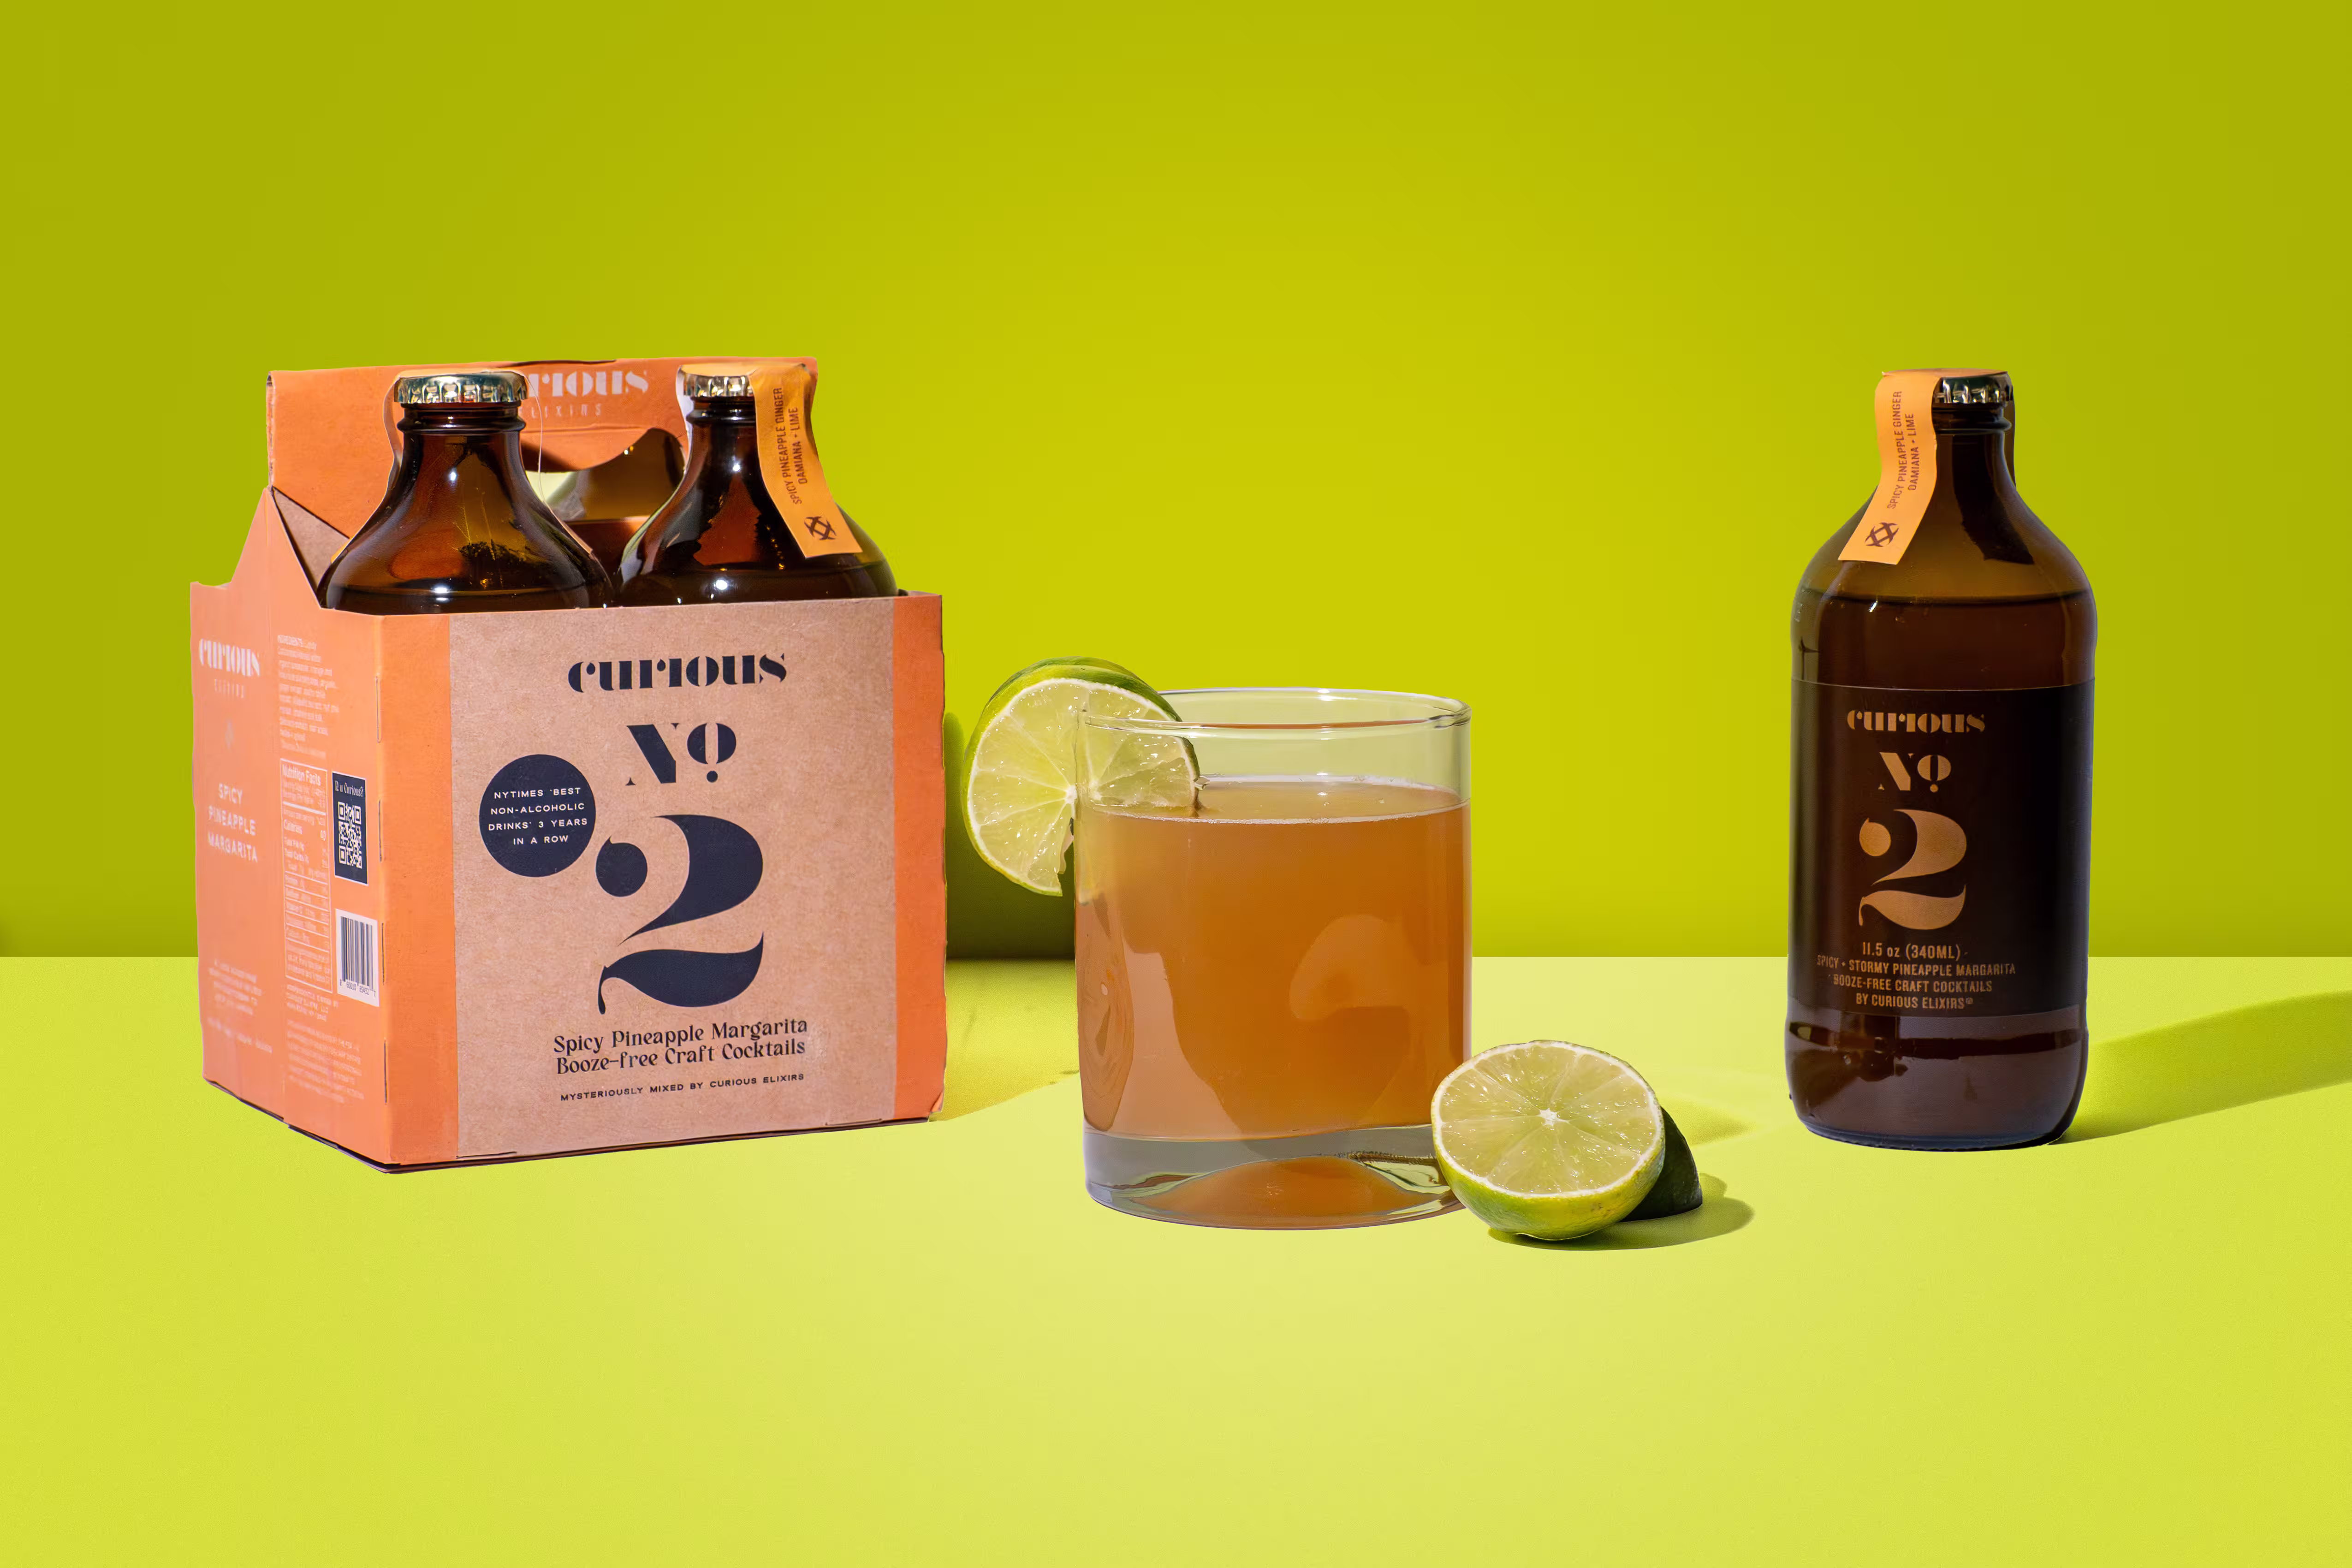
This gives you soft shadows and readable labels. You can also add a white surface to bounce light back in. Then, build a clean background with cheap materials. You do not need a fancy sweep. Use white poster board, foam board, a clean countertop, or a piece of matte paper. Tape the board to the wall, then curve it down onto the table. This makes a seamless background. If your product is glossy, avoid shiny surfaces. They cause ugly reflections.
3) How to shoot the “must-have” product photos (step by step)
Start with the ecommerce basics
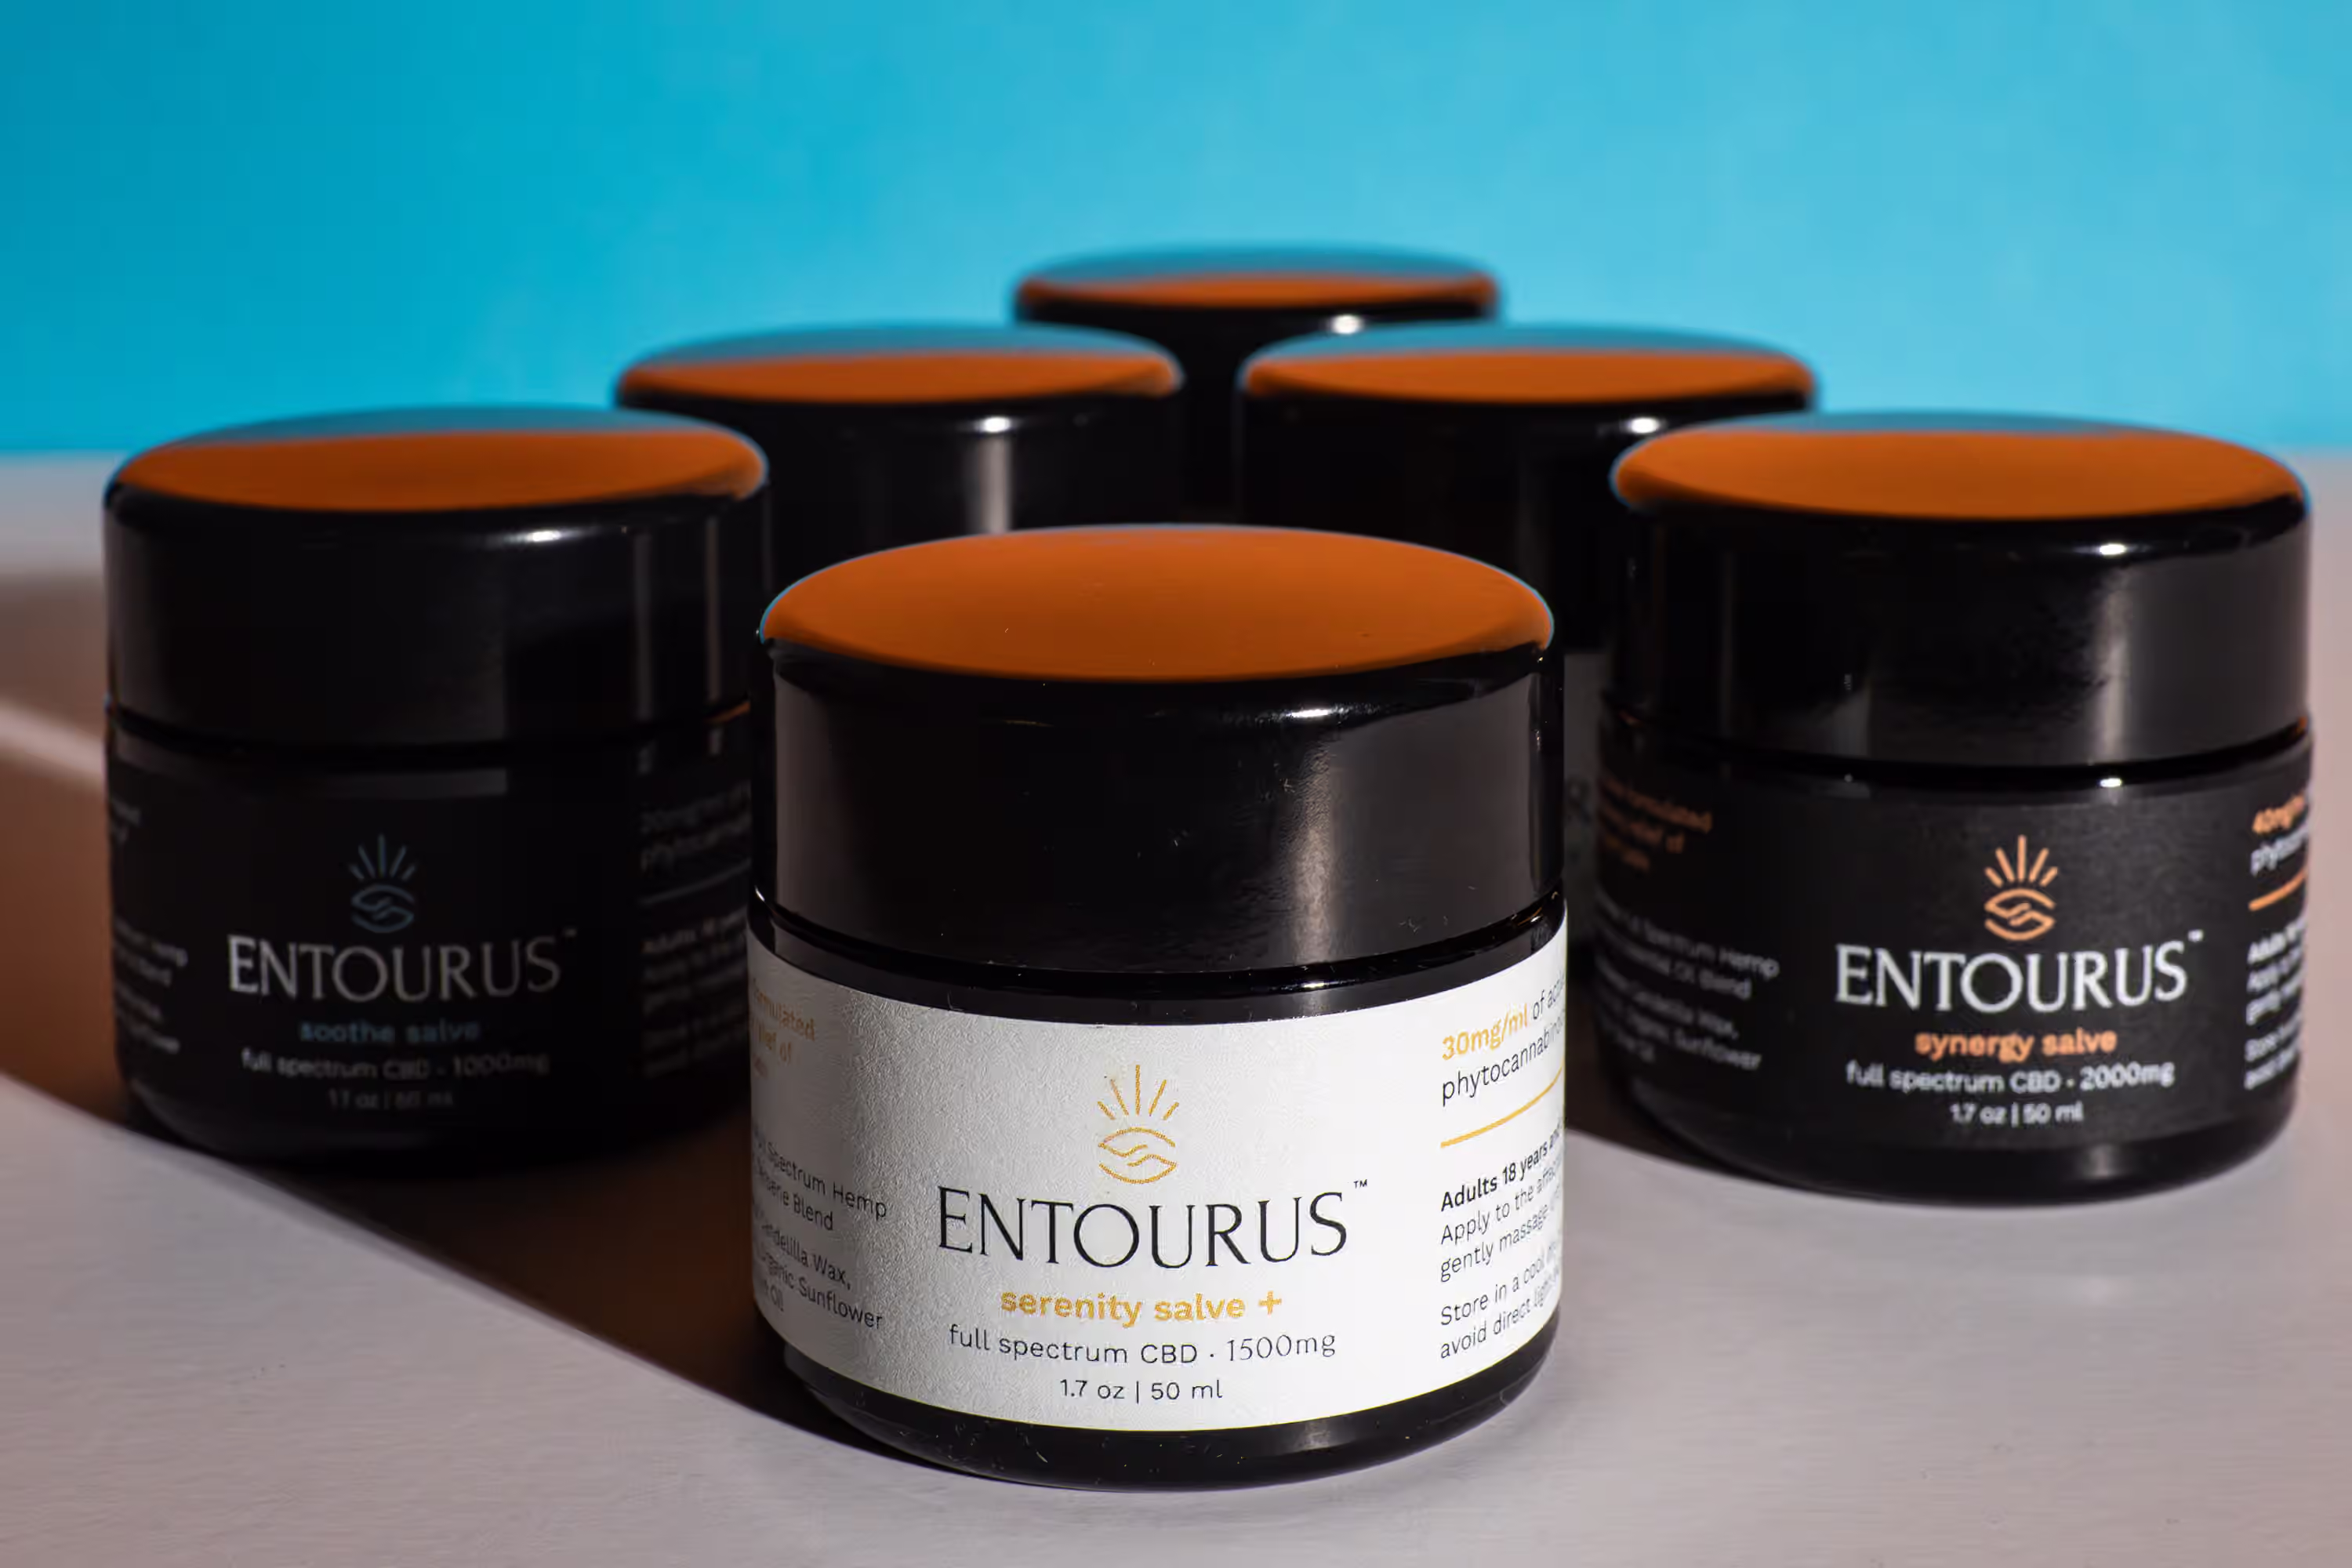
If you sell online, you need a clean set that covers the product page. For each SKU, shoot:
- Front hero (straight on)
- 45 degree angle
- Back label
- Close up of the key claim
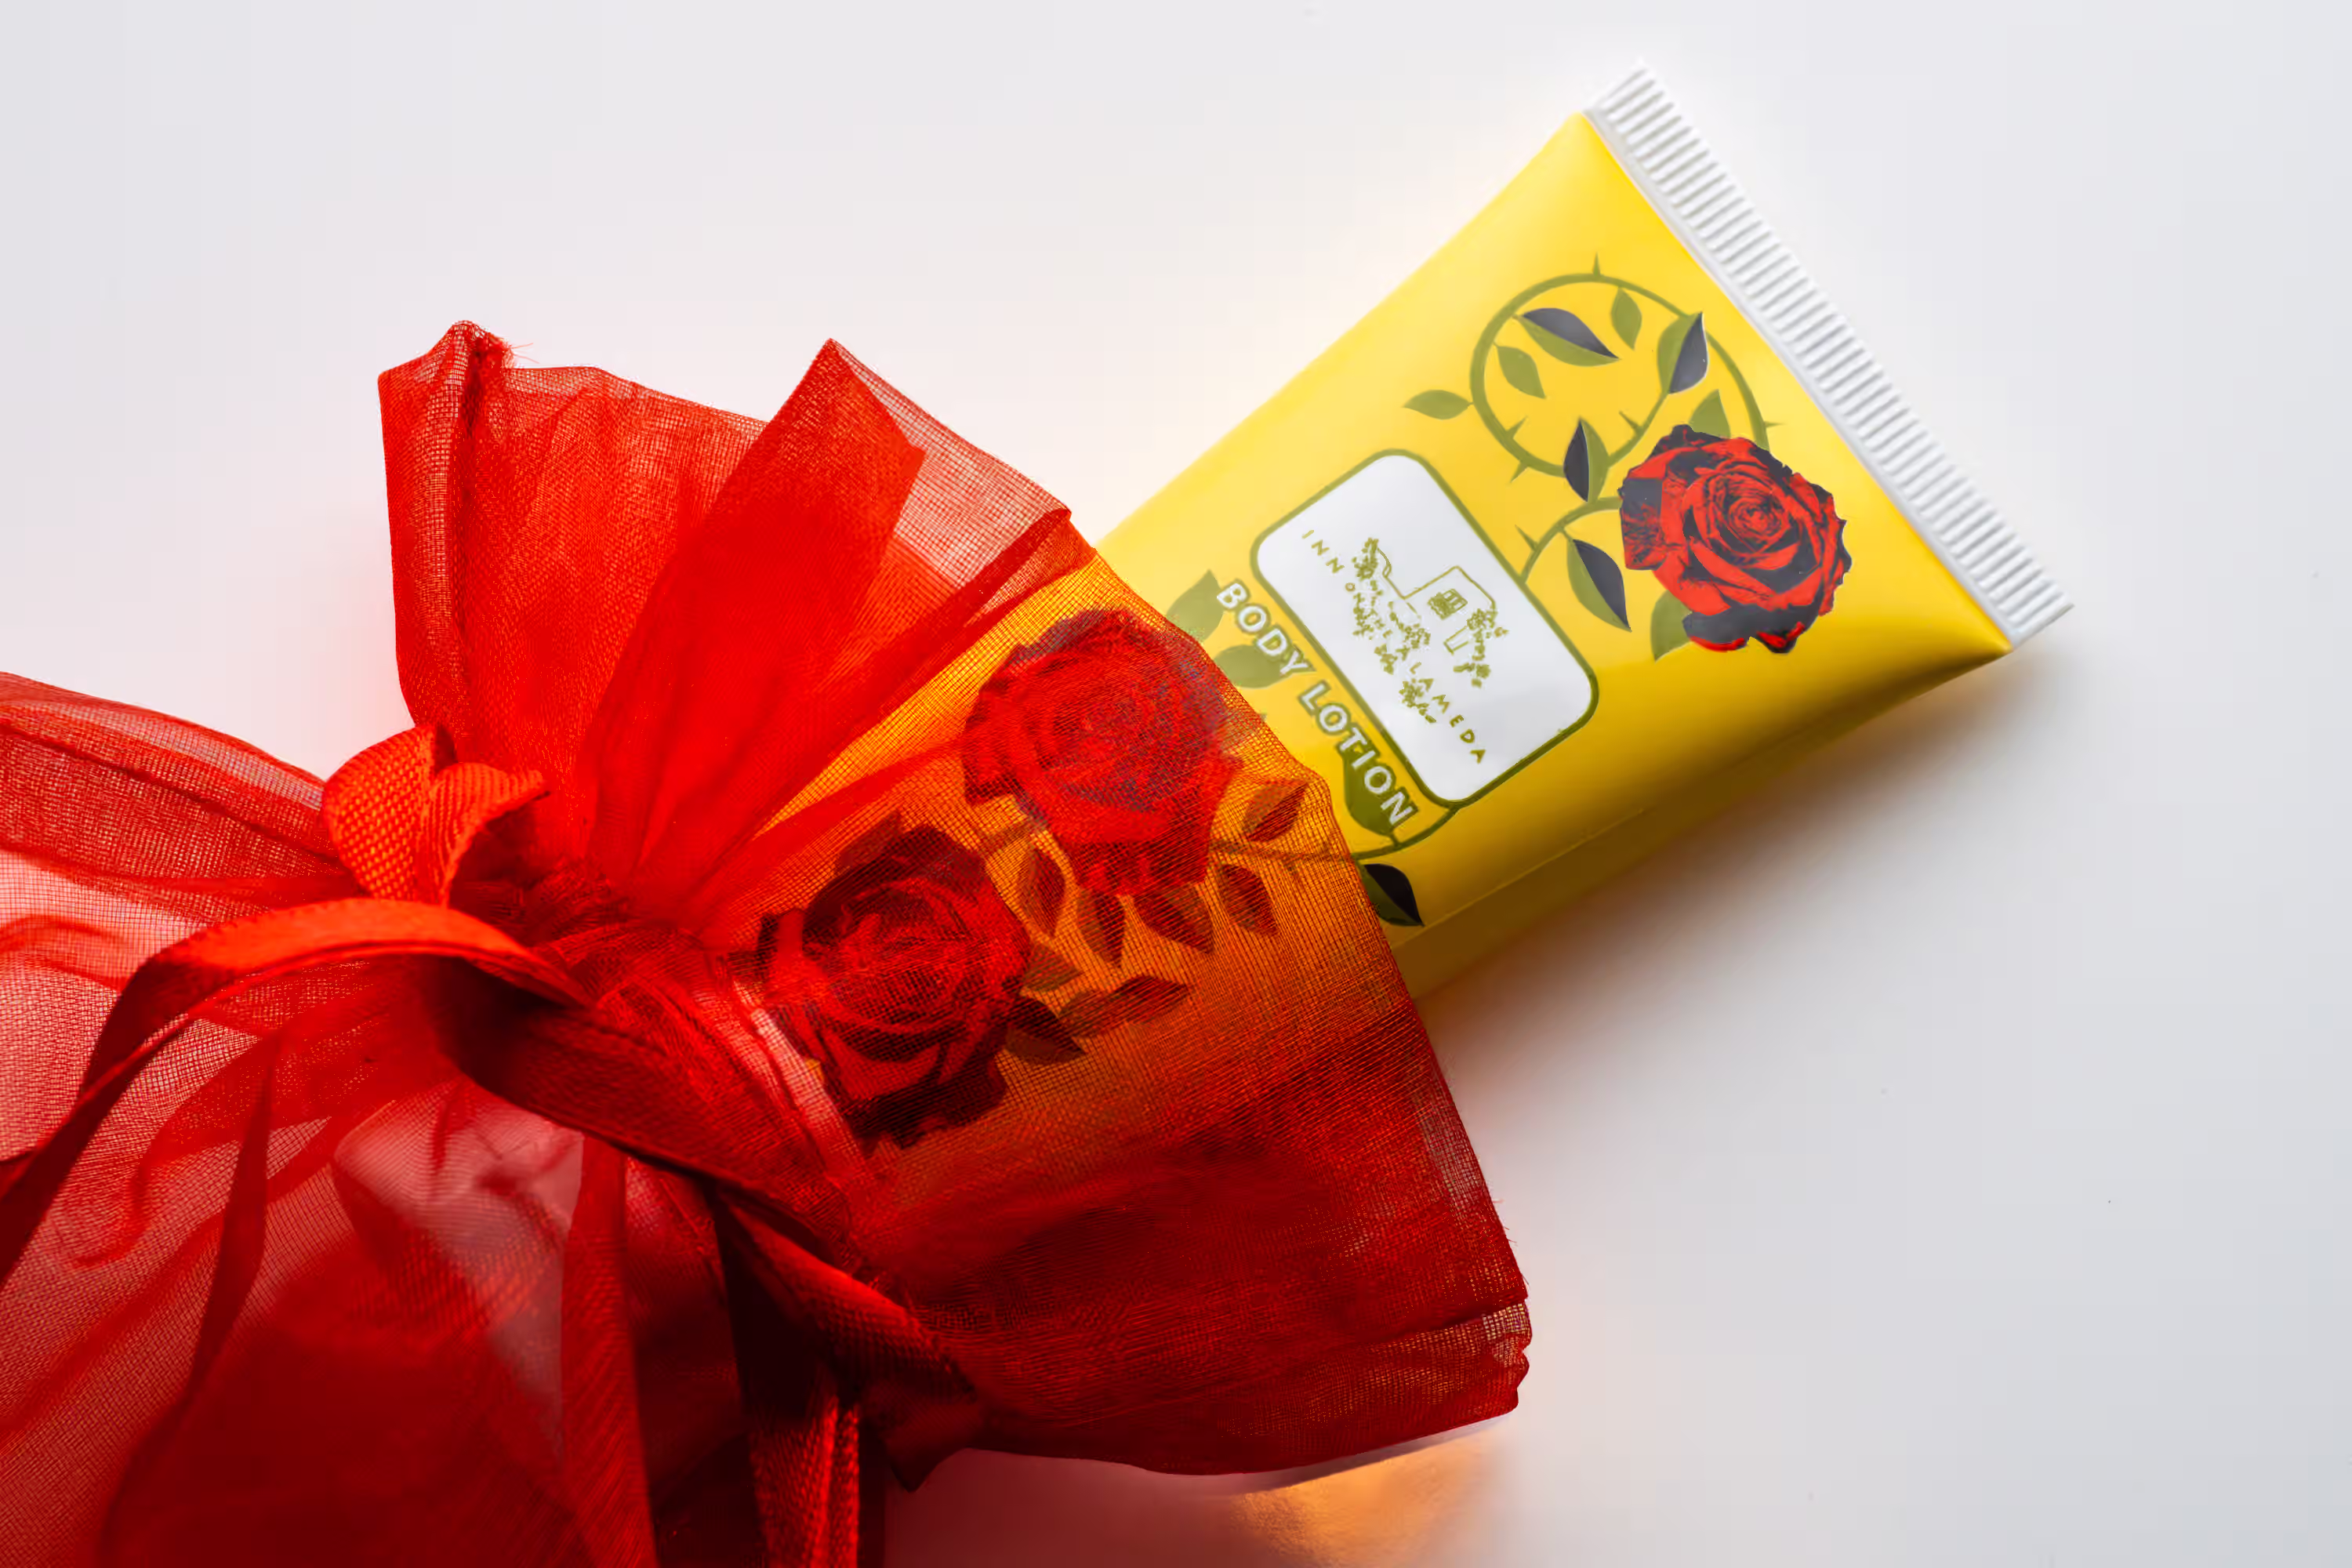
- In scale photo (in hand or on counter)
Use these phone camera settings
You want consistency, not “auto mode surprises.” Do this:
- Clean your camera lens
- Use the 1x lens (avoid digital zoom)
- Tap to focus on the label
- Press and hold to lock focus and exposure
- Slightly lower exposure so whites do not blow out
If your phone has a grid option, turn it on. Keep the product centered and level. Bonus rule: Take more photos than you need. Small differences in angle change reflections and label readability.
4) Edit your phone photos fast (without overdoing it)
Use a simple edit checklist
Editing is where you make the image look finished. You do not need heavy edits. You need clean corrections. Edit in this order:
- Crop and straighten (make the label level)
- White balance (remove yellow or green tint)
- Exposure (bright, but not washed out)
- Shadows and highlights (keep label readable)
- Sharpness (light touch only)
Export for web so your site stays fast
You can shoot high quality and still keep your site quick. Do this:
- Export JPG for web
- Keep file size reasonable
- Name files clearly (not IMG_3920)
Good file name example: brand-product-flavor-front.jpg.
Also write clear alt text, like: “Front view of lemon electrolyte drink packet”.
5) When phone photos are enough (and when you should hire a pro)
Phone photos work best for:
- Behind the scenes
- Social posts and Stories
- Quick launches or test batches
- UGC style content
- Early startups strapped for cash
Hire a pro when you need:
- Perfect hero images for your product page
- A full SKU lineup with consistent lighting
- Reflective packaging done cleanly
- Retail ready assets and tight color accuracy
If you want product photos that convert, your product page images need to look consistent and intentional. That’s what shoppers trust.
Next Step
When you’re ready for clean, consistent hero images across every SKU (with accurate color and files built for your site + ads), we’ll plan it, shoot it, and deliver it. Book a call to get product photos you love.
FAQ
How do I take product photos with my phone that look professional?
Use window light, a clean background, and a stable phone position. Lock focus and exposure. Straighten and color correct in editing.
Should I use my phone flash for product photos?
No. Flash creates harsh reflections and ugly shadows. Use window light instead.
What background is best for phone product photos?
White poster board is the easiest. It looks clean and keeps attention on the product.
What phone camera settings should I use?
Use the 1x lens, tap to focus on the label, lock exposure, and slightly lower brightness to protect highlights.
What app should I use to edit product photos?
Any editor that lets you crop, adjust exposure, and fix color works. Keep edits simple and consistent across photos. For basic editing, use Apple's built in editing, or for advanced editing, use Adobe Photoshop.